Release management
KX Delta Control provides a sophisticated set of code and release-management tools.
All entities within the system are version-managed and can be rolled back instantaneously.
The entire environment can be checkpointed so that all entities can be rolled back with a single click.
Audit trails of system changes can be maintained indefinitely.
Release packages can be created which build an XML representation of the entities within the system. This XML representation can also be imported or exported to a GIT repository and updated via pull and push.
Dependencies between entities are managed when the package is both exported and imported. Changes made within the environment are not automatically reflected in the file system representation until exported. Similarly, any changes to the file system will not be represented in the environment until they are imported.
Creating a package
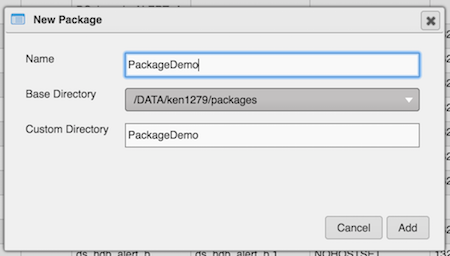
Packages can be created from the File > New > Package menu.
| field | description |
|---|---|
| Name | Package name |
| Base Directory | Base save directory. Limited options are available |
| Custom Directory | Custom directory under the base directory |
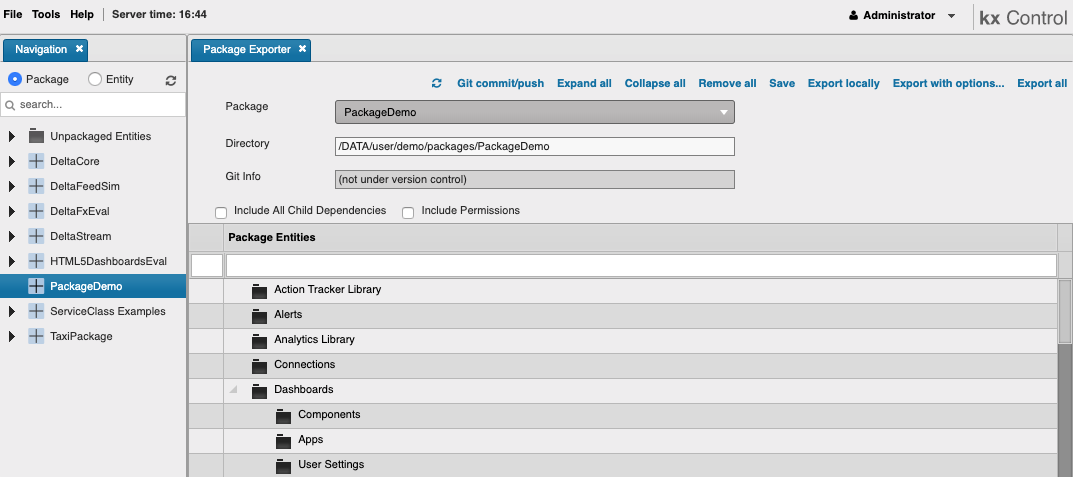
Once created it will appear it in the Navigation panel, and can be opened within the Package Exporter. The Package Exporter can be summoned by picking Open Package Exporter from the package’s context menu. Since nothing has been added the Exporter will be a little empty. From the Package Exporter, the package can be saved and exported via the toolbar controls.
Placing entities in packages
The Package Exporter allows the user to add and remove entities from the package. Entries can be dragged from the Navigation panel into the Exporter. The trash can icon within the Exporter can be used to remove an entity. Press Save to update the state of the package. Export all can be used to ensure the disk contents represent the current state.
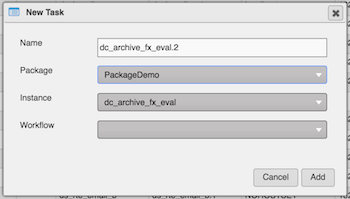
Entities can be placed in a package by initially associating a package when entries are created.
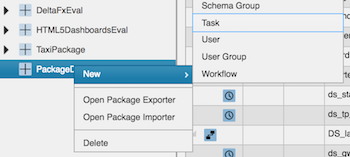
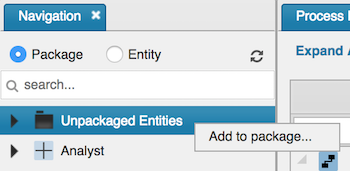
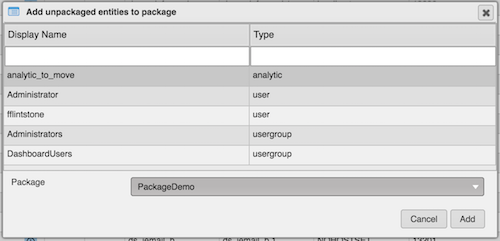
Several entities can be moved in the Unpackaged view by multiselecting, choosing a package, and clicking the Add button within the dialog. KX Control UI highlights all entities which are not part of a package, so they can be packaged, exported and pushed to other environments or source control. These entities are listed in the Navigation panel under Unpackaged Entities.
Package importer
Pick Open Package Importer from the Tools or the context menu.
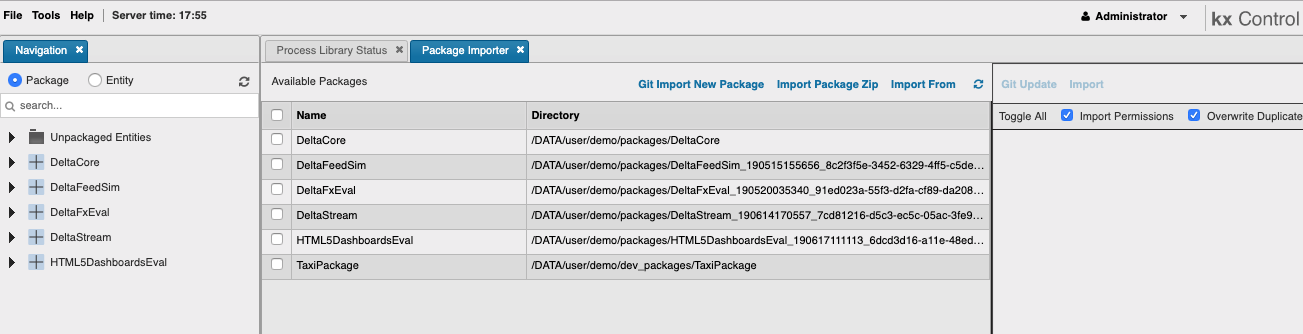
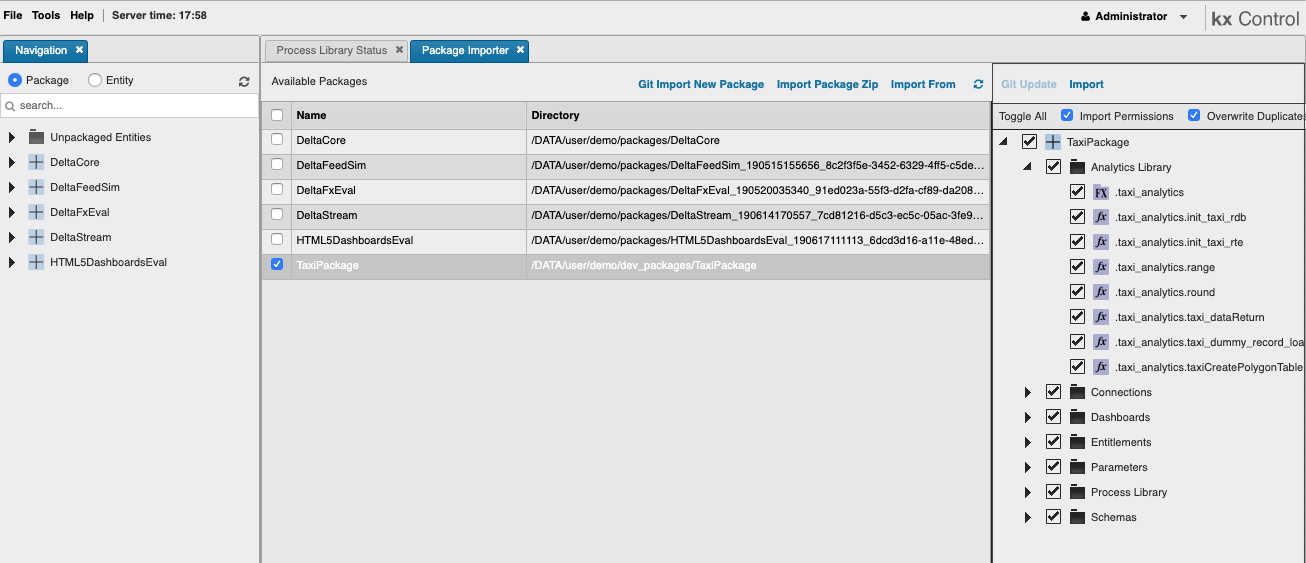
The Package Importer shows existing packages already imported and packages that could be imported. In the screenshot above, the TaxiPackage is in the list; however, it has not yet been imported so there are no entities within the package view on the left. KX Control supports multiple packages in one directory, two or more packages could have the same directory in the Package Importer.
What config file is used when importing?
An important note about importing is that the underlying implementation uses the contents of the [packagename]_export.cfg file as the list of entities to import into the system
There are five ways to import or update package contents.
Import from available packages
- Select one of more of the available packages
- Select the relevant entities to import
- Click Import
In this case, TaxiPackage was selected and the Import button was chosen
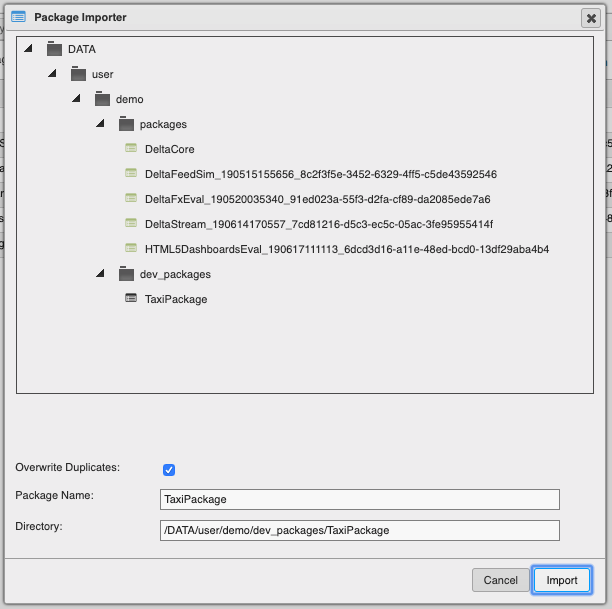
Import from a different location
- Select the Import from option
- In the import dialog choose a directory and ensure the package is in that directory
- Manually enter the package name
- Click Import
In this case, TaxiPackage was selected and the Import button was chosen
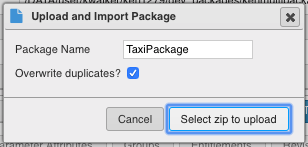
Import from a local ZIP
This method takes a ZIP file containing a control package structure, uploads it to the remote and imports it.
- Select the Import package zip option
- In the upload dialog enter the package name that will match the export.cfg filename from the ZIP.
- Press the Select zip to upload button and choose the desired package zip file
In this case, TaxiPackage was entered and the then the button was used to select the ZIP file.
[
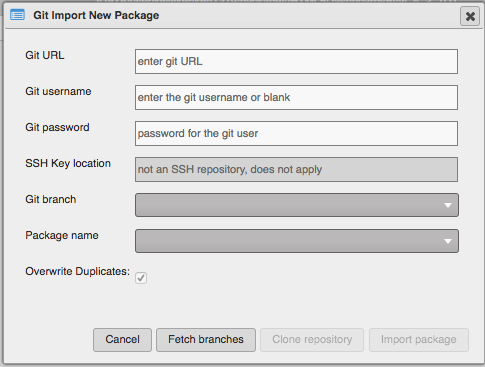
Import a new Git repository
This option imports a new package under Git version control. The dialog acts as a wizard and guides through the steps required to clone the repository with the right branch and to choose the package config file from the contents of the pulled repository.
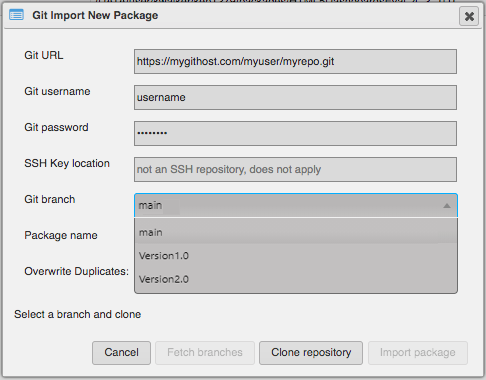
- Select the Git Import New Package option
- Fill in the repository URL
- Click or tab out of the repository URL and the dialog will adjust for https or ssh access
- If it is an https URL, supply the username and password for the remote git system
- If it is an SSH URL, allow the default private key to be used (~/.ssh/id_rsa), or provide a file path the installation has access to. If there is a passphrase for the private key, enter it into the password field
- Press the Fetch branches button to validate the URL, the credentials and the available branches will be retrieved
- Some fields will become read-only
- Choose from the available branches
- Click Clone repository
- The branch name will become read-only
- If the repository directory already exists on disk, there will be a dialog warning that the existing directory will be deleted and replaced with a new clone. Any changes not committed back to the repository will be lost. This can be cancelled or accepted and the dialog will proceed to the next step.
- The package name should automatically be populated. KX Control supports multiple packages in one Git repo, if there is more than one package, choose one to import. Any others can subsequently by picked from the dropdown and imported. Any not imported can be imported later using the import from feature outlined here.
- Click Import package
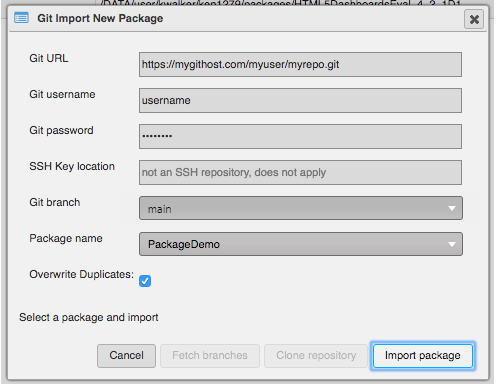
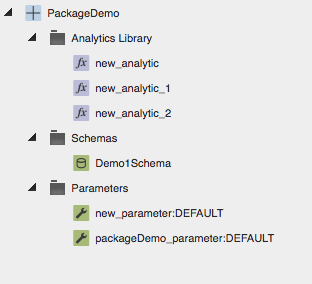
The contents of the package should now be imported and available in the package tree.
If the clone fails
If the clone fails, the errors should be reported in the dialog. If the user interface times out while performing a clone, the Import From option can be used once the clone is completed. Other errors may require manual intervention as described in the Potential problems or errors section.
Git update an existing package
Once a package has been Git imported (or Pushed for the first time) subsequent updates can be pulled from the remote repository.
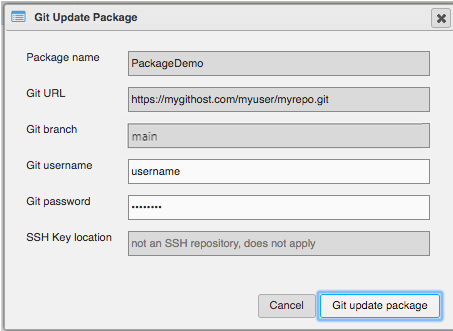
If after clicking on one of the available packages and that package is backed by a Git repository, the Git Update button should become enabled. Clicking on this button will bring up the Git Update Package dialog.
Most of the fields are read-only with the exception of the username and password.
- Update the username if required
- Enter the password for the user
- Click Git update package
The import of the remote contents should occur and the navigation tree should refresh.
Package exporter
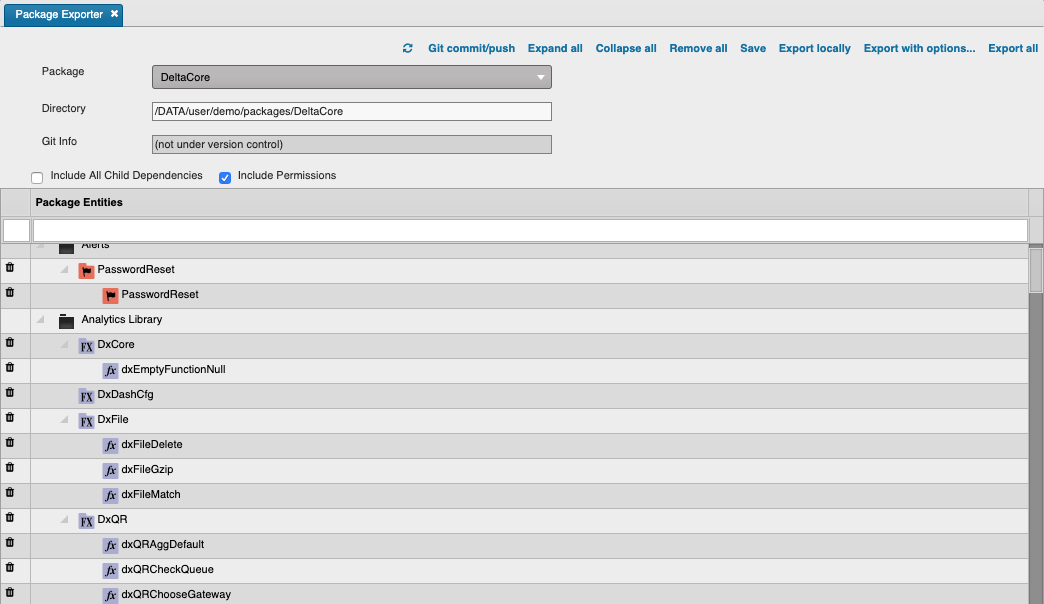
The Package Exporter controls:
| button | action |
|---|---|
| Refresh Icon | Refresh package details |
| Git commit/push | Push changes to a remote Git repository |
| Expand All | Expand the tree |
| Collapse All | Collapse the tree |
| Remove All | Remove all entities from the tree |
| Save | Save the current package configuration |
| Export locally | Download a compressed ZIP file of the current disk contents without doing an Export All first. To ensure the latest contents are in the ZIP, perform an Export All first. |
| Export with options | Allow export to a different location than the default |
| Export All | Export the package to disk |
| Include all Child Dependencies | Include all dependent children when exporting |
| Include Permissions | Include permissions in the export |
If the package is also under Git control, the Git info section will show the repository and branch.
Exporting using Git
Git commit/push new repository
The Package Exporter can support pushing the XML representation of a package to a remote Git repository. If the selected package has never been committed and is not already a Git package then the dialog will open up blank. The repository used for the first export to push to must be an empty repository.
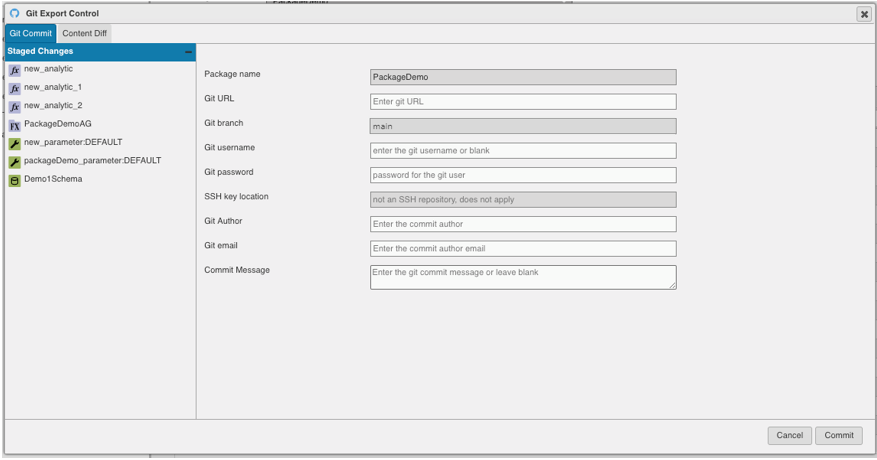
The Git commit fields:
| field | action |
|---|---|
| Package Name | Cannot be modified, currently selected package |
| Git URL | The HTTPS or SSH URL representing the repository https://mygithost.com/myuser/myrepo as an example |
| Git branch | The branch for an initial commit |
| Git username | The username for pushing to the repository if it is HTTPS otherwise filled in by the SSH URL |
| Git password | Password for the user or for the passphrase if it is an SSH URL |
| SSH Key location | The private key for the user. By default it will use the KX Delta Platform install ~/.ssh/rsa_id key. Optionally the user may provide their own private SSH key so long as the platform install can access it |
| Git author | The author name established on the remote git implementation |
| Git email | The email associated with the user on the remote git implementation |
| Commit message | Description of the change. If left blank, a list of the file changes will be created for the commit message |
If a valid repository, username, password and the commit message First commit were entered then the repository at the hosting site should have something similar to the following commit.
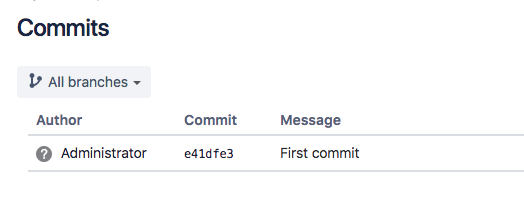
The Package Exporter information section will update the Git Info area with the repository and branch.

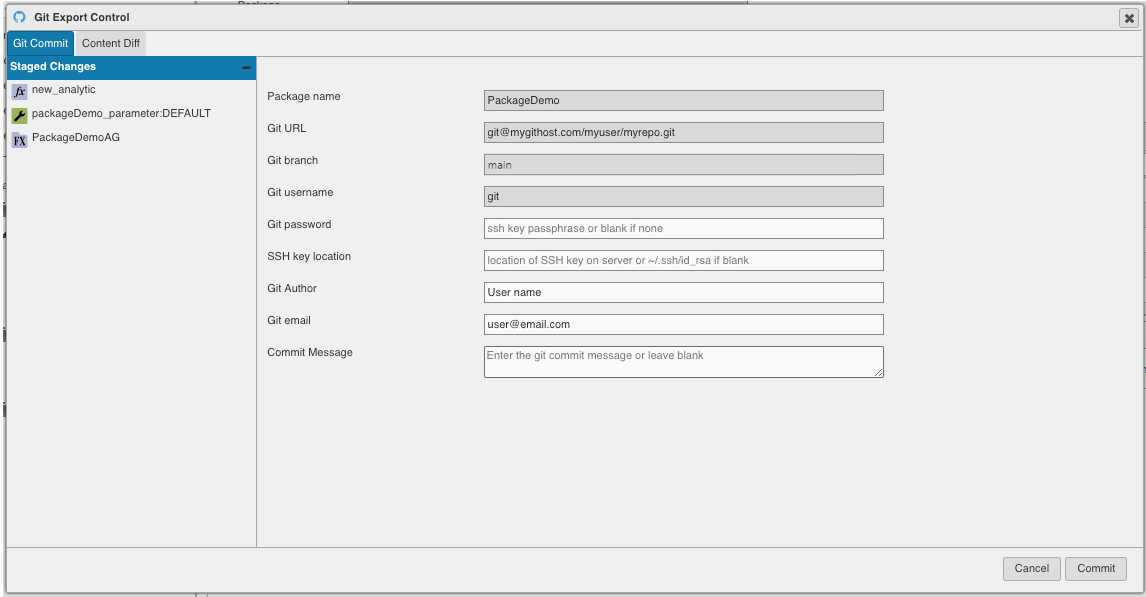
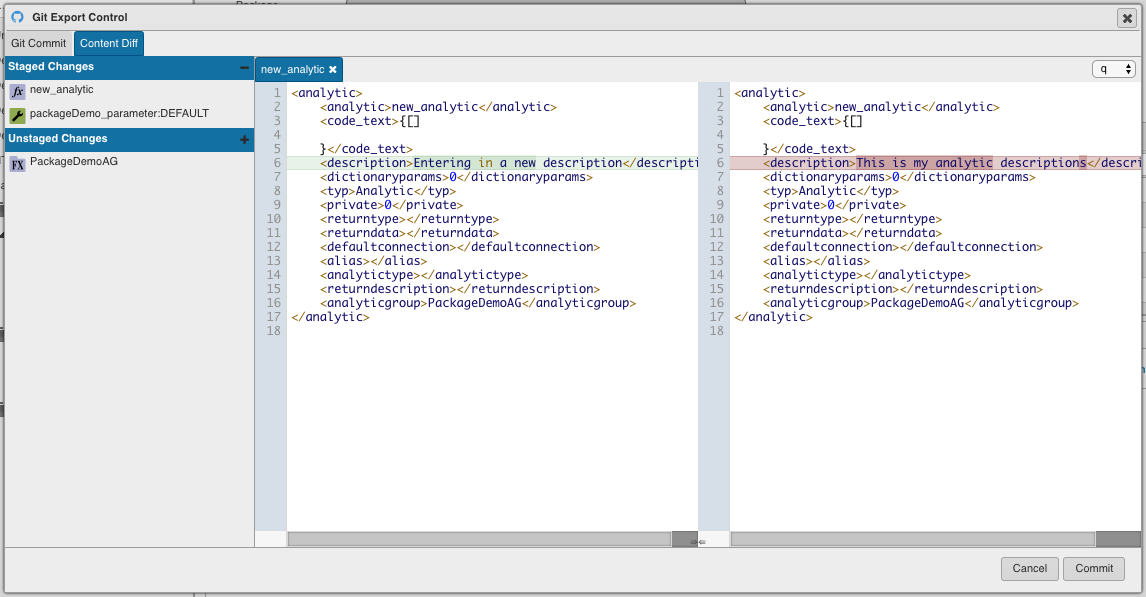
Git stage and commit
As changes are made to the package and saved, commits can be pushed to the remote repository to ensure changes are under version control. The commit dialog will no longer allow changes to certain fields since the package has now been pushed to a particular repository and branch.
Not all enties changes have to be committed. After looking at the diffs for each change, optionally unstage any of the entities. Not all entities can have their diffs compared (for example if unmanaged). If there are deleted entities, they will be in the list but there are no actions to be taken. They will be removed in the commit. If there are configuration file changes, they will automatically be staged and cannot be unstaged since they are critical to the state of the package. After choosing what is staged and unstaged, switch back to the commit tab, update the commit message and press the Commit button. Once done, close the dialog with the Cancel button.
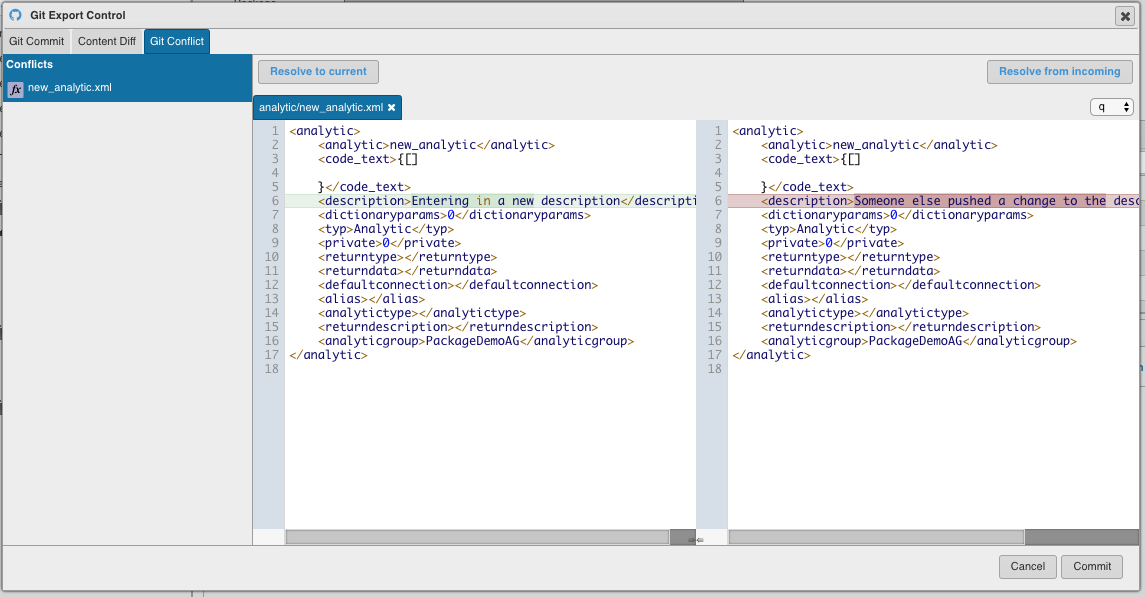
Git conflicts
If an entity being committed has been changed on the remote, say by another user, then the commit will likely result in a conflict. These conflicts must be resolved before the commit can continue. When this happens, a new Git conflict tab will be added to the dialog. Each conflict must be resolved by one of the following three options:
- Choose the left side as it is currently in the workspace (resolve to current)
- Choose the right side as it is currently on the git remote (resolve from incoming)
- Manually type changes into the left hand text editor and use ctrl-enter.
Manually modifying files?
The file structure is crucial for most Control entities. Incorrectly modifying the representation could have undesirable impacts on the entities and the system overall. It is recommended to choose one of the two generated files vs. modifying control entities.
When all the conflicts have been resolved a prompt will appear offering to do a package import to pick up all the changes. While this is optional, it is recommended to do this.
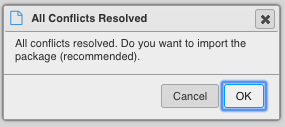
Now that the conflicts are resolved and the package is up to date, the commit must be redone since the changes have not been pushed to the remote git server yet. Switch to the commit tab, update the commit message if necessary, and press the commit button.
The commit should be successful and the export dialog can be closed.
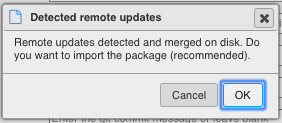
Git commit with updates from remote
If others are adding or modifying entities that were not committed as part of the steps above then the changes will be brought in by git and should be imported. A dialog will appear to provide that option, it is recommended otherwise the workspace may not immediately reflect these new or changed entities.
After importing the new changes, a commit must be made to push all the changes to the remote.
If the commit was in a package that is contained within a multi-package git repository, and someone changed a different package within that repository, the dialog above also covers this case. The package modified by the remote user will update in your workspace as recommended by the dialog. Once again, as above, when this update happens the commit will have to be redone to have the merged changes applied to the remote.
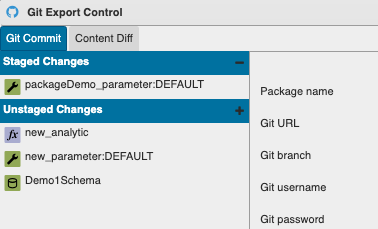
Git commit a single item from the navigator
The navigator tree, or other lists where entities are displayed, now have a shortcut to git committing that single item. If the menu item is greyed out, then the item is not new or has not been changed.
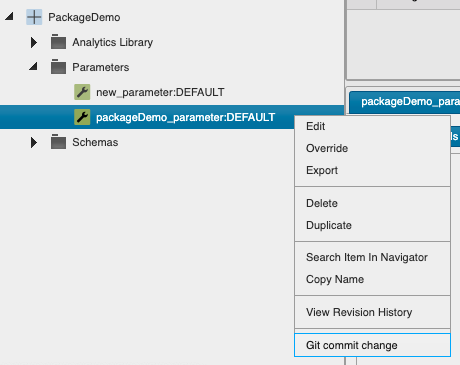
All other unrelated entities are moved to the unstaged area of the git commit dialog. The option to stage the other items is still possible.
Exporting locally
After choosing the Export package locally option, the package will be saved, exported and a zip will be created and sent to the browser. The resulting ZIP file is named after the package and contains the package subdirectory at the root of the archive file. This file could be unarchived on another system or the import from local zip feature could be used as documented here.
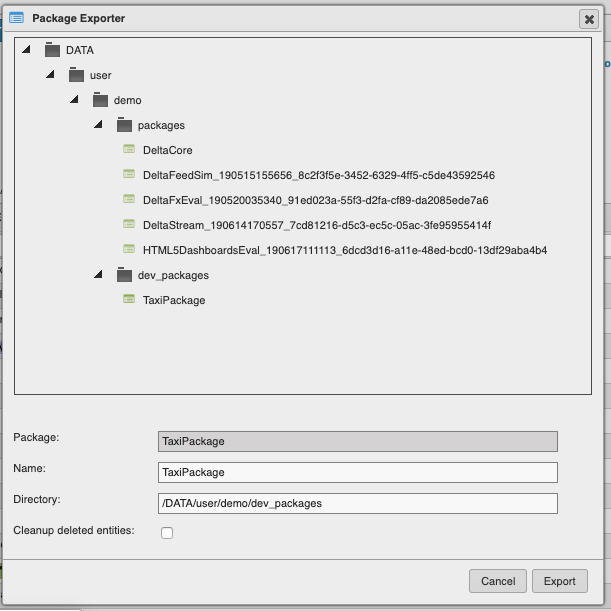
Export to a location on the server
The Export with options item opens a dialog which shows the existing package structure and allows the selected package to be exported to a directory in the tree or a manually entered file path. If there are deleted and/or removed entities from this package, the Cleanup deleted entities option will update the package export with only existing entities remaining.
Export all
The Export all option ensures that the XML representation on the server is up to date with respect to what is in the system.
Checkpoint on import or export
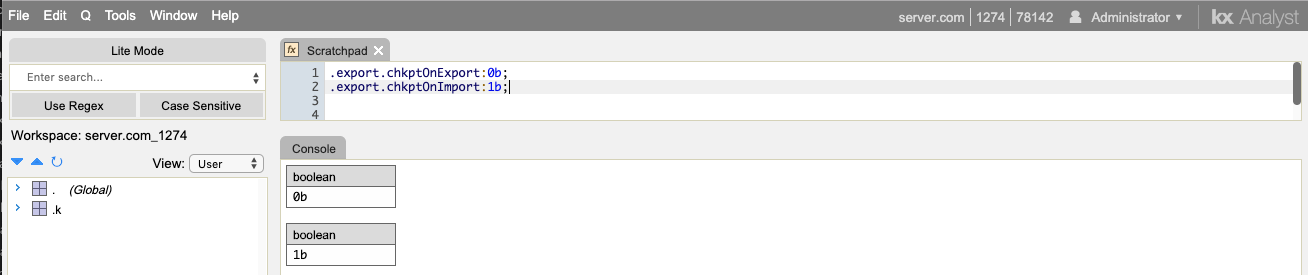
When a package is imported, if any changes from the latest checkpoint are detected, a new checkpoint will be made. This can also happen with an export, if configured to do so. Checkpoints can take a significant amount of time to create so if there is a significant delay in importing or exporting and a checkpoint is not needed, turn off the relevant option.
The default behavior is a checkpoint on import but no checkpoint on export. This behavior can be modified by changing the relevant environment variables, DELTACONTROL_CHKPT_ON_EXPORT and DELTACONTROL_CHKPT_ON_IMPORT in delta-bin/delta.profile.

Setting either of these environment variables to NO and restarting KX Control will disable automatic checkpoints on export or import.
This setting can also be changed on the fly by changing the Boolean variables .export.chkptOnExport and .export.chkptOnImport on a connection. (Changes made in this way will be lost on restart.)
Export and import audit
KX Control tracks the import, export and saving of packages. This package audit history is stored in the table
.export.packageAudit
The audit history for a particular package can be retrieved using the API .export.getAuditHistory. For example, to get the audit history for package PackageDemo the following could be executed on KX Control
.export.getAuditHistory[`PackageDemo]
Potential problems or errors pushing and pulling from Git repositories
Authentication or access privilege errors may show up as 403 error codes, the correct error or occasionally a close from the remote server.