Authentication
Keycloak
Keycloak is used as the identity and access management for kdb Insights Enterprise.
Password configuration
The kdb Insights Enterprise uses the Bitnami Helm chart to deploy Keycloak which by default creates random alphanumeric passwords if none are specified.
This can cause issues during upgrades, as described here, so we recommend that you preconfigure your Keycloak passwords to avoid this.
Details on how to configure Keycloak passwords can be found here.
Connecting to Keycloak
Once kdb Insights Enterprise is deployed, Keycloak will be available at https://${INSIGHTS_HOSTNAME}/auth where ${INSIGHTS_HOSTNAME} is the host the ingress is configured to use.
For example, if you deployed kdb Insights Enterprise with the following configuration for the ingress
global:
 ingress:
    host: "insights.example.com"
    issuer:
      kind: "ClusterIssuer"
      name: "letsencrypt"
then you can access Keycloak at https://insights.example.com/auth
The default admin username is user and the admin password is the value of the admin-password key specified in the keycloak secret that was created as part of the password configuration.
If you want to set the admin username this can be set at deploy time in the Helm values as keycloak.auth.adminUser.
Realms
In Keycloak, a realm is an area where you manage objects, including users, applications, roles, and groups.
The kdb Insights Enterprise deploys with a realm containing all of the required users, client and roles for Insights.
If you are deploying an instance of Keycloak with Insights, the realm name is insights.
If you are using a single Keycloak instance for multiple Insights deployments then the realm name will be insights-<NAMESPACE> where <NAMESPACE> is the Kubernetes namespace where Insights is deployed.
HTTP requests to Keycloak, for example to get access tokens, generally contain the realm name in the URL. We will refer to this generically as REALM_NAME.
You can set this in your shell session as follows, to allow you to easily copy and paste any commands that reference it.
export REALM_NAME=insights
Role based permissions
The kdb Insights Enterprise comes with a selection of preconfigured high level roles that can be used to give users collections of functionality. These roles are detailed below. For more fine grained controls, users can use individual permissions as outlined below in the permissions grid
| Name | Role | Details |
|---|---|---|
| Viewer | insights.role.viewer | This is a base role with the minimum permissions to use the Insights UI. The role allows a user to view existing reports, pipelines and queries but not deploy, update or delete them. This role can view logs but cannot modify the logging level of kdb Insights Enterprise. This role also cannot export any contents from the system other than diagnostics. |
| Reporter | insights.role.reporter | This role extends the viewer role with the ability to modify log levels and export configuration from kdb Insights Enterprise. This role can also perform custom queries on kdb Insights Enterprise database. |
| Developer | insights.role.developer | This role adds the ability to deploy and teardown resources within Insights. This role can also create new pipelines, databases and reports. This role can develop streaming applications in kdb Insights Enterprise but is unable to delete any persisted data within the system. |
| Maintainer | insights.role.maintainer | This role has no restrictions and can perform all actions within Insights. |
Permissions grid
Within kdb Insights Enterprise, Keycloak has a preconfigured realm called insights that contains the following roles to authorize operations.
| Role | Service | Method | Endpoint |
|---|---|---|---|
| insights.client.* | client-controller | * | /clientcontroller/* |
| insights.client.create | client-controller | POST | /clientcontroller/enrol |
| insights.client.delete | client-controller | POST | /clientcontroller/leave |
| insights.pipeline.* | kxi-sp | * | /streamprocessor/pipeline/* |
| insights.pipeline.create | kxi-sp | POST | /streamprocessor/pipeline/create |
| insights.pipeline.list | kxi-sp | GET | /streamprocessor/pipelines |
| insights.pipeline.get | kxi-sp | GET | /streamprocessor/pipeline |
| insights.pipeline.delete | kxi-sp | POST | /streamprocessor/pipeline/teardown/{id} |
| insights.pipeline.deleteAll | kxi-sp | POST | /streamprocessor/pipelines/teardown |
| insights.pipeline.details | kxi-sp | GET | /streamprocessor/details |
| insights.pipeline.spec | kxi-sp | GET | /streamprocessor/pipeline/spec/{id} |
| insights.pipeline.status | kxi-sp | GET | /streamprocessor/pipeline/status/{id} |
| insights.pipeline.trace | kxi-sp | GET | /streamprocessor/pipeline/trace/{id} |
| insights.pipeline.ui | kxi-sp | N/A | N/A |
| insights.query.* | service-gateway | * | /servicegateway/* |
| insights.query.data | service-gateway | POST | /servicegateway/kxi/* |
| insights.query.admin | service-gateway | POST | /servicegateway/log |
| insights.query.qsql | service-gateway | POST | /servicegateway/qe/qsql |
| insights.query.sql | service-gateway | POST | /servicegateway/qe/sql |
| insights.query.custom | service-gateway | * | /servicegateway/* |
| insights.query.qsql | kxi-controller | * | /kxicontroller/sandbox/* |
| insights.builder.assembly.* | kxi-controller | * | /kxicontroller/assembly/* |
| insights.builder.assembly.create | kxi-controller | POST | /kxicontroller/assembly |
| insights.builder.assembly.list | kxi-controller | GET | /kxicontroller/assembly |
| insights.builder.assembly.update | kxi-controller | POST | /kxicontroller/assembly/{id} |
| insights.builder.assembly.get | kxi-controller | GET | /kxicontroller/assembly/{id} |
| insights.builder.assembly.delete | kxi-controller | POST | /kxicontroller/assembly/{id}/delete |
| insights.builder.assembly.cleanup | kxi-controller | POST | /kxicontroller/assembly/{id}/cleanup |
| insights.builder.assembly.teardown | kxi-controller | POST | /kxicontroller/assembly/{id}/teardown |
| insights.builder.assembly.deploy | kxi-controller | POST | /kxicontroller/assembly/{id}/deploy |
| insights.builder.assembly.export | kxi-controller | POST | /kxicontroller/assembly/{id}/export |
| insights.builder.db.* | kxi-controller | * | /kxicontroller/database/* |
| insights.builder.db.create | kxi-controller | POST | /kxicontroller/database |
| insights.builder.db.list | kxi-controller | GET | /kxicontroller/database |
| insights.builder.db.update | kxi-controller | POST | /kxicontroller/database/{id} |
| insights.builder.db.get | kxi-controller | GET | /kxicontroller/database/{id} |
| insights.builder.db.delete | kxi-controller | POST | /kxicontroller/database/{id}/delete |
| insights.builder.schema.* | kxi-controller | * | /kxicontroller/schema/* |
| insights.builder.schema.create | kxi-controller | POST | /kxicontroller/schema |
| insights.builder.schema.list | kxi-controller | GET | /kxicontroller/schema |
| insights.builder.schema.update | kxi-controller | POST | /kxicontroller/schema/{id} |
| insights.builder.schema.get | kxi-controller | GET | /kxicontroller/schema/{id} |
| insights.builder.schema.delete | kxi-controller | POST | /kxicontroller/schema/{id}/delete |
| insights.builder.pipeline.* | kxi-controller | * | /kxicontroller/pipeline/* |
| insights.builder.pipeline.create | kxi-controller | POST | /kxicontroller/pipeline |
| insights.builder.pipeline.list | kxi-controller | GET | /kxicontroller/pipeline |
| insights.builder.pipeline.update | kxi-controller | POST | /kxicontroller/pipeline/{id} |
| insights.builder.pipeline.get | kxi-controller | GET | /kxicontroller/pipeline/{id} |
| insights.builder.pipeline.delete | kxi-controller | POST | /kxicontroller/pipeline/{id}/delete |
| insights.builder.stream.* | kxi-controller | * | /kxicontroller/stream/* |
| insights.builder.stream.create | kxi-controller | POST | /kxicontroller/stream |
| insights.builder.stream.list | kxi-controller | GET | /kxicontroller/stream |
| insights.builder.stream.update | kxi-controller | POST | /kxicontroller/stream/{id} |
| insights.builder.stream.get | kxi-controller | GET | /kxicontroller/stream/{id} |
| insights.builder.stream.delete | kxi-controller | POST | /kxicontroller/stream/{id}/delete |
| insights.builder.report.* | kxi-controller | * | /kxicontroller/report/* |
| insights.builder.report.create | kxi-controller | POST | /kxicontroller/report |
| insights.builder.report.list | kxi-controller | GET | /kxicontroller/report |
| insights.builder.report.update | kxi-controller | POST | /kxicontroller/report/{id} |
| insights.builder.report.get | kxi-controller | GET | /kxicontroller/report/{id} |
| insights.builder.report.delete | kxi-controller | POST | /kxicontroller/report/{id}/delete |
| insights.monitor.* | kxi-controller | * | |
| insights.monitor.pod.logs.get | kxi-controller | GET | /kxicontroller/pod/logs |
| insights.monitor.events.get | kxi-controller | GET | /kxicontroller/events |
| insights.monitor.logLevels.getLevels | kxi-controller | GET | /kxicontroller/log/levels |
| insights.monitor.logLevels.set | kxi-controller | POST | /kxicontroller/log |
| insights.monitor.diagnostics.get | kxi-controller | GET | /kxicontroller/diagnostics |
| insights.package.* | kxi-package-manager | * | |
| insights.package.upload | kxi-package-manager | POST | /packagemanager/artifacts/{name}/{ver} |
| insights.package.download | kxi-package-manager | GET | /packagemanager/artifacts/{name}/{ver} |
| insights.package.list | kxi-package-manager | GET | /packagemanager/artifacts |
| insights.package.delete | kxi-package-manager | DELETE | /packagemanager/artifacts |
| insights.package.list | kxi-package-manager | GET | /packagemanager/packages |
| insights.package.delete | kxi-package-manager | DELETE | /packagemanager/packages |
To call a specific endpoint, the user must have the appropriate role. Some roles indicated by wildcards allow multiple permissions to be assigned for a specific service
UI permissions
The insights.pipeline.ui role entitles users to a set of additional Insights UI operations against the SP service.
Upgrades
By default the realm configuration is not automatically re-imported on upgrade. This is to avoid losing any local changes that have been made to the Keycloak instance.
Automatically importing the realm configuration on upgrade can be enabled using the settings described in the Keycloak configuration section
Importing the realm on upgrade
Importing the realm on upgrade will overwrite any changes made to entities that were originally imported from the realm. For example, if the roles assigned to a client which were previously imported from the realm via the UI were later modified, re-importing the old configuration would cause these modifications to be overwritten.
If you have local changes that you want to be re-imported, then you must export these first and integrate your changes into the config.json that will be imported on upgrade. See the documentation here for information on how to export the realm.
User types
There are three distinct types of users that can exist within kdb Insights Enterprise:
- Users created natively in Keycloak
- Users imported from an upstream identity provider
- Service accounts that operate on behalf of an application
We'll refer to the first two types collectively as 'users' since they only differ in terms of how they are created, native users are created through the Keycloak UI and imported users are imported from an upstream identity provider. For other features, such as assigning roles and querying the system, these behave in the same way.
We'll refer to the third type as 'service accounts'.
Users
Creating a user
To create a new user:
- Set a username and then save.
- Set a temporary password, which will be reset upon first login.
- Assign role(s) to the user.
Default user
A default user is created on initial install of kdb Insights Enterprise. The user details can be controlled via the install configuration file.
keycloak:
    initUser:
        # Enable/Disable the user at install time - default is false
        enabled: true
        # Name for the initial user
        name: "demoinsights"
        # Password for the default user
        auth: "S3cr3tPa$$w0rd!"
Note
This user will be forced to change his password on first login to the system
Importing users
Insights can be configured to use an upstream identity provider such as Google or Microsoft to provide user accounts.
This is known as identity brokering.
This enables users to be redirected to an identity provider other than Keycloak in order to authenticate with kdb Insights Enterprise.
When a user is trying to log into kdb Insights Enterprise, they will see a list of the configured identity providers on the login screen.
For example, if Microsoft was configured as an upstream identity provider, users would see the following option when logging in.
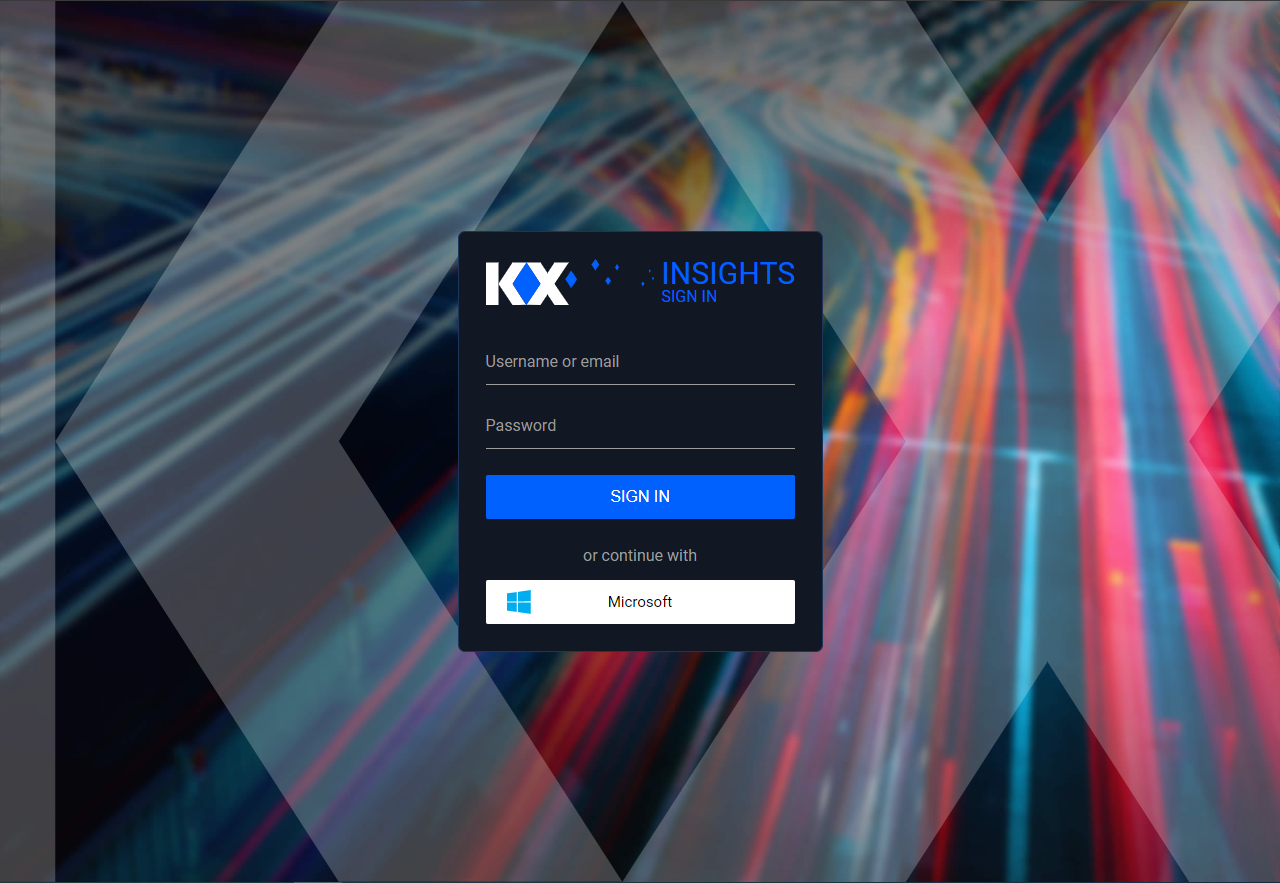
Once a user has authenticated, if this is the first time they've logged in, Keycloak will register and import the new account into its local database. More details on how exactly this works can be found in the Keycloak documentation
First login
An imported user must log in at least once before roles can be assigned to them
Identity provider is not visible on the login screen
If a user can't see the identity providers on the login screen even though they are configured, they may be getting redirected to the incorrect login page for the realm.
For the insights realm this will be https://${INSIGHTS_HOSTNAME}/auth/admin/insights/console/
Assigning roles
Administrators can assign roles to users under the 'Role Mappings' tab for the user.
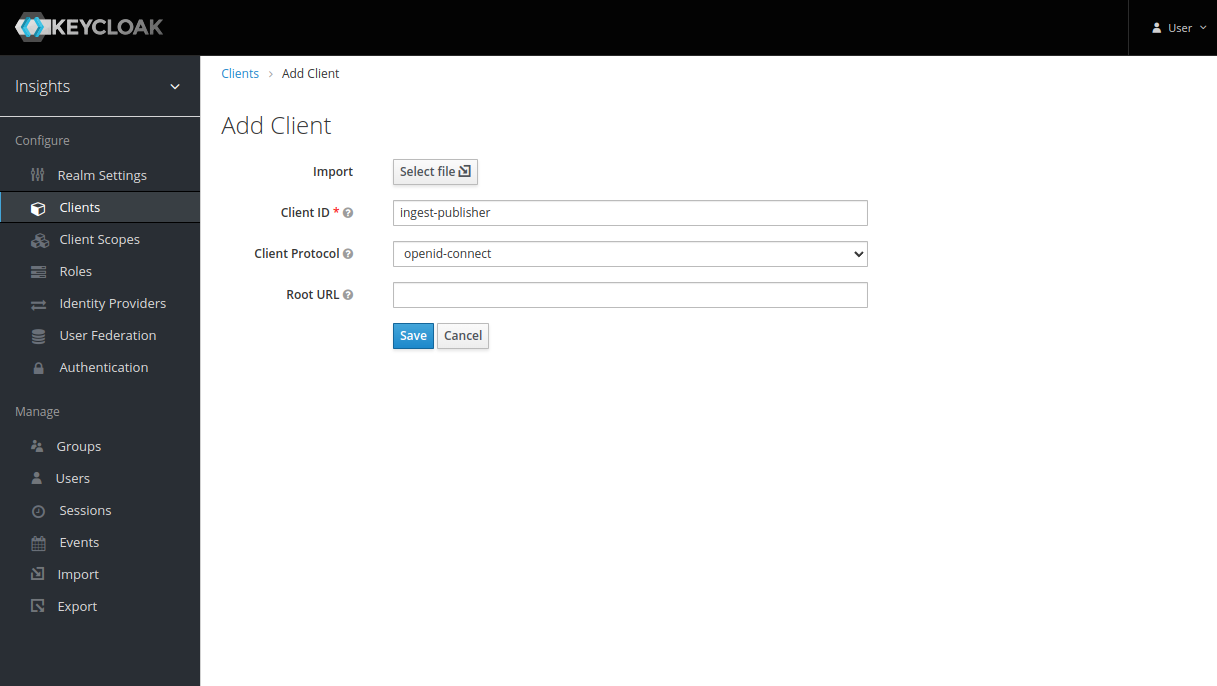
Creating a client to allow user login
An OIDC client is needed as part of the authorization code flow that a user performs when they log in.
- Set the Client ID, which is the name of the client.
- Set the Client Protocol to
openid-connect. - Set the Access Type to
Confidential. - Set the Valid Redirect URIs to
*. - Record the client secret under the Credentials tab for later.
Querying as a user account
Querying as a user is facilitated by the kdb Insights Enterprise REST client, as the authorization code flow (the functionality used to obtain an access token to authorize API requests) takes place automatically.
From here you are able to log in via a browser opened on your local machine, close the browser, and then make queries to kdb Insights Enterprise endpoints.
You may make a new qpacker application, or use qce to utilize the REST client.
Your local browser will use the redirect URI shown in the client configuration to provide your application with a token.
Note
The port used in redirect URIs should not be exposed to the world wide web.
The redirect URI port only needs to be accessible so that your browser can redirect tokens to your application.
When running in a containerized environment, like qpacker, port-forwarding is used to allow your browser access.
Create client.json.
tee client.json << EOF
{
  "web":{
    "client_id"     : "kxi-test",
    "auth_uri"      : "https://${INSIGHTS_HOSTNAME}/auth/realms/${REALM_NAME}/protocol/openid-connect/auth",
    "token_uri"     : "https://${INSIGHTS_HOSTNAME}/auth/realms/${REALM_NAME}/protocol/openid-connect/token",
    "client_secret" : "redacted",
    "redirect_uris" : ["http://localhost:1234"]
  }
}
EOF
If you are using qpacker, create qp.json, if not using qpacker, skip this step.
tee qp.json << EOF
{
    "app": {
        "entry": [ "app.q" ]
    }
}
EOF
For a simple setup, proceed to Querying with environmental login.
For an advanced setup, that allows for multiple logins of varying access, proceed to Querying with programmatic login.
Querying with environmental login
This example will allow login with environment variables, and will block the terminal until you have logged in. If you are interested in a more programmatic and non-blocking approach see programmatic login.
Create app.q.
serviceURI:getenv[`KX_CLIENT_URI],"/servicegateway";
headers:("Content-Type";"Accept")!("application/json";"application/json");
body:.j.j `table`region`startTS`endTS!(`trade;`canada;string "p"$.z.d;string .z.p);
r:.kurl.sync (serviceURI,"/kxi/getData"; `POST; `headers`body!(headers;body));
show r;
Note
This will use the implied settings settings:`access_type`redirect_uri!("offline";getenv `KX_REDIRECT_URI);
Use the programmatic login if you need more settings, like consent prompts, or custom scopes.
Run these qp commands. If not using qpacker, skip this step.
qp build app
qp tag app 0.0.1
Set the following environmental variables Add these to qbuild/.env if using qpacker.
export KX_CLIENT_URI=https://${INSIGHTS_HOSTNAME}
export KX_REDIRECT_URI="http://localhost:1234"
export KX_OAUTH2_CLIENT_JSON=client.json
tee -a qpbuild/.env << EOF
KX_CLIENT_URI=https://${INSIGHTS_HOSTNAME}
KX_REDIRECT_URI=http://localhost:1234
KX_OAUTH2_CLIENT_JSON=client.json
EOF
Start the application.
qce app.q
docker run --env-file=qpbuild/.env -it --rm -p 1234:1234 app:0.0.1
Your browser will now open automatically, and you may type your credentials and login. If the browser does not open automatically, a message will appear instructing you to open it.
Querying with programmatic login
This example will programmatically send a request as soon as we complete the login process. If you are interested in a simpler approach see environmental login.
The advantages of this style of login are:
+your application is not blocked, and may run its own code+you may repeat the login flow by repeating this method+you may login to multiple sites this way
Create app.q, set insightsURI to https://${INSIGHTS_HOSTNAME}.
insightsURI:<replace me>;
serviceURI:insightsURI,"/servicegateway";
onResponse:{[tenant;auth]
      headers:("Content-Type";"Accept")!("application/json";"application/json");
      body:.j.j `table`region`startTS`endTS!(`trade;`canada;string "p"$.z.d;string .z.p);
      r:.kurl.sync (serviceURI,"/kxi/getData"; `POST; `tenant`headers`body!(tenant;headers;body));
      show r;
    };
.kurl.oauth2.startLoginFlow[insightsURI;
  `:client.json;
  `access_type`redirect_uri!("offline";"http://localhost:1234");
  onResponse];

// You may run your own code here, you should not query the REST endpoints here
// that should be done in onResponse above, however may run other application logic
You may now start app.q. Your browser will open automatically, and you may type your credentials and login. If the browser does not open automatically, a message will appear instructing you to open it.
Note
If the login flow returns, but you haven't granted the correct permissions, you may repeat this call after having tweaked the roles in keycloak.
You may run the following code to destroy the unused session.
info:exec first domain, first tenant from .kurl.i.listRegistered[]
    where domain like insightsURI;
.kurl.deregister info `domain`tenant;
Resetting User Passwords
A user may reset their forgotten password via email. SMTP server credentials should be provided to keycloak to prompt users for their forgotten password. These credentials can be supplied at install time via the install configuration file. See settings described in the Keycloak configuration section.
keycloak:
  resetPasswordAllowed: true
  smtpServer:
    host: smtp.host.net
    from: admin@host.com
    user: apikey
    password: <redacted>
Alternatively, SMTP server credentials can be supplied via the keycloak Administration Console.
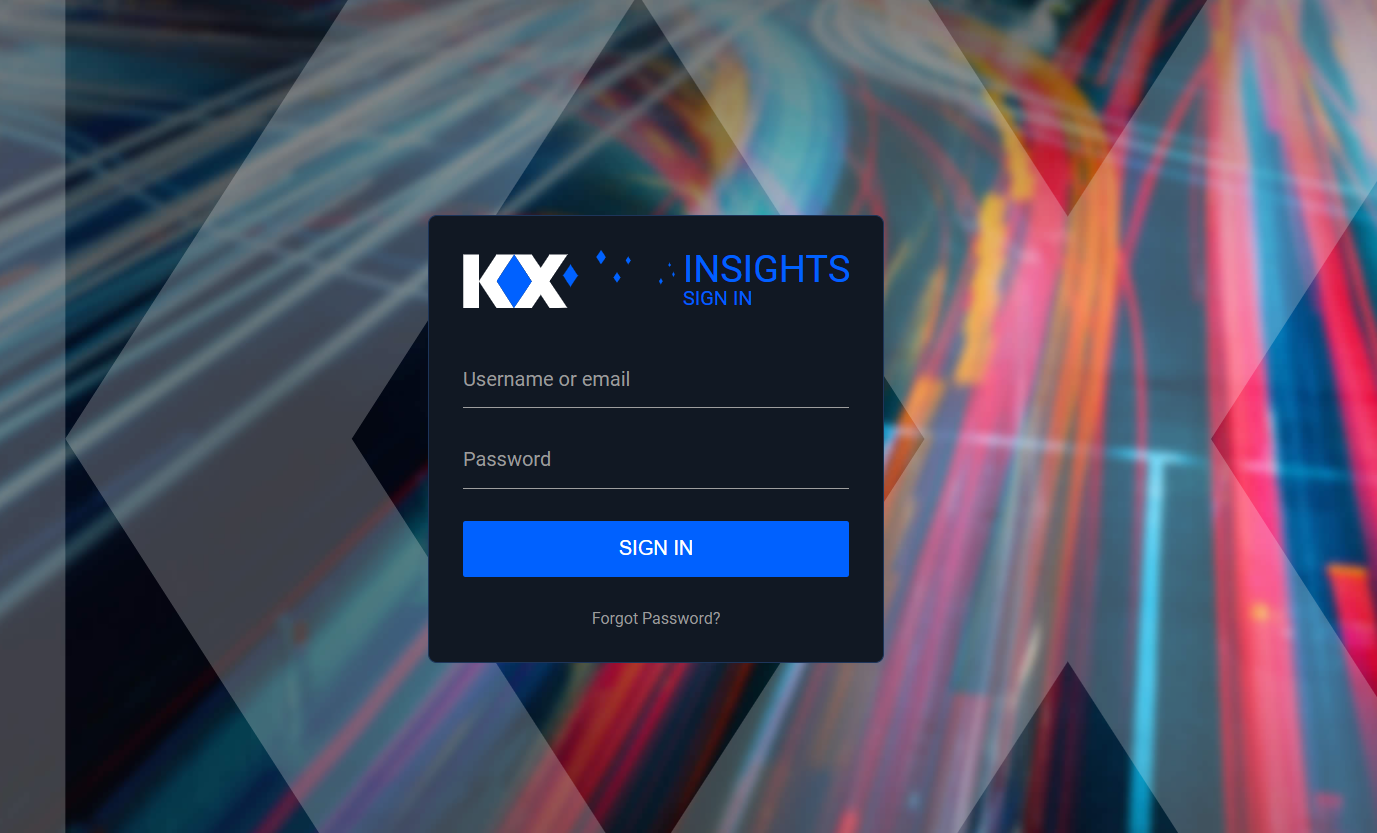
With password resets enabled, users will have a "Forgot Password?" prompt appear on their login screen. Clicking this will take the user through the keycloak forgot password flow. The user must have a configured email address.
Note that this password reset functionality is only supported for locally created users. Imported users from external authentication services are required to have credentials reset in their respective service.
Service accounts
A service account is configured as a confidential OIDC client that has a service account enabled.
This allows the administrator to assign the relevant permissions to the service account of the client to grant access to resources in kdb Insights Enterprise.
Once this is configured, the service account can request access tokens from Keycloak as described here that can be used for authorization when communicating with kdb Insights Enterprise.
Creating a service account user
To create a new client within keycloak:
- Set the Client ID.
- Set the Client Protocol to
openid-connect. - Set the Access Type to
Confidential. - Set the Service Accounts Enabled slider to On.
- Set the Valid Redirect URIs to
*. - Record the client secret under the Credentials tab for later.
Assigning roles to a service account
Roles can be assigned to the service account associated with a client in the 'Service Account Roles' tab for the client.
Service account roles
The 'Service Account Roles' tab is only visible when service accounts are enabled for the client.
Default service account
A default service account can be created on initial install of kdb Insights Enterprise. The service account details can be controlled via the install configuration file.
keycloak:
    initClient:
        # Enable/Disable the service account at install time - default is false
        enabled: true
        # Name for the service account
        clientId: "test-publisher"
        # Secret for the service account
        clientSecret: "sp3cials3cr3t"
Requesting an access token
To query as a service account, or interact with any of the protected endpoints, you must pass an access token.
An access token can be obtained from the token endpoint for Keycloak. You must use the grant_type of client_credentials and pass the client id and secret with the request.
The access_token field can be saved to an environment variable for re-use as below. This is used when talking to any protected services.
export INSIGHTS_TOKEN=$(curl --header "Content-Type: application/x-www-form-urlencoded" -d "grant_type=client_credentials&client_id=my-client&client_secret=<redacted>" "https://${INSIGHTS_HOSTNAME}/auth/realms/${REALM_NAME}/protocol/openid-connect/token" | jq '.access_token' | tr -d '"')
Token expiry
Access tokens are generally short lived and usually only have a lifespan of a few minutes.
The expires_in field in the response from the token endpoint indicates what the lifespan of the access token is in seconds.
For example, this token has a lifespan of 5 minutes.
{
  "access_token": "<redacted>",
  "expires_in": 300,
  "refresh_expires_in": 0,
  "token_type": "Bearer",
  "not-before-policy": 0,
  "scope": "profile email"
}
When the token expires, service accounts need to request a new one from the token endpoint with their client ID and secret.
The default lifespan of access tokens can be changed in the Keycloak Admin UI in the realm settings.
Keycloak Session and Token Timeouts
Password policies
kdb Insights Enterprise supports a wide range of password policies. Information on the default password policy and how to adjust it can be found here.