Azure Active Directory integration (optional post deployment step)
You can use your organization's Active Directory to allow your users to log into the kdb Insights Enterprise User Interface with their existing credentials.
The steps below enable Active Directory as an Identity Provider in kdb Insights Enterprise.
Pre-requisites
In order to successfully install kdb Insights Enterprise on Azure you will need the following:
-
The Application Administrator role in order to create and manage an App registration for kdb Insights Enterprise.
-
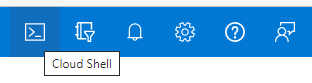
Access to a Bash shell to run the registration script, with the latest version of Azure CLI installed. You can use Azure Cloud Shell for this:
-
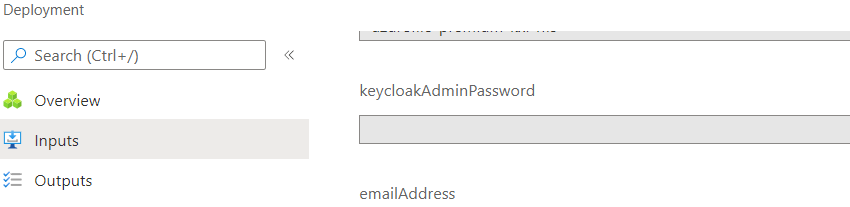
The Keycloak admin password and URLs of your kdb Insights Enterprise deployment.
-
KXI Command Line Interface installed.
Create the Azure Active Directory App registration
You will need an Azure App registration. To create an Azure App registration:
-
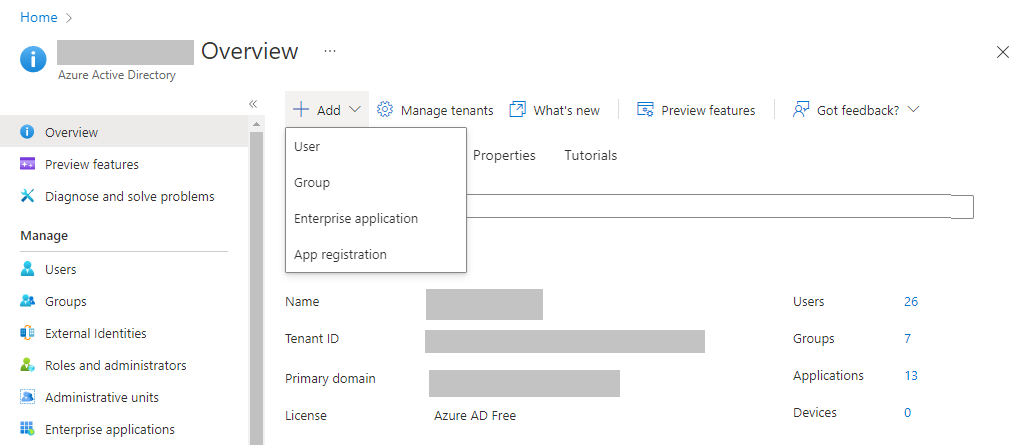
Visit your Azure Active Directory page in the Azure portal.
-
Click on Add > App registration.
-
Choose a user-facing display name and click
Register.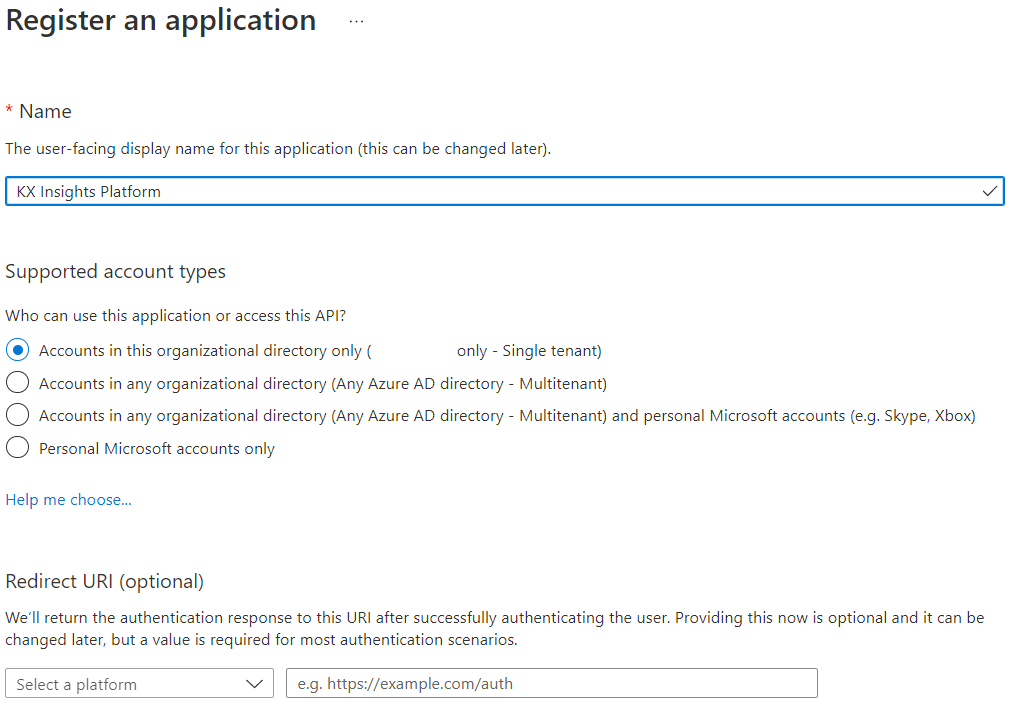
Wait for the App registration to be created.
Create the Azure Active Directory group
If you have existing user groups that are appropriate to link with kdb Insights Enterprise, you can use those. Otherwise, you can create those which are meaningful to your use case.
As an example you can create a separate group for "KX Insights Users" and for "KX Insights Administrators":

Integrating Insights roles and Azure Active Directory groups
Now you need to link the newly created roles to the Azure Active Directory groups.
You can either use the built-in roles in kdb Insights Enterprise or you can create composite roles and use those to link to your Azure Active Directory group.
- Start a command line session (KXI CLI needs to be available)
-
Create the Identity Provider in Keycloak and link it to the previously created Azure App Registration:
Example command:kxi azure idp add \ --azure-tenant-id "<tenant id>" \ --azure-app-registration-name "<app registration name>" \ --hostname "<Insights URL>" \ # defaults to configured value by kxi configure --keycloak-admin-clientid "<Keycloak Admin Client>" \ # defaults to "admin-cli" --keycloak-admin-username "<Keycloak Admin username>" \ # can come from env var: KEYCLOAK_USER --keycloak-admin-password "<Keycloak Admin password>" \ # can come from env var: KEYCLOAK_PASSWORD --keycloak-idp-realm "<Keycloak realm>" \ # defaults to "insights" --keycloak-idp-alias "<IdP alias>" \ # defaults to "aad-idp" --keycloak-idp-display-name "<IdP display name>" # defaults to "Azure AD"To see additional options use:kxi azure idp add \ --azure-tenant-id "<tenant id>" \ --azure-app-registration-name "KX Insights Keycloak App" \ --hostname "https://kxinsights.westeurope.cloudapp.azure.com" \ --keycloak-admin-username "<Keycloak Admin username>" \ --keycloak-admin-password "<Keycloak Admin password>"kxi azure idp add --help -
Link the previously created Identity Provider to an Azure Active Directory group:
Example commands:kxi azure idp mapper add \ --azure-tenant-id "<tenant id>" \ --azure-ad-group-name "<ad group name>" \ --hostname "<Insights URL>" \ # defaults to configured value by kxi configure --keycloak-admin-clientid "<Keycloak Admin Client>" \ # defaults to "admin-cli" --keycloak-admin-username "<Keycloak Admin username>" \ # can come from env var: KEYCLOAK_USER --keycloak-admin-password "<Keycloak Admin password>" \ # can come from env var: KEYCLOAK_PASSWORD --keycloak-idp-realm "<Keycloak realm>" \ # defaults to "insights" --keycloak-idp-alias "<IdP alias>" \ # defaults to "aad-idp" --keycloak-idp-mapper-name "<Mapper name>" \ # Custom name --keycloak-idp-mapper-roles "<Mapper roles>" # Comma separated role nameskxi azure idp mapper add \ --azure-tenant-id "<tenant id>" \ --azure-ad-group-name "KX Insights Users" --azure-app-registration-name "KX Insights Keycloak App" \ --hostname "https://kxinsights.westeurope.cloudapp.azure.com" \ --keycloak-admin-username "<Keycloak Admin username>" \ --keycloak-admin-password "<Keycloak Admin password>" \ --keycloak-idp-mapper-name "KX Insights Users" \ --keycloak-idp-mapper-roles "insights.builder.*,insights.license.current.get,insights.monitor.*,insights.pipeline.*,insights.query.*,insights.scratch.*"To see additional options use:kxi azure idp mapper add \ --azure-tenant-id "<tenant id>" \ --azure-ad-group-name "KX Insights Administrators" --azure-app-registration-name "KX Insights Keycloak App" \ --hostname "https://kxinsights.westeurope.cloudapp.azure.com" \ --keycloak-admin-username "<Keycloak Admin username>" \ --keycloak-admin-password "<Keycloak Admin password>" \ --keycloak-idp-mapper-name "KX Insights Administrators" \ --keycloak-idp-mapper-roles "insights.client.*,insights.user,insights.monitor.*,insights.license.current.get"kxi azure idp mapper add --help
Test the Integration
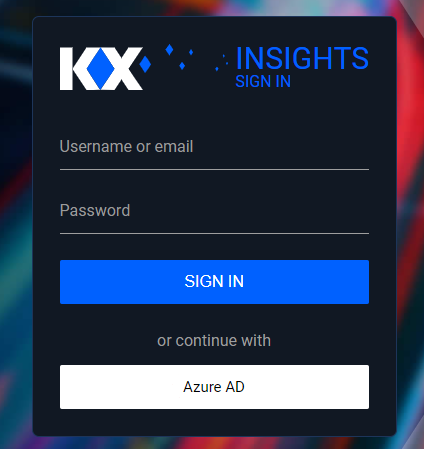
Once the integration is complete, follow the steps below to log in to kdb Insights Enterprise with your Azure Active Directory credentials:
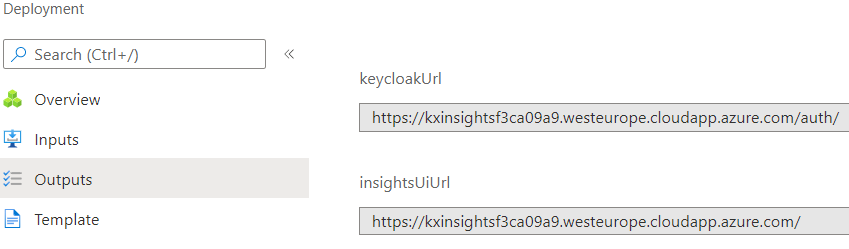
- Locate the deployment outputs.
- Locate the resource group of your deployment in Azure
- Navigate to the
Deploymentsmenu. - Click on the bottom deployment

- Click on
Outputsin the left-hand navigation menu.
- Navigate to the
insightsUiUrlvalue in a new browser tab.
-
Log in using your Azure credentials.
-
Accept the Permissions requested by the App.
-
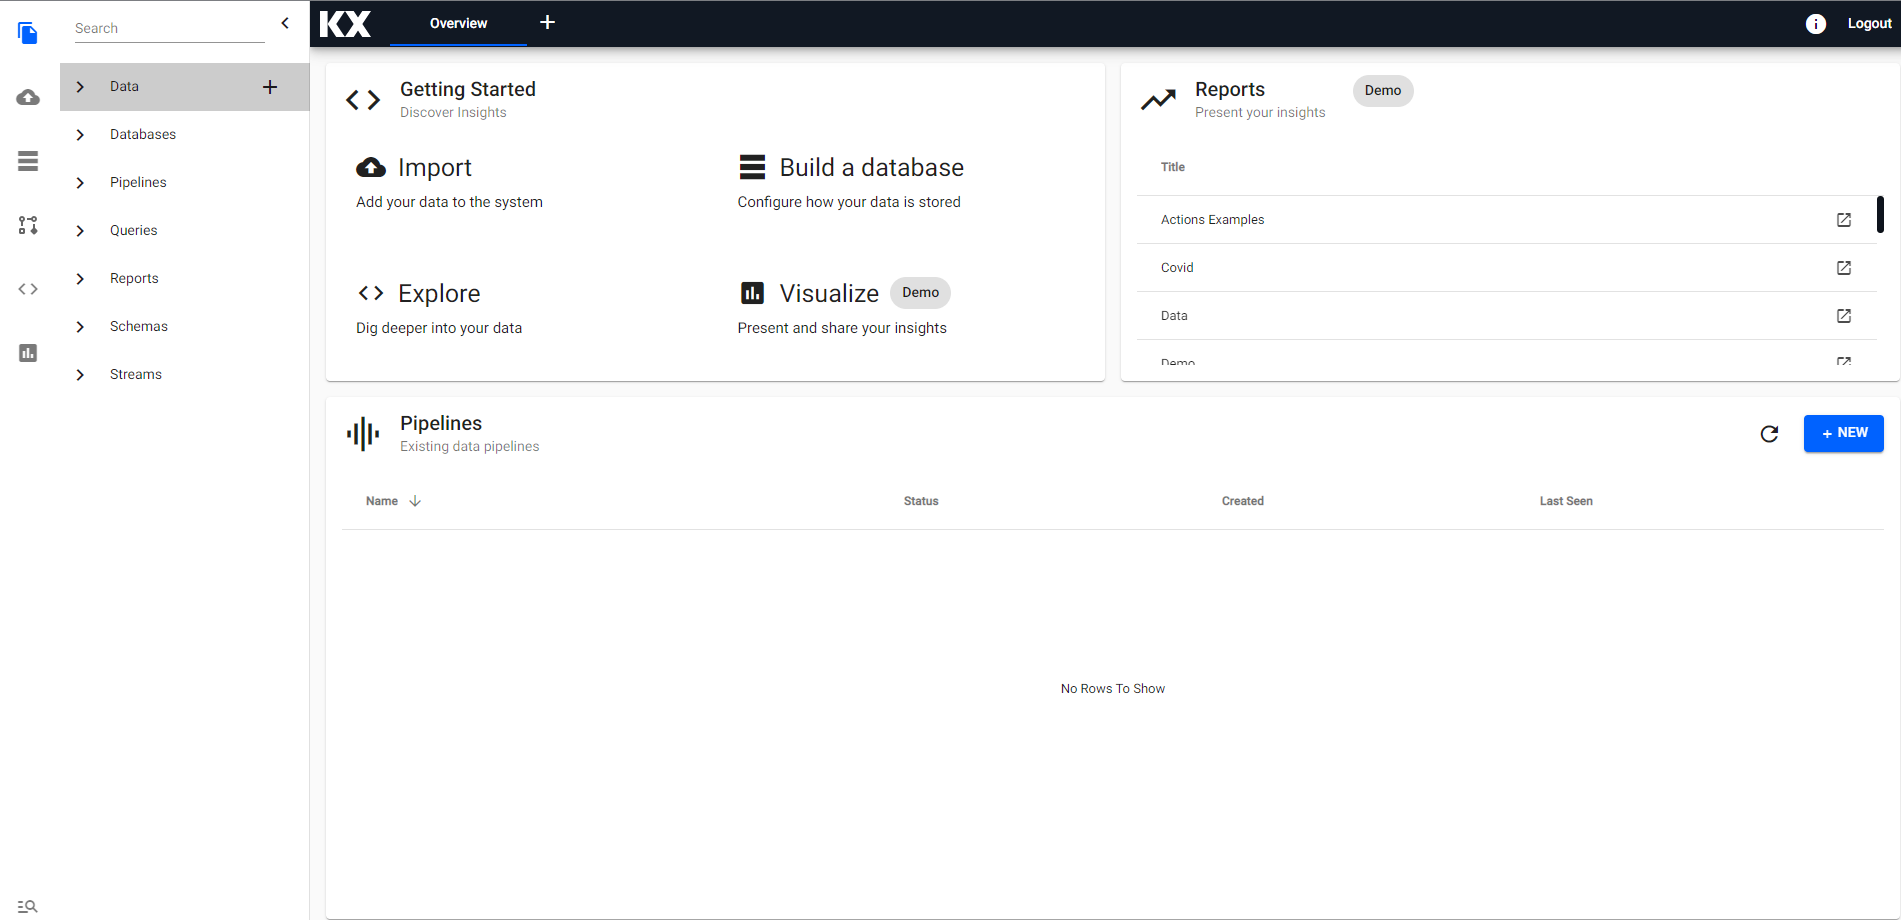
You will be directed to the kdb Insights Enterprise User Interface.
-
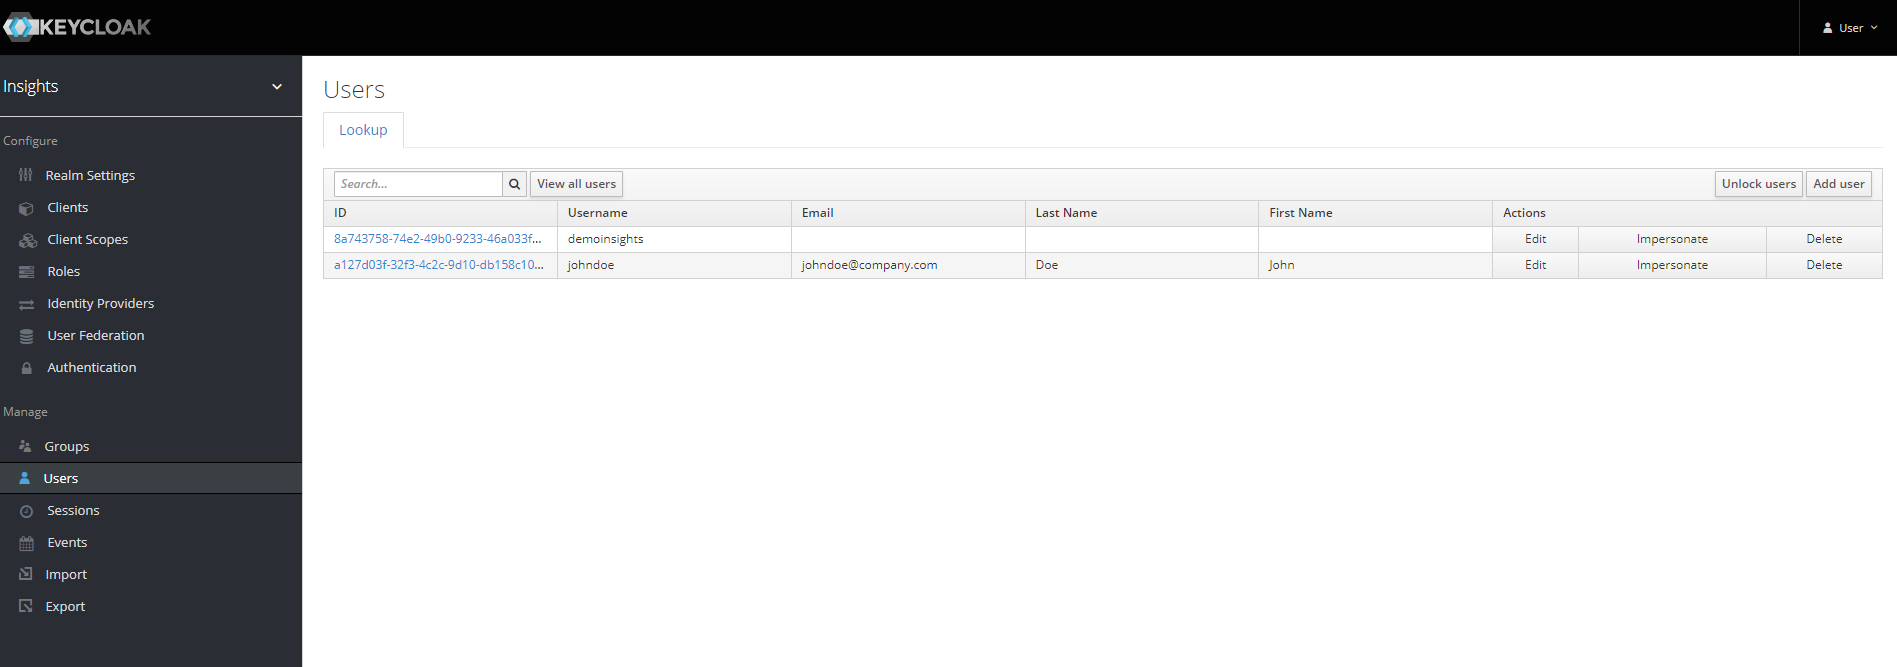
Users that have already logged in using the configured Identity Provider will be present in the Keycloak User menu.