Report Management
KX Dashboards Platform
This page applies to KX Dashboards on Platform and is not applicable to KX Dashboards Direct deployments.
This page describes how to set up and configure Report Management, a self-contained component for creating and scheduling reports.
The first two sections describe how to create a report template and how to create a report from a template. The properties of the Report Management component are described in subsequent sections.
Create a Report Template
-
Click-and-drag the Report Management component into the workspace and proceed with configuration.
-
The structure of the report is created in the Template Editor. Click Create, name the report, and save it.

-
In the Details tab, set the Target Engine or connection to use for the report.
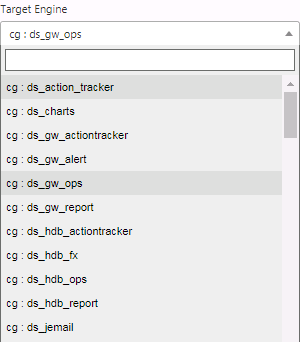
Connections
Connections cannot be created or edited from the Report Manager. Use the Connections Manager in KX Dashboards.
-
In the Details tab, select a Report Analytic from the dropdown. This is the query used to pull data to populate the report. Four default Analytics are offered.
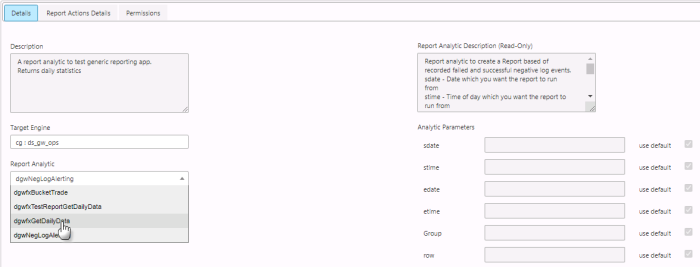
Available Analytic Parameters update when a Report Analytic is selected but are non-editable. Parameters are edited in the Instance Editor. The description also updates when the Report Analytic is changed.
KX Control
Only Analytics assigned to
DxReportAnalyticsfrom KX Control are available as analytics inside Report Manager.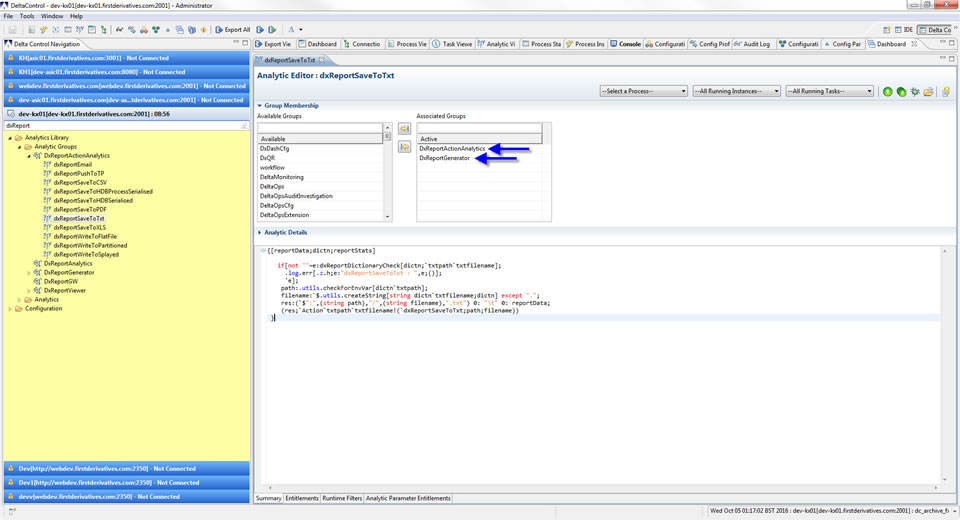
-
Configure the report's actions by clicking Configure Report Actions in Report Actions Details. This displays a menu list of Report Actions.
Drag report actions from the Available Analytics list on the left into the Selected Analytics box on the right.
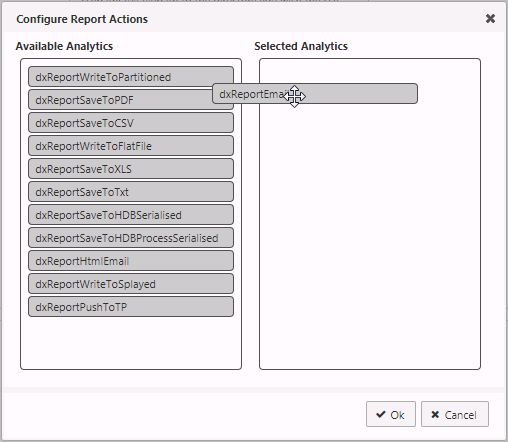
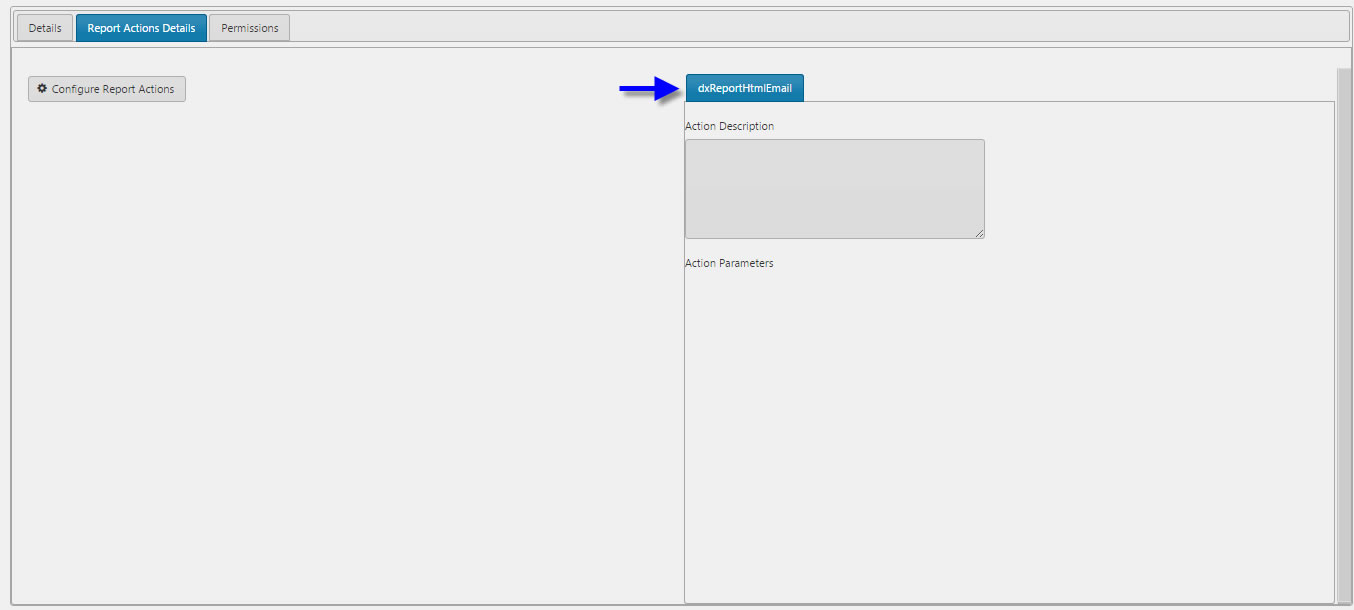
Selected report actions can then be edited inside the Instance Editor.
Remove report actions by dragging them back from Selected Analytics into Available Analytics.
KX Control
Only Report Actions assigned to
DxReportActionAnalyticsfrom KX Control will be available. Create or remove a report action Analytic using KX Control. -
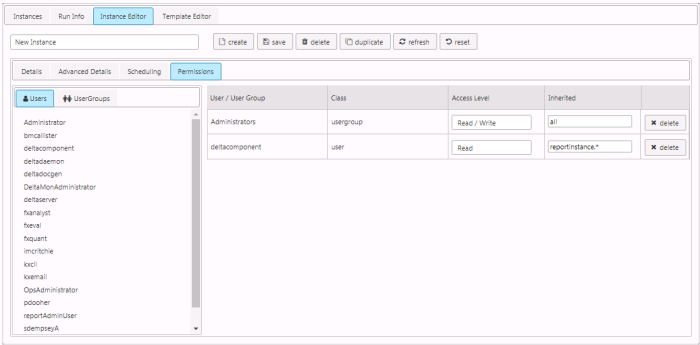
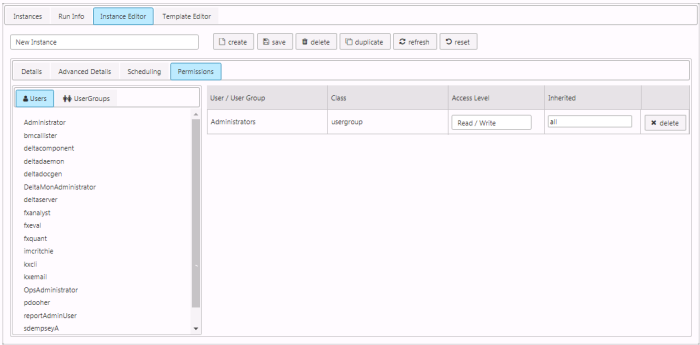
Grant permissions to read and/or write the report template. In the Permissions tab, drag users from the left to the user group on the right, and set their Access Level permissions.
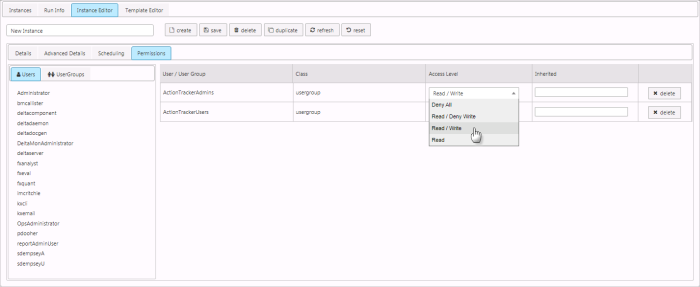
The list of available users and Access Level permissions is set in KX Control.
-
Save the template.
Note
Non-administrator users must have access permission to the CxReportAdmin entity group in order to list all users.
Create a Report from a Template
-
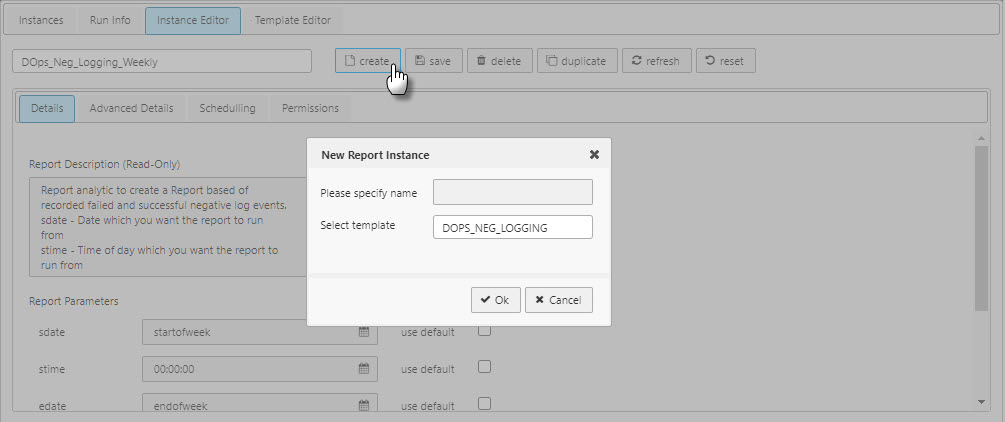
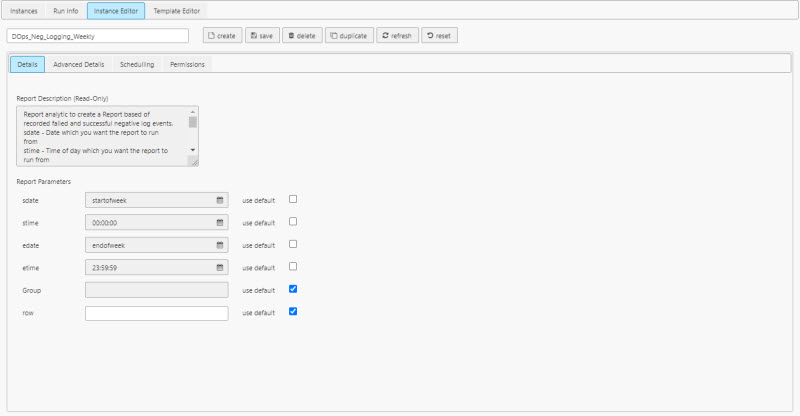
Open Instance Editor and click Create. This uses the template to make a new instance of the report.
-
In Details, the report description and parameters can be changed from the template's defaults.
-
In Advanced Details, other parameters can be customized from the template's defaults.
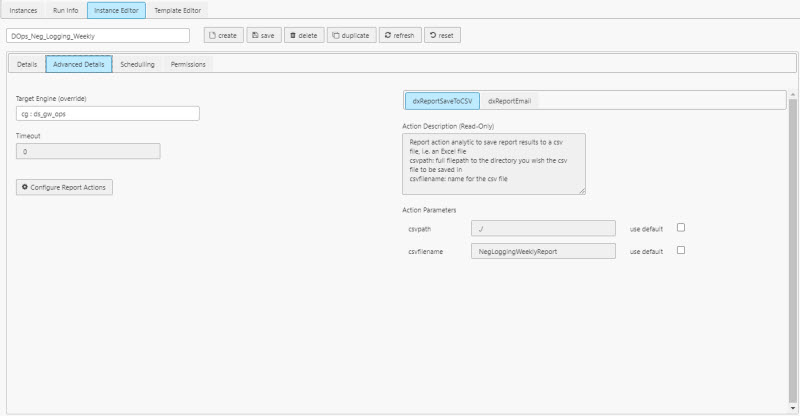
Field Description Timeout Milliseconds: the default of zero means no timeout. Action Parameters Recipients of the report: selected from users set by KX Control — do not use an email address as a report recipient. -
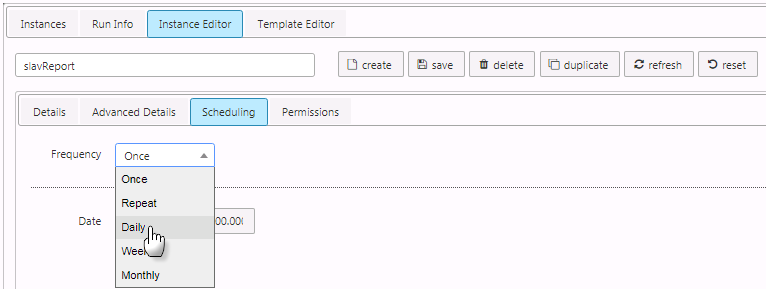
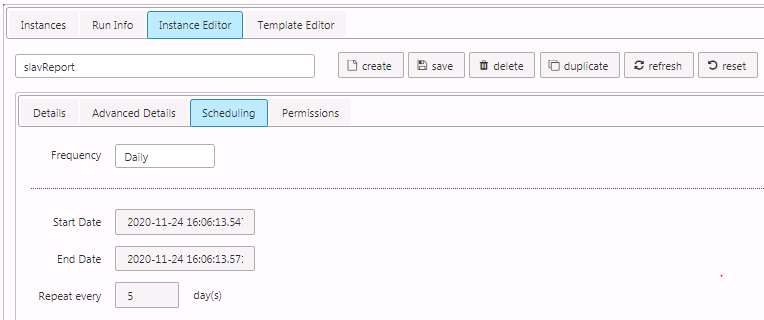
Schedule the report.
-
Grant Permissions to override the template defaults.
Recipients
Recipients of a report need not be listed under Permissions.
-
Save the report instance.
-
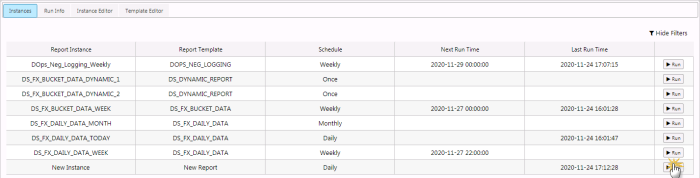
Run the report. If scheduled, the report runs at the set time. Reports can also be run directly from the Instances tab by clicking the Run button.
-
Review the status of the report in the Run Info tab. Successful runs are highlighted in green, failures in red.
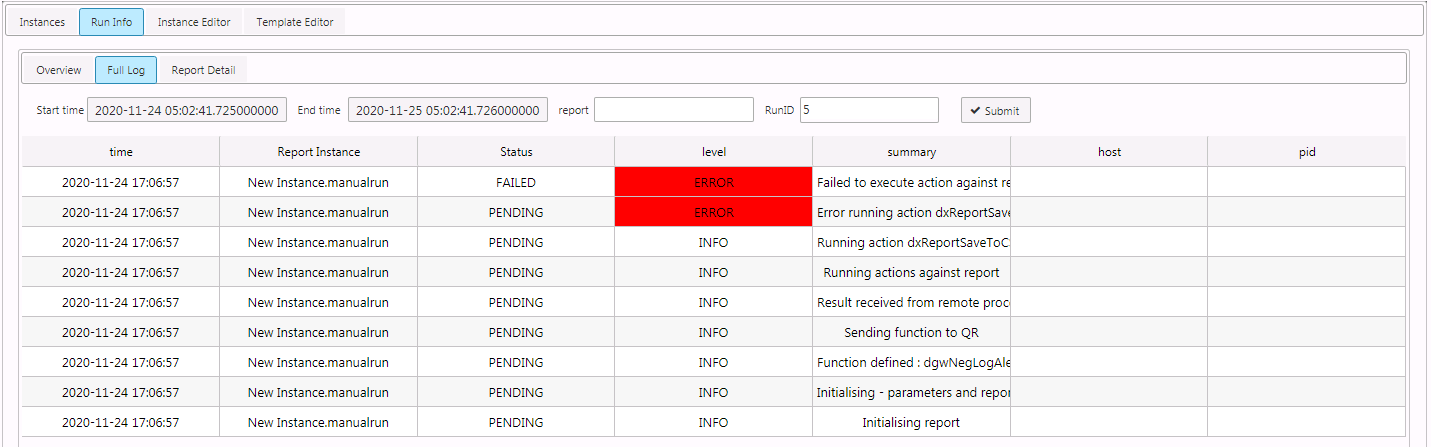
Filters
Filter the report instances with the Date, Report and RunID controls. Click Submit to apply a filter.
Report Management Properties
The following sections provides details on how to configure the properties of the Report Management component.
Basics
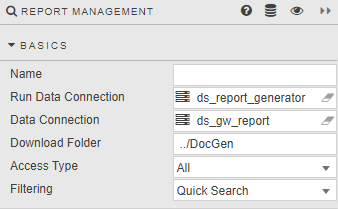
Open the Basics properties on the right and configure the properties described in the following table.
| Field | Description |
|---|---|
| Name | Enter a name for the component. |
| Run Data Connection | Connect to Report Generator process; for example, ds_report_generator. |
| Data Connection | Connect to source data populating the reports; for example, ds_gw_report. |
| Download Folder | Destination folder for reports. |
| Access Type | Determines the type of operations that can be performed. All — Unrestricted access (default). Read only — Allows access to the Instances and Run Info tabs; users can only run pre-configured reports. Instance Viewer — Allows access to the Instances and Instance Editor tabs; the Advanced Details and Permissions tabs in the Instance Editor are not available. |
| Filtering | Quick Search (global search), Columns Filters, Advanced Column Filters, or None (disabled). |
Margins, Formats
Refer to Style for common settings.