Get Data - Object Storage
The purpose of this walkthrough is to demonstrate how to ingest data from object storage into a database.
We have provided a weather dataset, hosted on each of the major cloud providers, for use in this walkthrough.
No kdb+ knowledge required
No prior experience with q/kdb+ is required to build this pipeline.
Before you import data, ensure the insights-demo database is created, as described here.
Once pipeline is created, you can the following activities on the pipeline - Review - Save - Deploy
Import Data
The import process creates a Pipeline which is a collection of nodes:
- Readers - read data from its source
- Decoders - define the type of data imported and
- Schema - converts data to a type compatible with a kdb+ database
- Writers - write the data to a kdb Insights Enterprise database
Open the import wizard by selecting 2. Import from the Overview page, as shown below.
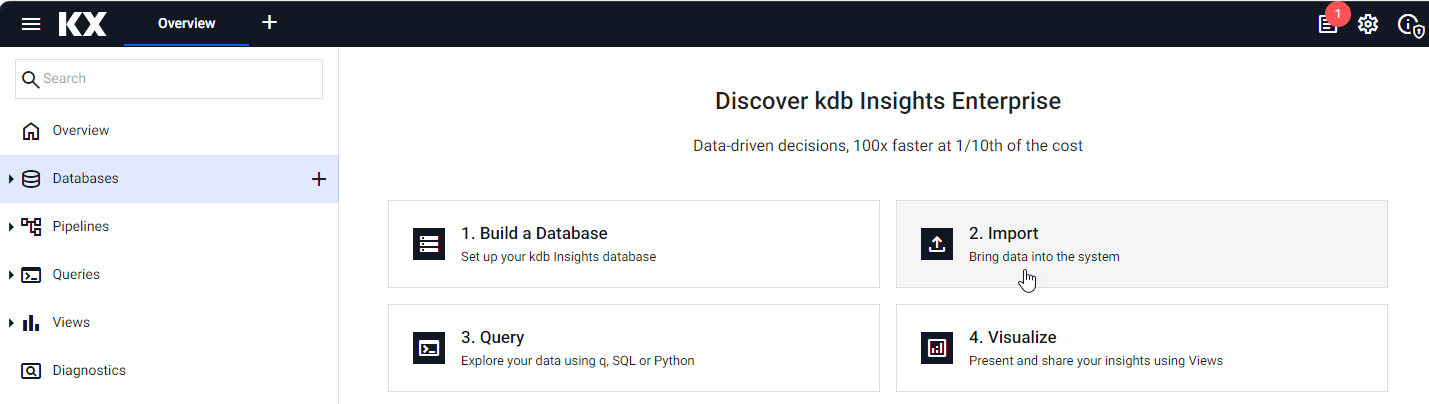
Next, you are prompted to select a reader node.
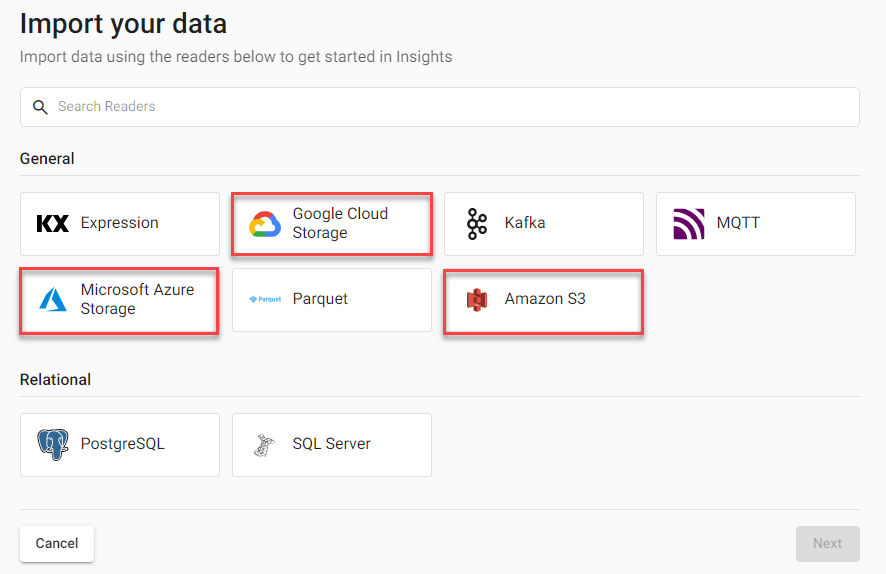
Select a Reader
A reader node stores details of data to import, including any required authentication. Select a cloud providers from one of the following tabs, for settings specific to the reader for each: Google, Microsoft, and AWS.
-
Select from one of the Cloud providers listed:
-
Complete the reader properties for the selected cloud provider.
Properties
setting value GS URI* gs://kxevg/weather/temp.csv Project ID kx-evangelism Tenant Not applicable File Mode* Binary Offset* 0 Chunking* Auto Chunk Size* 1MB Use Watching No Use Authentication No Properties
setting value MS URI* ms://kxevg/temp.csv Account* kxevg Tenant Not applicable File Mode* Binary Offset* 0 Chunking* Auto Chunk Size* 1MB Use Watching Unchecked Use Authentication Unchecked Properties
setting value S3 URI* s3://kx-ft-public-share/temp.csv Region* us-east-1 File Mode* Binary Tenant kxinsights Offset* 0 Chunking* Auto Chunk Size 1MB Use Watching No Use Authentication No -
Click Next to select a decoder.
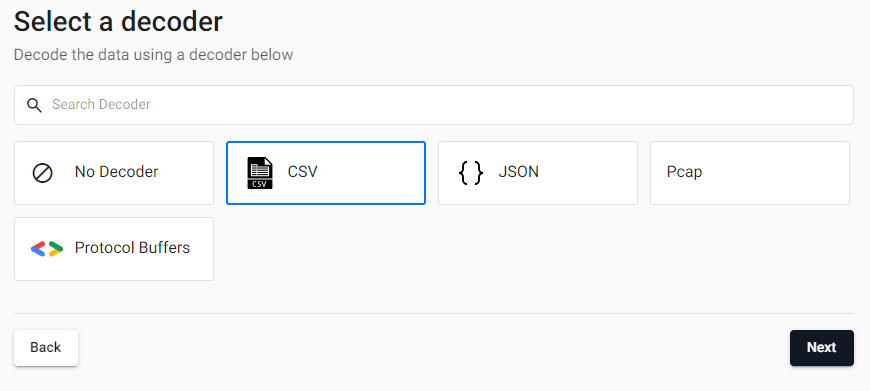
Select a Decoder
In this step you select a Decoder node which defines the type of data imported.
-
Select CSV, as shown below, as the weather data is a csv file.
-
In the Configure CSV screen keep the default CSV decoder settings.

-
Click Next to open the Configure Schema screen.
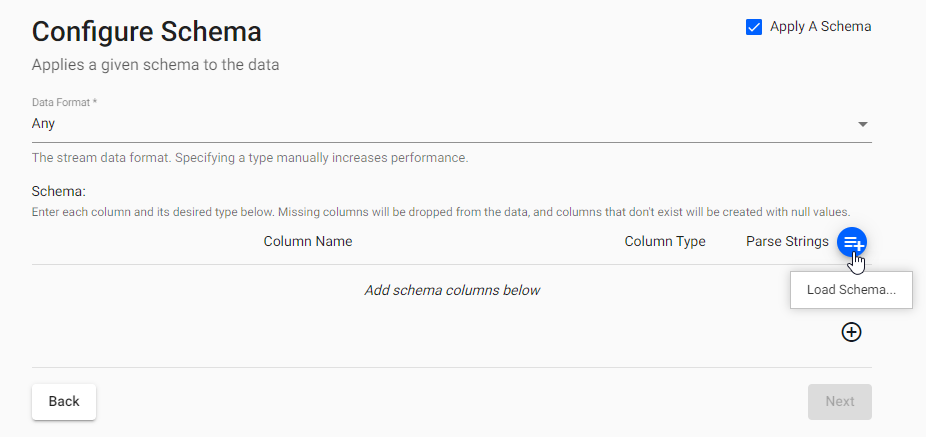
Configure the Schema
Next, you must configure the schema, which converts data to a type compatible with a kdb+ database. Every imported data table requires a schema; and every data table must have a timestamp key to be compatible with kdb's time series columnar database. The insights-demo has a predefined schema for weather data.
-
Complete the Configure Schema properties as follows:
setting value Apply a Schema Enabled Data Format Any Schema Enter each column and its desired type, as described in the next step. -
-
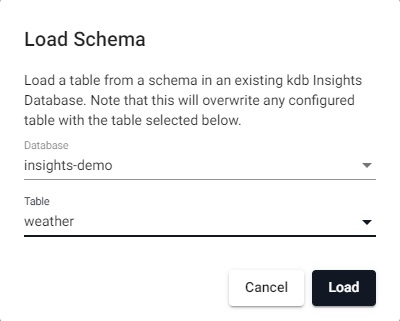
Click Load Schema
 and select the following values
 -
Database - Select insights-demo, that is the database you created earlier.
- Table - Select the weather table.
-
-
Click Load.
- Click Next to open the Configure Writer screen.
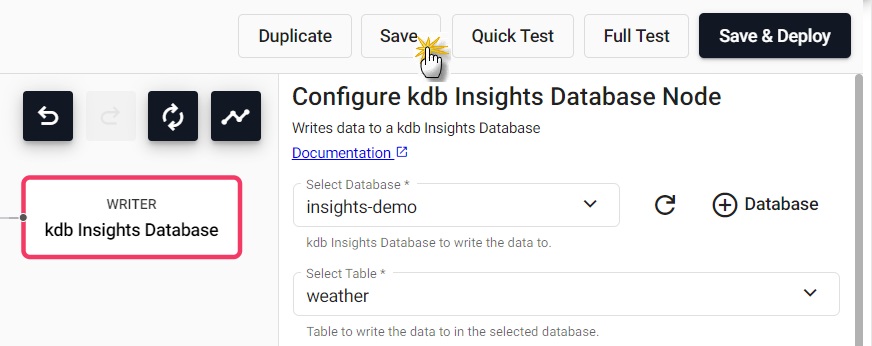
Configure the Writer
Finally, you must add a Writer, which writes transformed data to the kdb Insights Enterprise database.
-
Configure the writer settings as follows:
setting value Database insights-demo Table weather Write Direct to HDB Unchecked (Default) Deduplicate Stream Checked (Default) Set Timeout Value Unchecked (Default) -
Click Open Pipeline to review the pipeline in the pipeline viewer.
Review Pipeline
You can now review the Pipeline that you created to read in, transform and write the weather data to your insights-demo database. This is shown below.

At this stage you are ready to save the pipeline.
Save the Pipeline
Now you can save your Pipeline and then perform a test deploy.
-
Enter a unique name in the top left of the workspace. For example, weather-1.
-
Click Save.
-
The weather-1 pipeline is available under Pipelines in the left-hand menu.

Test Deploy
Before you deploy your pipeline, you can run a test deploy that previews your pipeline prior to deployment. The test deploy returns a picture of the data at each step along the pipeline, but does not write the data to the database.
-
Click Quick Test. Note that it may take several minutes to run.
A message is displayed at the bottom of the screen to show that the test deploy has been successful.

-
Select a Node in the pipeline and choose the Data Preview tab, in the lower part of the screen, to view the data output from the step.

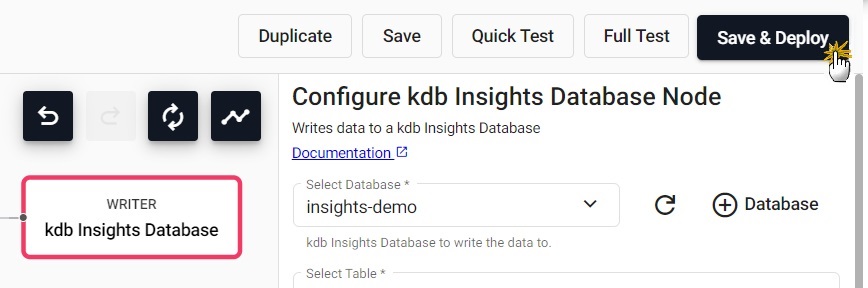
Deploy the Pipeline
You are now ready to deploy your pipeline. Deploying the pipeline reads the data from its source, transforms it to a kdb+ compatible format, and writes it to a kdb Insights Enterprise database.
-
Click on Save & Deploy, in the top panel, as shown below.
-
Check the progress of the pipeline under the Running Pipelines panel of the Overview tab. The data is ready to query when Status equals Finished. Note it may take several minutes for the pipeline to reach a running state.

Pipeline warnings
Once the pipeline is running some warnings may be displayed in the Running Pipelines panel of the Overview tab, these are expected and can be ignored.
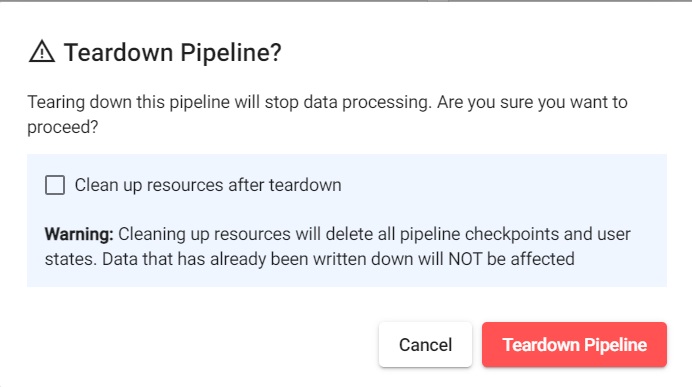
Pipeline Teardown
Once the CSV file has been ingested, the weather pipeline can be torn down. Ingesting this data is a batch ingest operation, rather than an ongoing stream, so it is ok to teardown the pipeline once the data is ingested. Tearing down a pipeline returns resources, so is a good practice when it is no longer needed.
-
Click X in Running Pipelines on the Overview tab to teardown a pipeline.

-
Check Clean up resources after teardown as these are no longer required now that the CSV file has been ingested.
Troubleshoot Pipelines
If any errors are reported they can be checked against the logs of the deployment process. Click View diagnostics in the Running Pipelines section of the Overview tab to review the status of a deployment.

Next Steps
Now that data has been ingested into the weather table you can:
Further Reading
To learn more about specific topics mentioned in this page please see the following links: