Azure billing private offer
Through the marketplace you can purchase solutions with customized terms and conditions, negotiated pricing and special configurations using Private offers created for you by KX.
Pre-requisites
If you have agreed on custom terms and conditions with KX the following pre-requisites need to be satisfied before KX can create a private offer for you.
-
You need to ensure your Azure tenant can accept private offers. To do this you can run a pre-check on your Azure tenant.
Pre-check private offer eligibility
This pre-check should be performed by the person purchasing or subscribing to the offer and ability to sign into the account with access to the subscription intended for purchase. The pre-check may fail with a variety of reasons. Those may need to be resolved by your Azure tenant administrator before the private offer can be set up.
See the docs
-
The person accepting the private offer and the person purchasing the private offer need to have sufficient permissions.
See this docs for details.
-
Provide your Azure Billing Account Number.
You can find your billing account number in the Azure portal by selecting Cost Management > Billing Scopes > {Scope} > Properties > ID field. Where {Scope} is your preferred scope for this plan.
Once the private offer is ready, KX will send you an activation link for your private offer to the Billing Account Contributor/Owner at your company. This link will include the custom terms and conditions as well as the price that you have agreed on with KX.
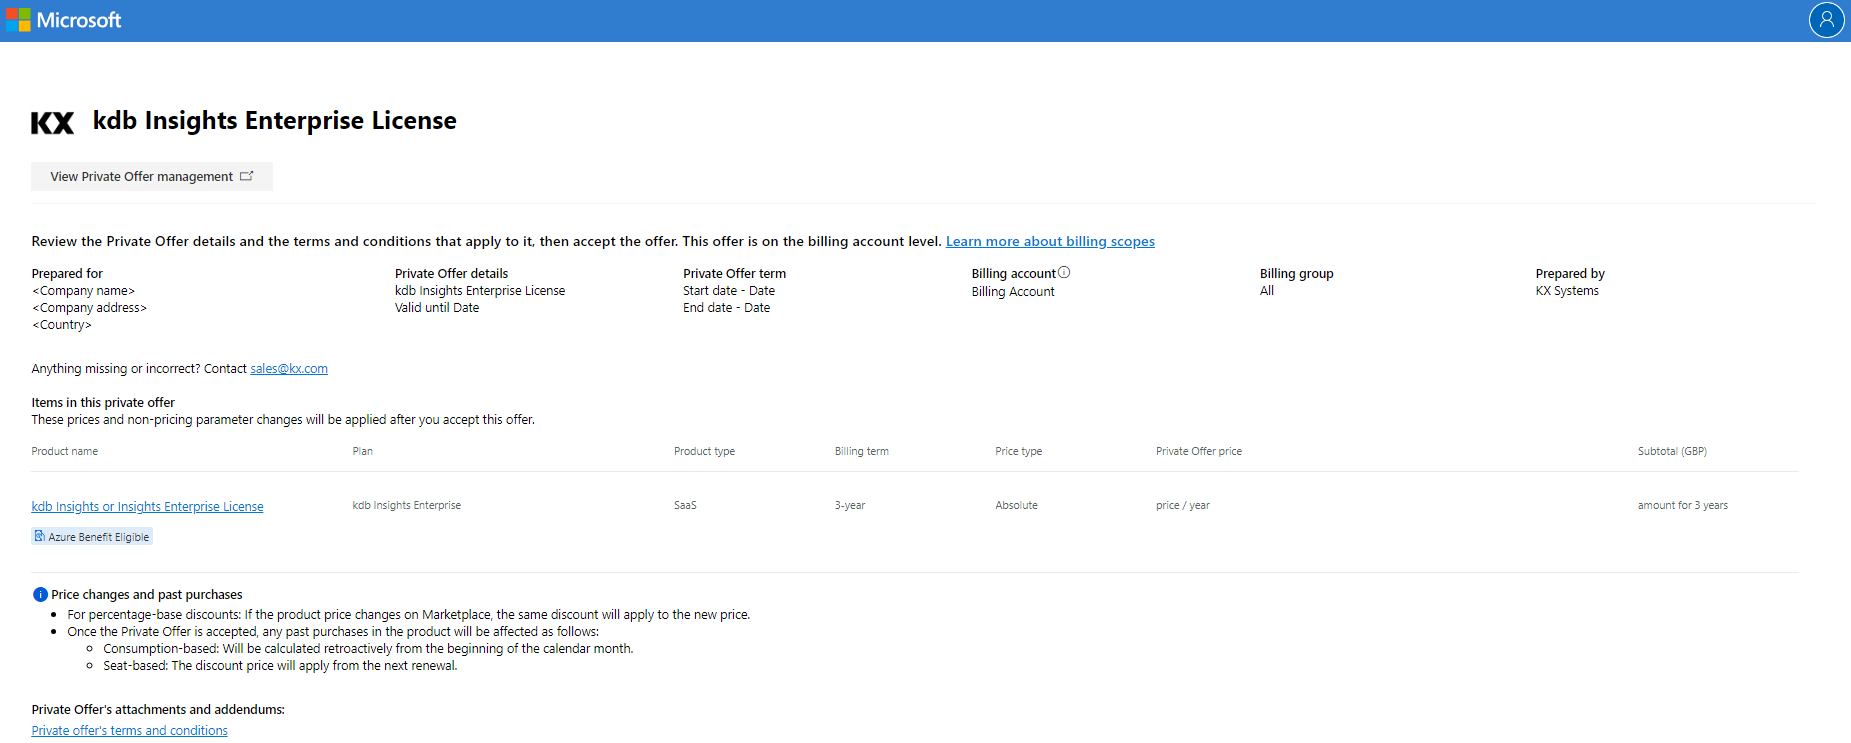
Accepting your private offer
A private offer must be accepted before it can be purchased. Accepting a private offer will make the Azure subscriptions, that are using the billing profile shared with KX previously, eligible for the offer.
Acceptance requires a specific set of permissions
To accept a private offer, you need to have the "Billing account contributor" or "Billing account owner" role on the Billing Account.
Activation permissions are different to those required for purchase and it is usually performed by a different person in an organization than purchase.
To accept the offer open the activation link, review and accept your private offer:
Cost of activation
There are no costs associated with this activation step.
Purchase your private offer
Once accepted, the page will automatically redirect you to the private offer management page:
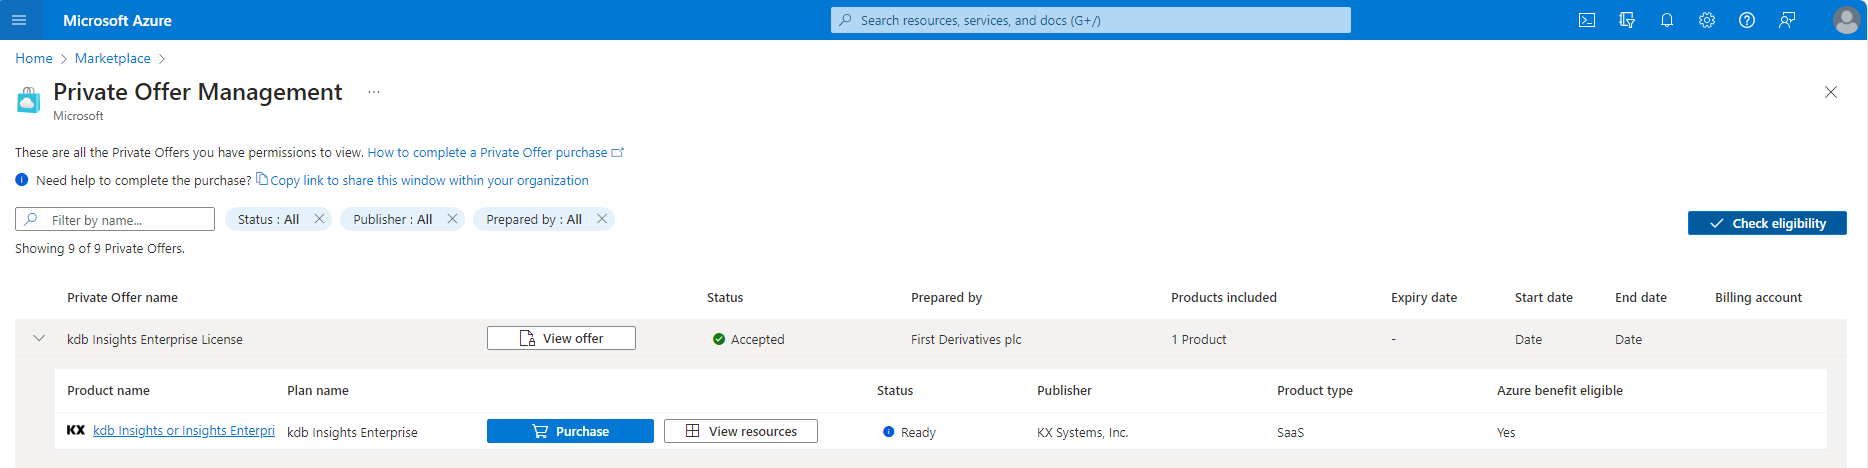
To navigate here later you can:
- Go to Azure portal.
- Search and click marketplace in the search bar on the top.
- Select Private Offer Management on the left and your accepted private offer will be available.
-
Click Purchase. This will open a standard Azure deployment page on the left:
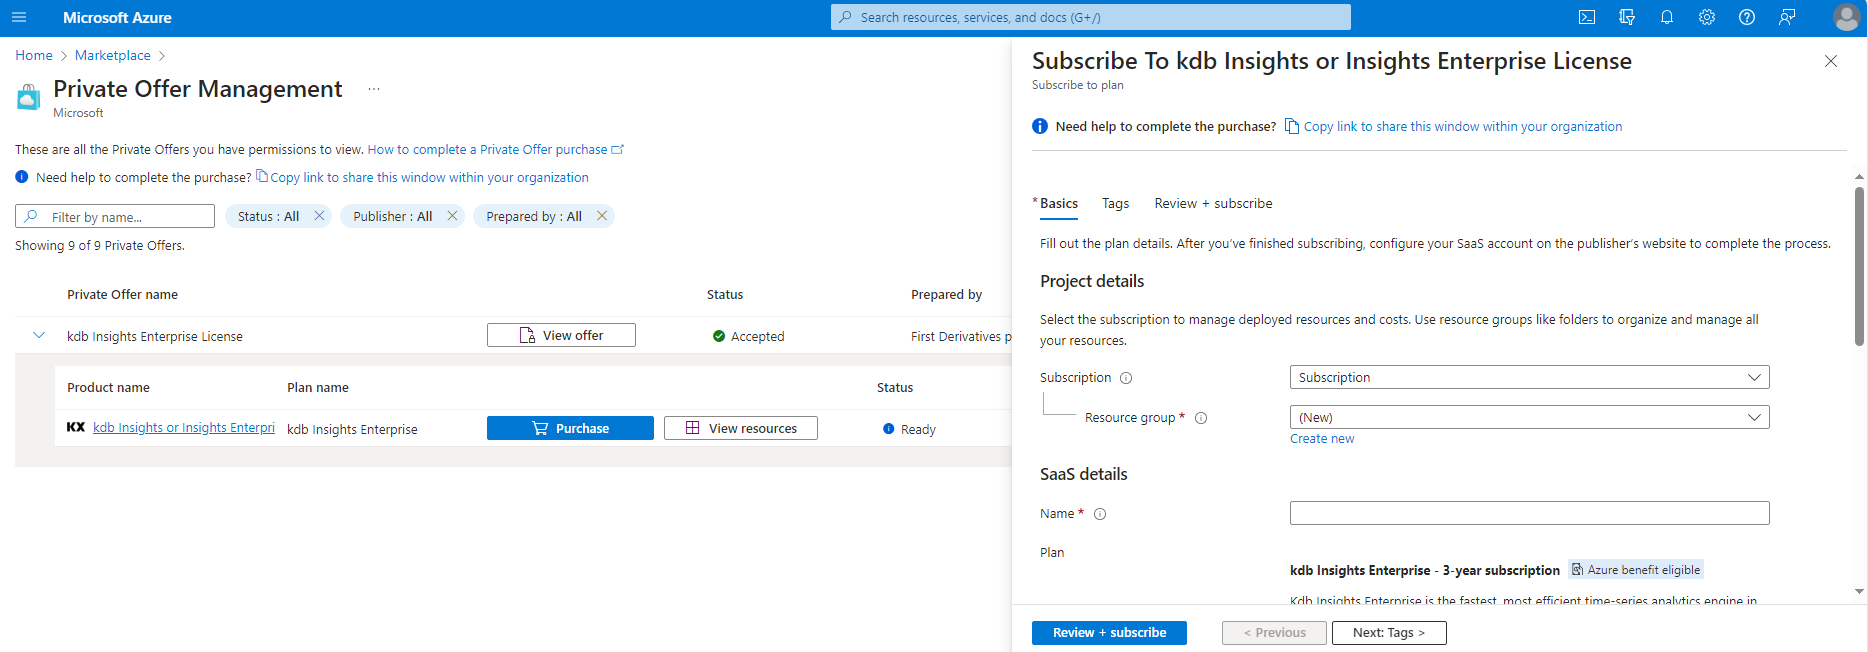
-
Select the subscription and resource group where the SaaS resource will be created. You will be able to manage it later in that resource group.
-
Give it a name. This will help you to find it later, if required.
-
Please make sure to set the Recurring billing selector to Off, unless you want to make the purchase automatically again at the end of the billing period.
-
Click Review + subscribe.
Ensure the price and term matches your private offer.
We have seen cases when it takes some time for Microsoft to update it correctly.
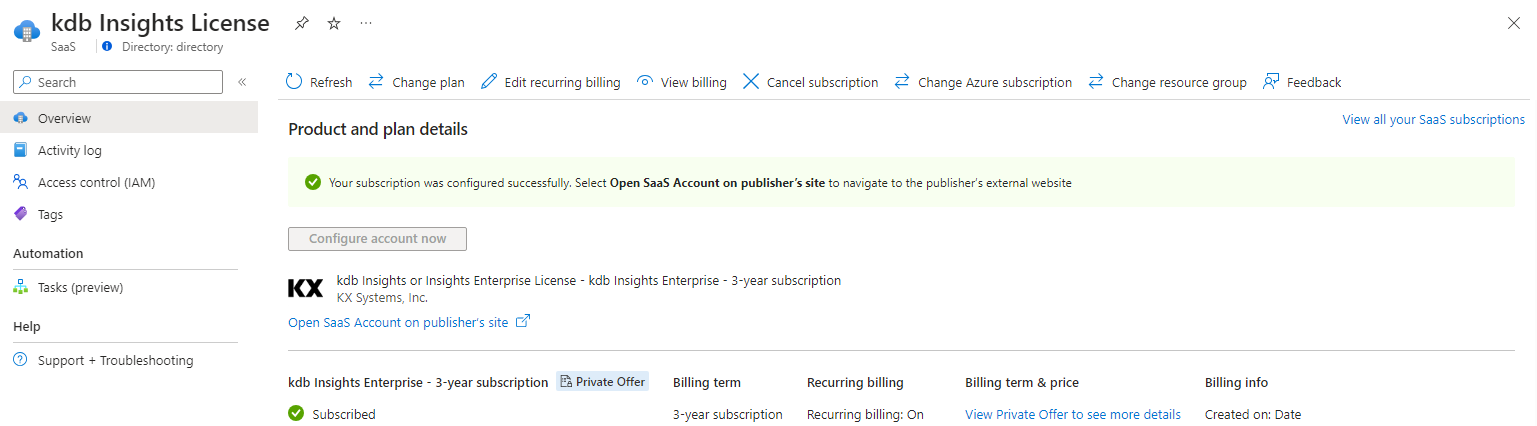
Configure SaaS Account
After you have subscribed to the Billing offer you need to configure the account. This is done in the KX landing page, which can be accessed by either:
-
Clicking Configure account now displayed after you clicked Review + subscribe.
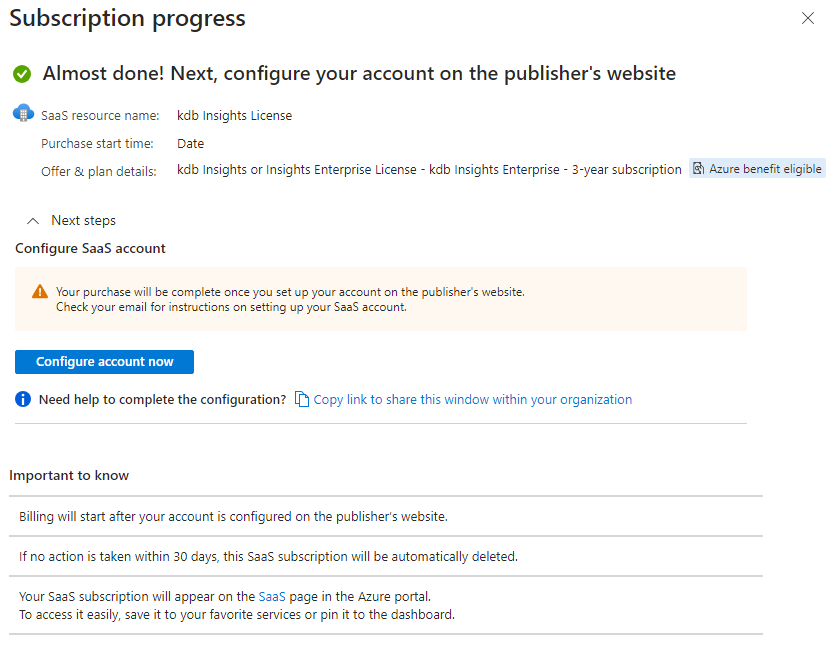
-
Navigate to the resource group, where the SaaS resource has been created. Open the SaaS resource and click Configure account now which will redirect you to the KX landing page.
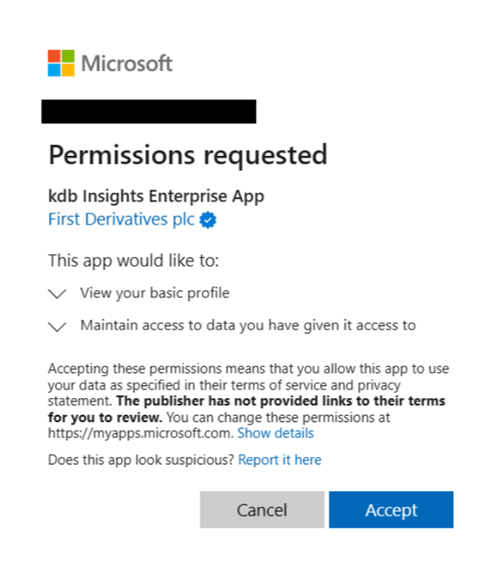
Grant consent to KX Landing Page
When you sign in to the KX landing page for the first time, you are required to consent to the application accessing user data (User.Read scope). Approving this allows the application to identify you.
Admin consent to KX Landing Page
By default, any user can consent to this scope, but the permissions required to consent will depend on your Azure Tenant Policies. In some cases, only an Admin user has the appropriate access.
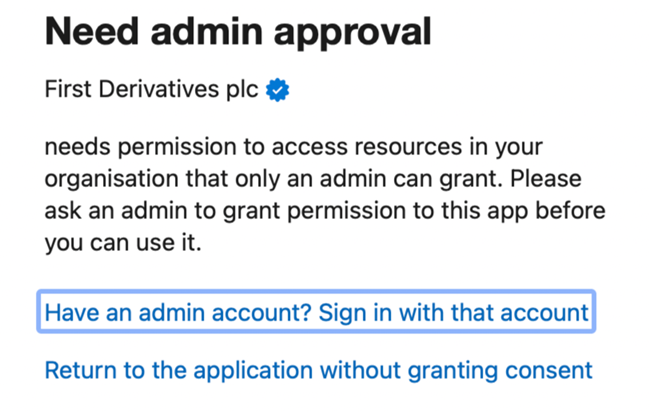
If admin rights are required to consent, you will need to reach out to a person with one of the following roles: Global Administrator, Cloud Application Administrator, Application Administrator
An administrator can either:
- Allow users to consent for apps from verified publishers and mark User.Read scope to be low impact
- Configure admin consent workflow
- Grant tenant-wide admin consent
- Grant consent on behalf of a user
Activate License
Once you navigate to the landing page, you will need to fill in your contact details - most will be pre-populated and all fields are required.
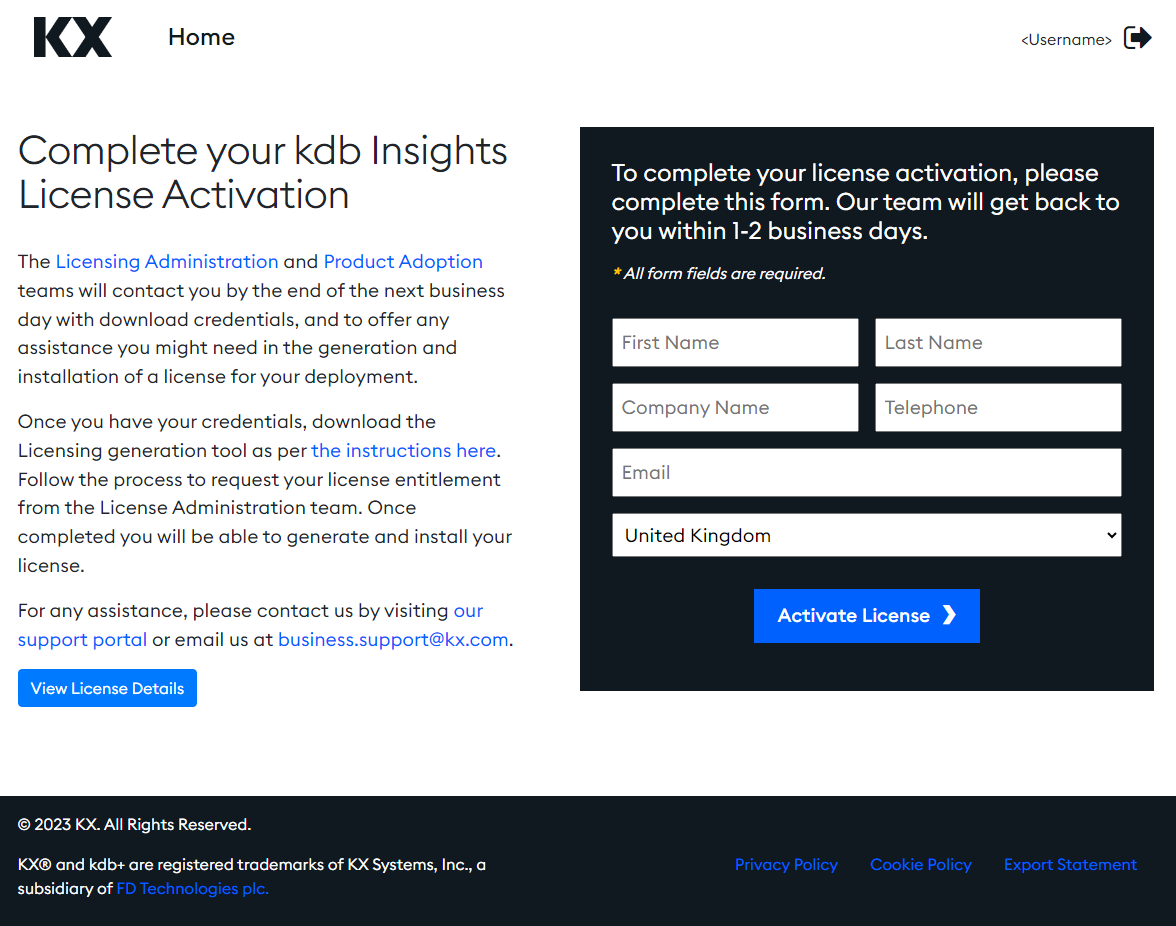
-
Click on View License Details and review your details.

-
Click Activate License. If you navigated to the landing page directly, you can see your license under KX Licenses. You can activate it by clicking Activate on the Action menu.
-
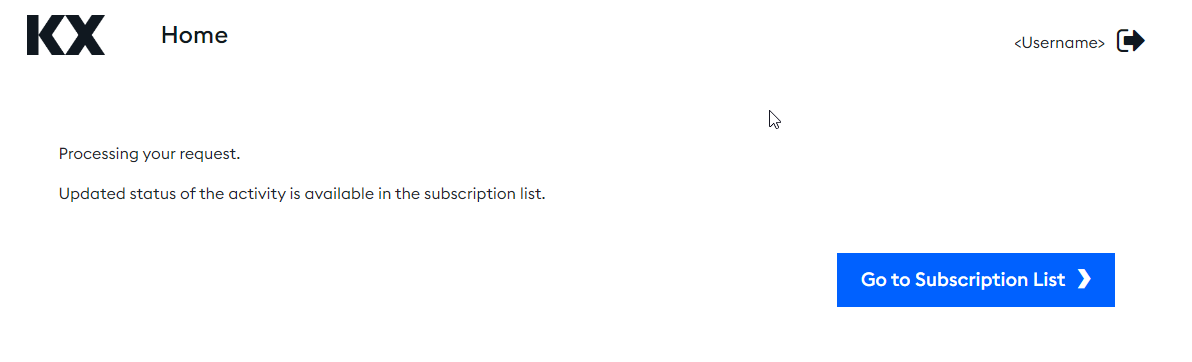
Once the Activation has been acknowledged the webpage will inform you that the request is being processed and direct you to the Subscriptions List where you can see the status of your license subscriptions.
You can also check on the SaaS resource if it is successfully subscribed by navigating to the previously created SaaS resource on Azure.