Azure PowerBI Integration
This section shows you how can connect kdb Insights Enterprise to your PowerBI application through the REST API.
Connect PowerBI to kdb Insights Enterprise
The following steps describe how to connect both applications, so you can retrieve data from kdb Insights Enterprise and analyze it in your PowerBI environment.
Prerequisites
Ensure you meet the following criteria before attempting to set up the PowerBI connection:
- kdb Insights Enterprise is installed.
- kdb Insights Enterprise contains data.
-
Versions in use:
product version kdb Insights Enterprise 1.4 (March 2023) PowerBI Desktop 2.114.864.0 64-bit (February 2023) -
PowerBI Desktop is already downloaded and configured.
- You have downloaded the kdbPowerBI template here.
Get PowerBI ready
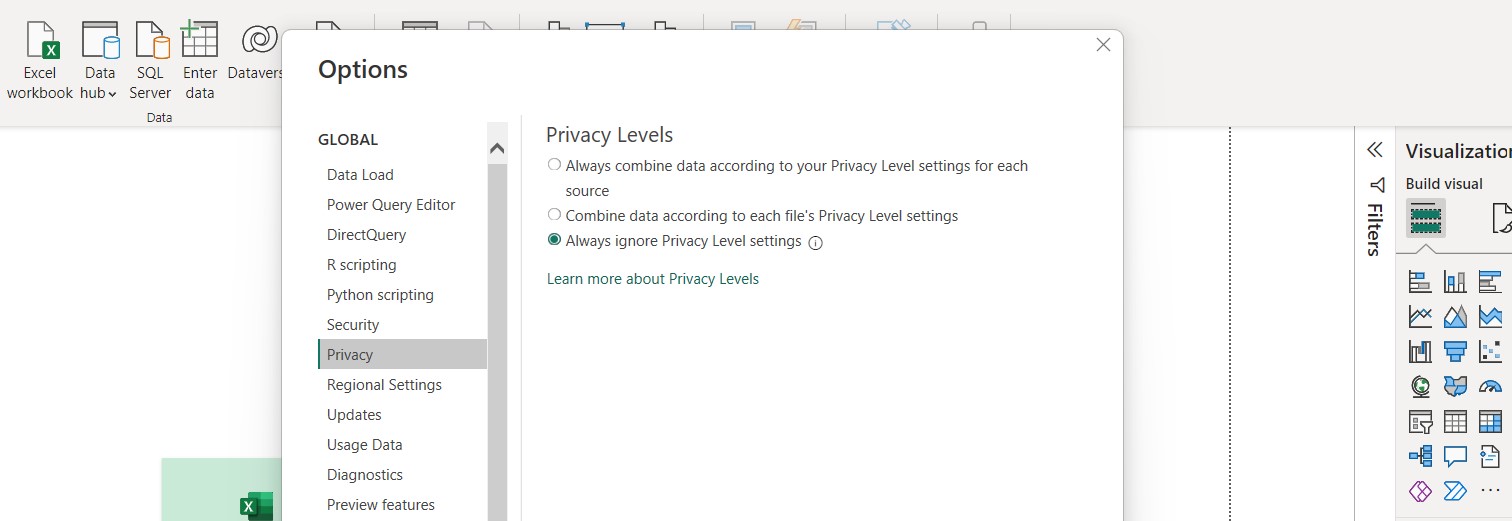
To load data, you need to update some privacy settings:
- Open the PowerBI desktop application.
- On the top left, access File > Options and Settings > Options > (under Global) Privacy. Set it to Always ignore Privacy Level settings.
-
Click OK.
Find the data for the template
The template in this example requires certain fields to be populated:
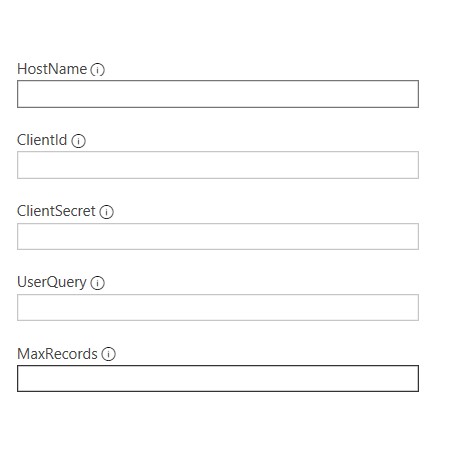
The value for each field can be identified using the instructions below.
Host Name
-
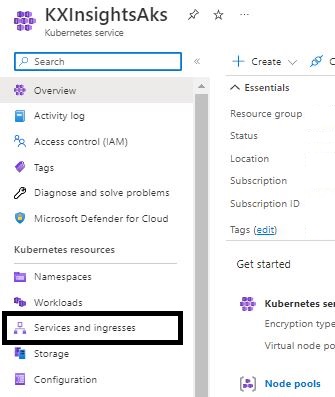
Access your Resource Group in the Azure Portal and select the kdbInsightsEnt cluster.
-
On the left panel under Kubernetes resources, select Services and ingresses.
-
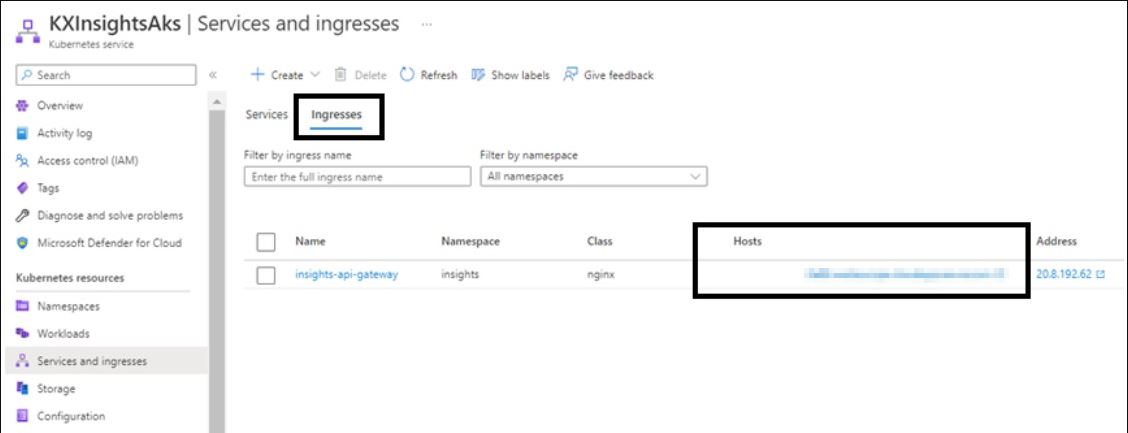
Select the Ingress tab.
-
Make a note of the value in the Hosts column (it should look like this: xxxx.someregion.cloudapp.azure.com).
Client Id
You need to create a new Client Id for this example.
- Open a web browser.
- Paste the Host Name into the address bar, adding "/auth/" at the end (it should look like this: https://xxxx.someregion.cloudapp.azure.com/auth/).
- The Keycloak Sign in page should appear.
-
Log in with the credentials from step 3 of the install guide.
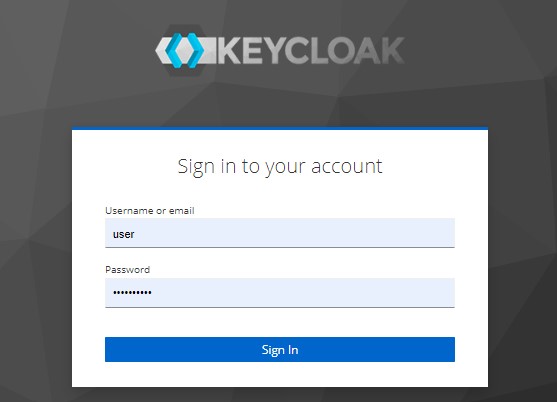
Reminder
Username or e-mail is always "user".
-
Once inside Keycloak, open the dropdown in the left panel and select Insights.
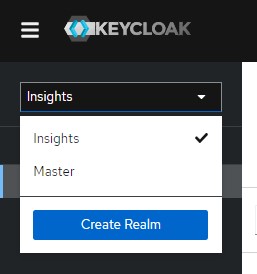
-
Select Clients below the dropdown.
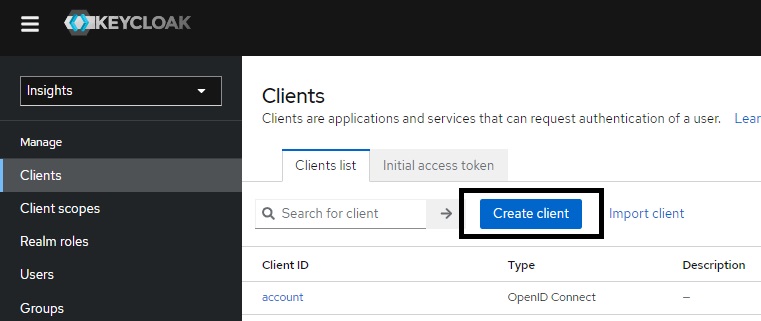
-
On the Clients tab, select Create Client.
-
Enter your Client ID under General Settings.
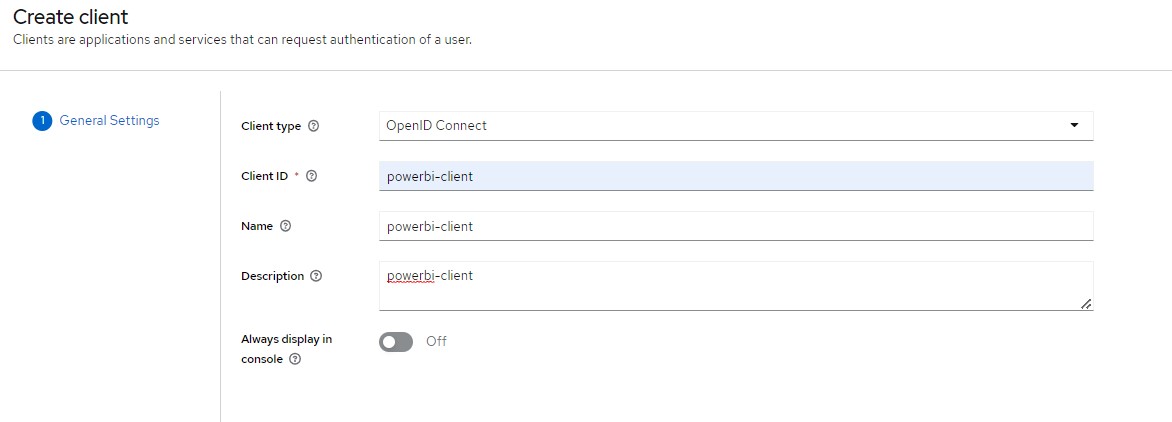
-
Click Save.
-
Adjust your Capability Config settings.
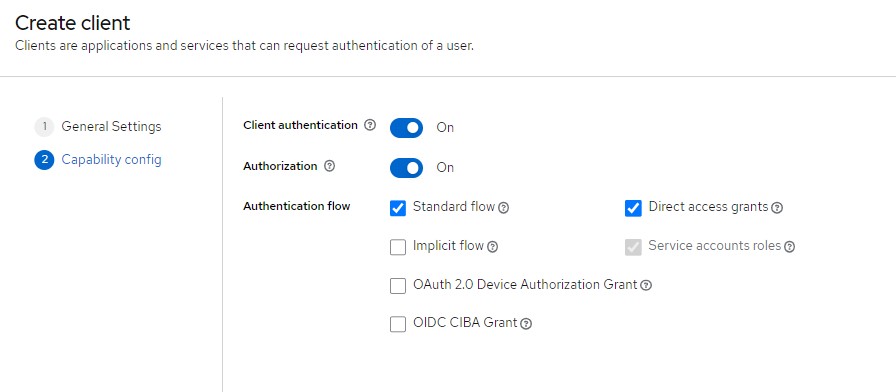
-
Click Save.
-
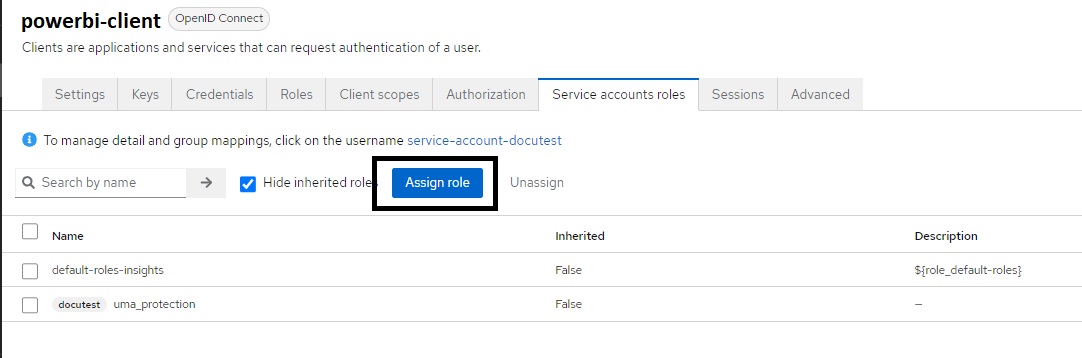
Open the Service Account Roles tab.
-
Click Assign role.
-
Search for
insights.query*and select the checkbok.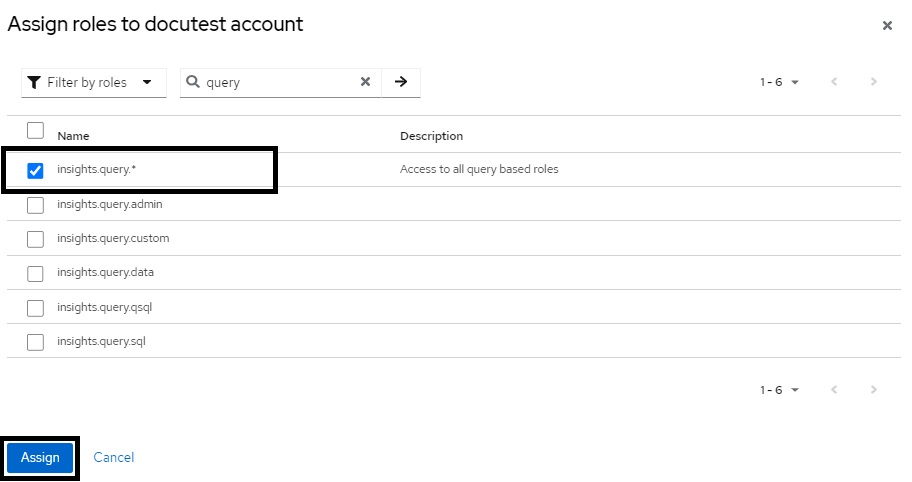
-
Click Assign.
Client Secret
Assuming a Client Id has been created and the Client Settings have been adjusted and Saved, the Client Secret can be discovered using the following steps:
- Choose the Access > Credentials tab.
-
Copy the Client Secret in the box.
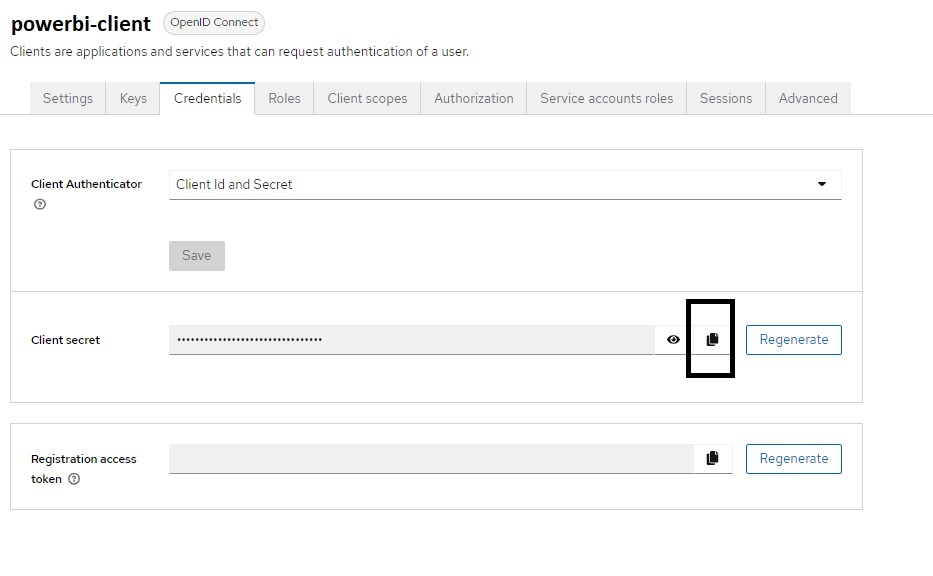
-
Make a note of the copied text.
User Query
This refers to the query that is executed to retrieve data from kdb Insights Enterprise into PowerBI.
It should follow the KX SQL format similar to "select * from TABLE_NAME".
Warning
KX compatibility with ANSI SQL is in progress, check the latest status of the supported functionalities here.
Max Records
This field is optional and does not need to be populated.
Loading data with template
- Open the PowerBI desktop application.
-
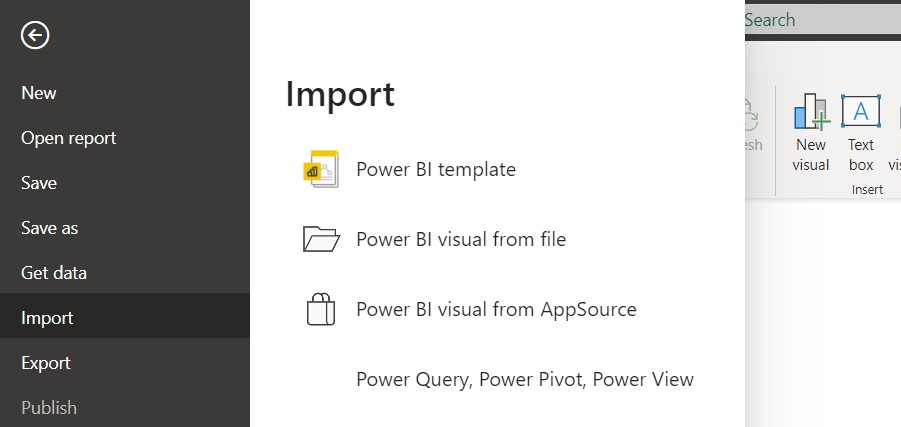
Navigate to File > Import > PowerBI template.
-
Select the template.
-
Fill out the fields in the template with the values retrieved in the previous section.

-
Click Load.
-
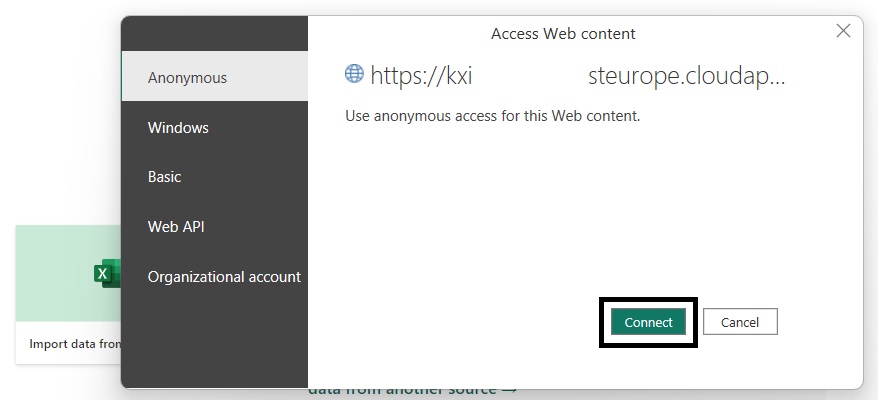
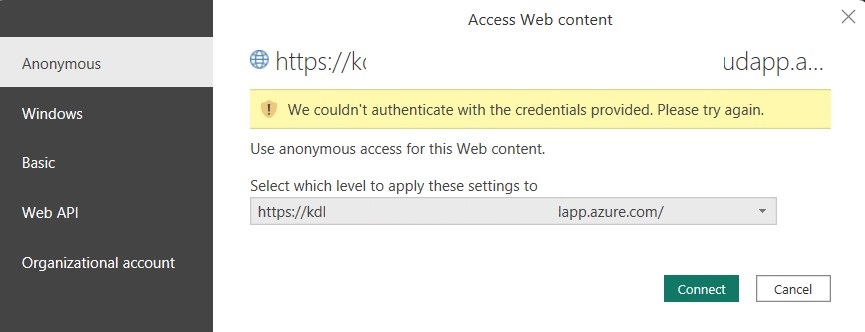
A pop up similar to the one below appears. Click Anonymous on the left panel and click Connect.
Warning
In some cases, PowerBI displays warnings about Credentials. If this occurs, follow these quick actions to resolve the issue.
Retrieving data
From the screen in the previous step:
-
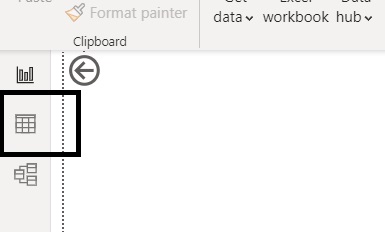
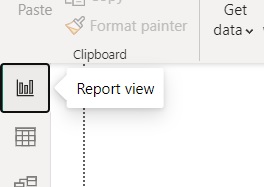
Click the table icon from the left-hand menu.
-
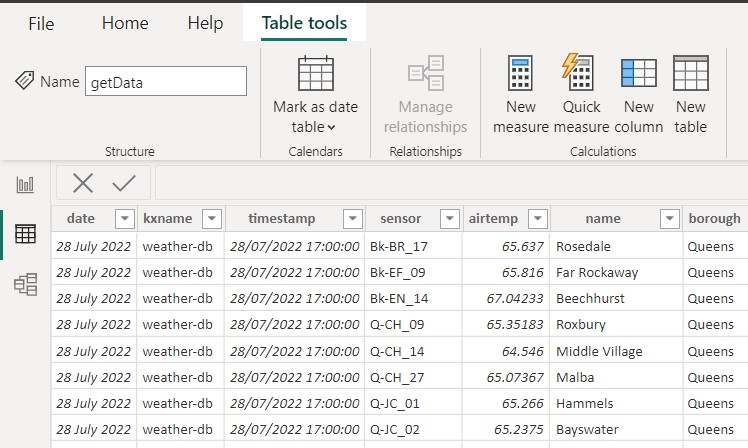
You should see the table populated with its contents.
Filtering using labels
If the loaded data contains labels, those can also be used as a filtering method to obtain more specific results.
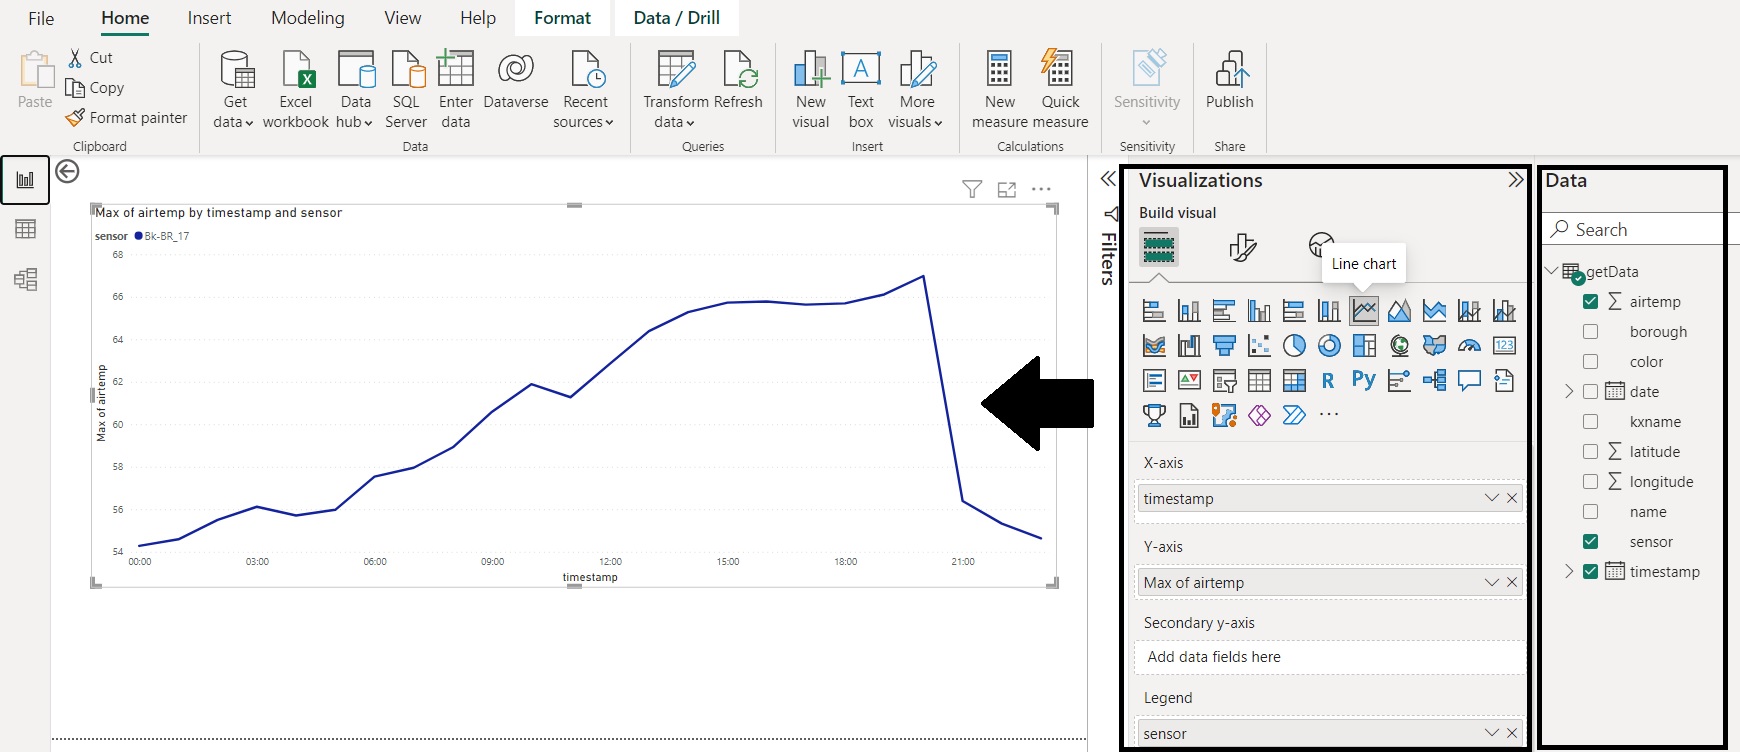
Analysing data
With the data loaded into the table:
-
Click the graph icon.
-
On the right-hand menu, select the type of chart and the data for each axis.
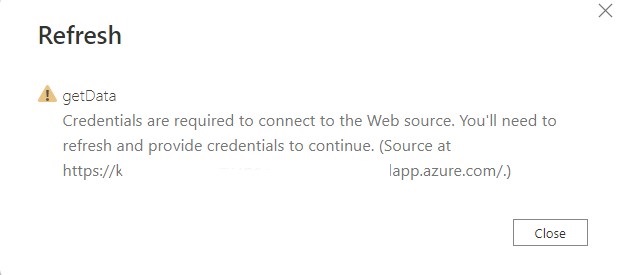
Solving Credentials Error
When loading data, PowerBI may give a credential error similar to the one below:
If this occurs follow the steps below to resolve the issue:
- When the error pop-up appears select Cancel.
-
A message apprears saying "you'll need to refresh data". Click Close.
-
You are now on the main PowerBI screen with the following yellow message:
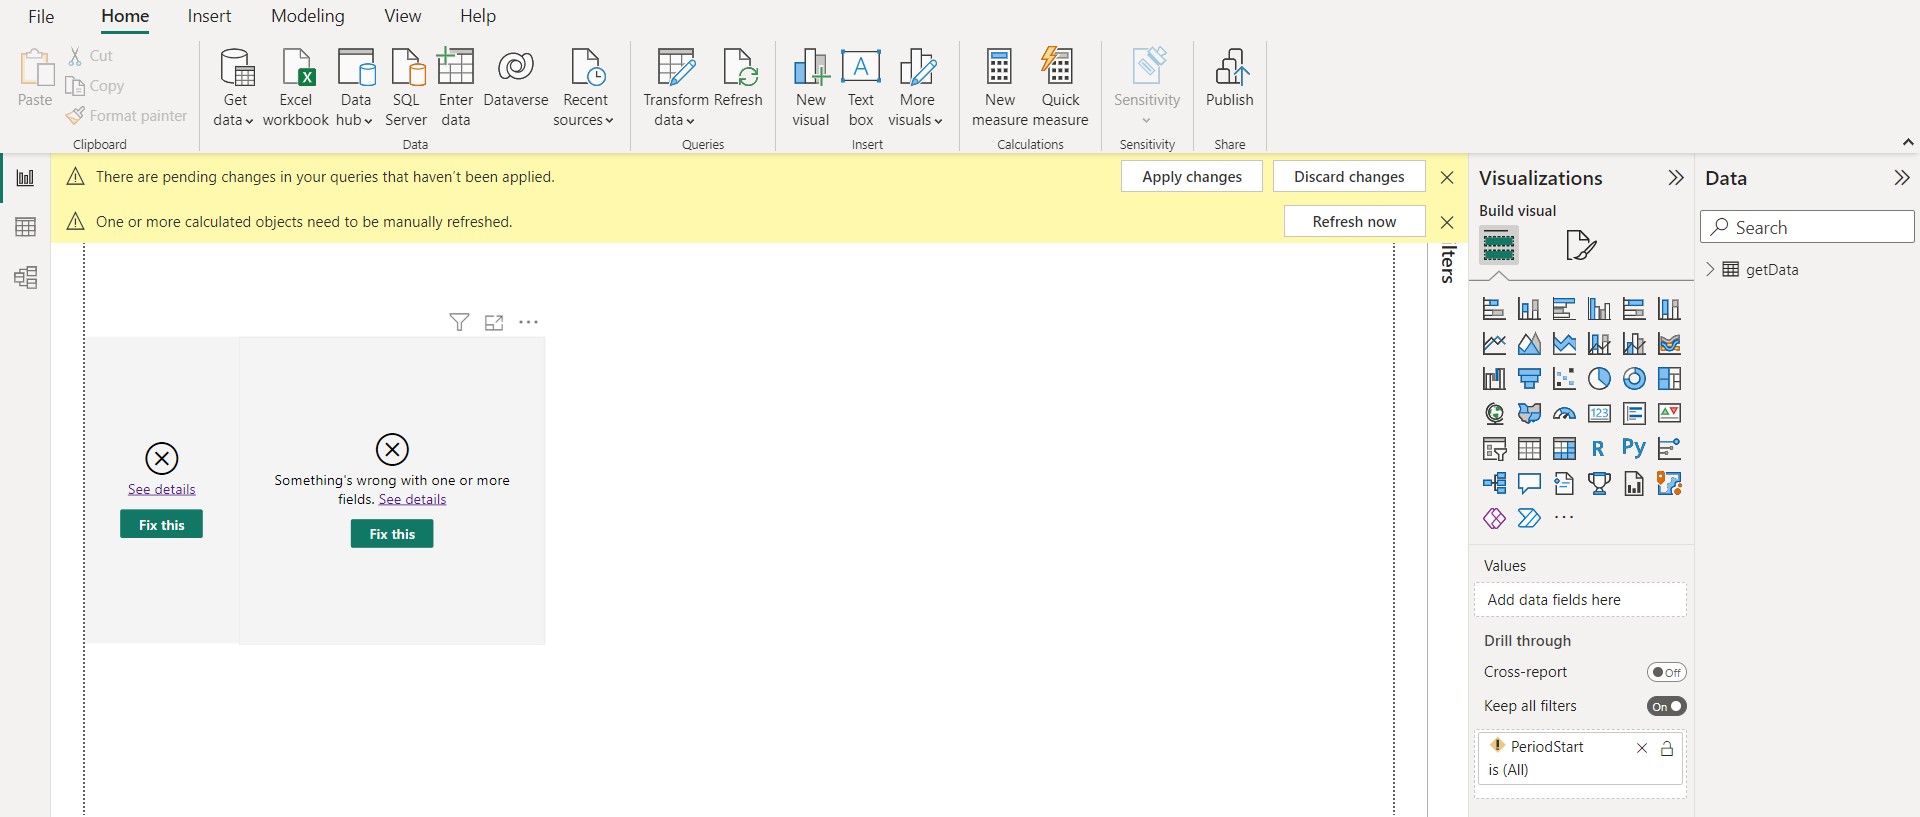
-
Access File > Options and settings > Data source Settings.

-
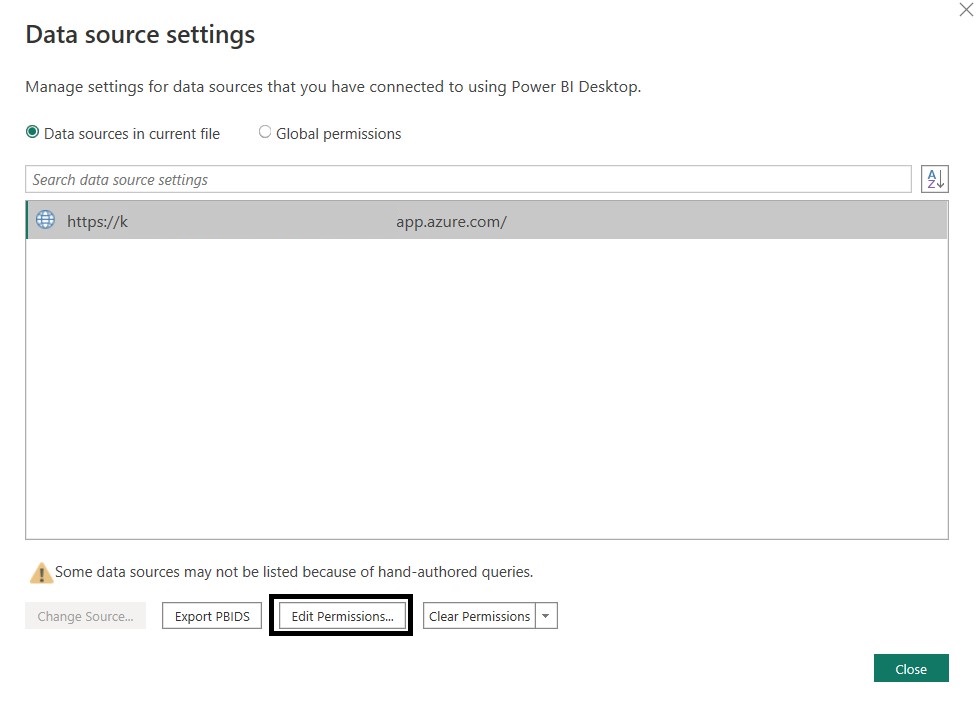
A new window appears with your current host. Select the host and click Edit Permissions....
-
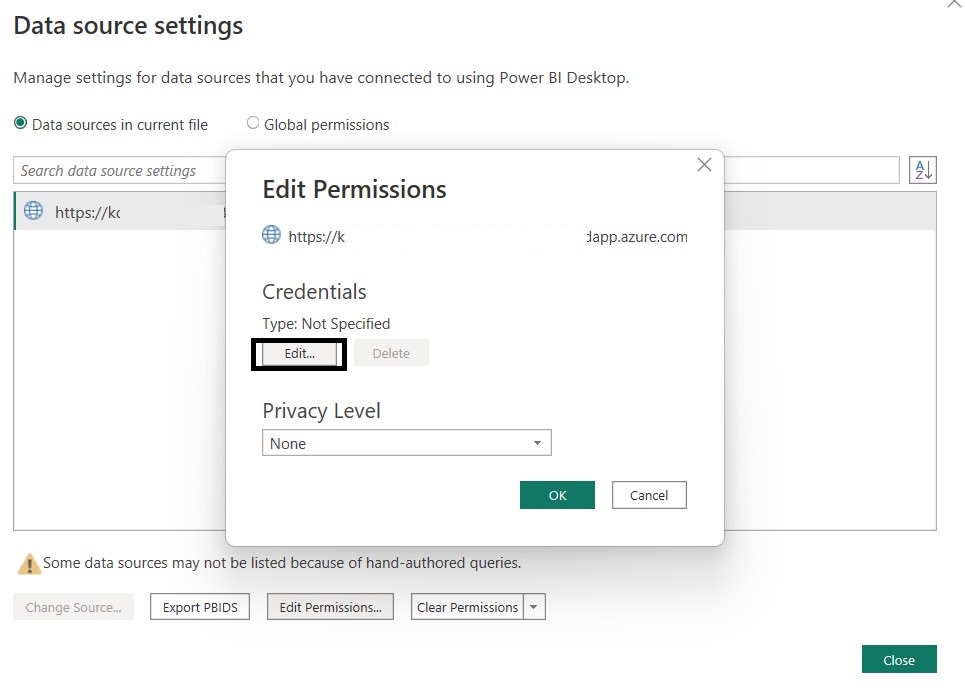
A pop-up appears. You may see under Credentials, "Type: Not Specified". This is the core of the issue as PowerBI did not store the defaulted credentials correctly.
-
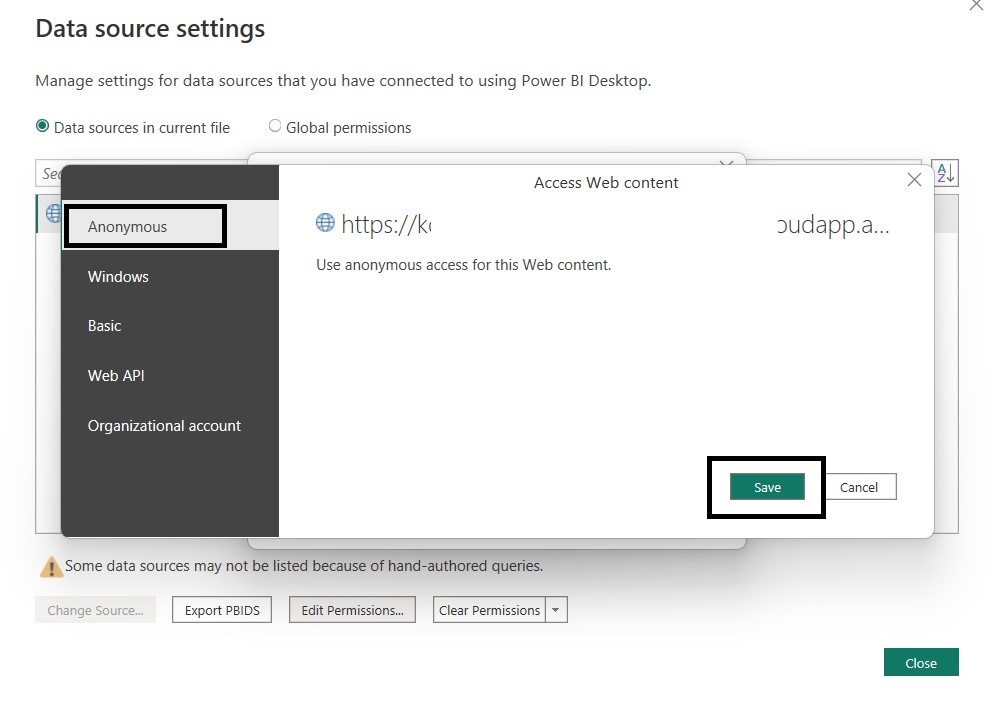
Click Edit. A pop-up appears. Ensure you select Anonymous and click Save.
-
You´ll see the Permissions are now set to Anonymous. Make sure the Privacy Level is set to None and you click OK.

-
In the top toolbar, click Refresh.
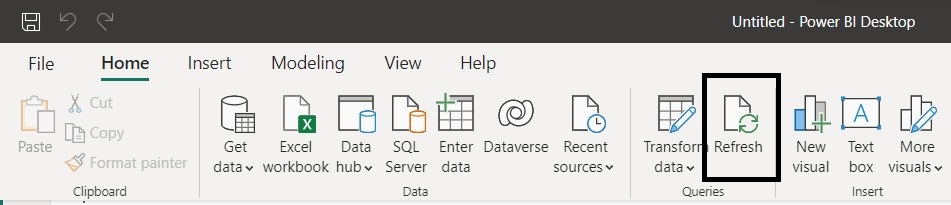
-
You should now be able to retrieve data.
Modifying the initial query
In case you need to edit the query to retrieve additional data, follow these steps:
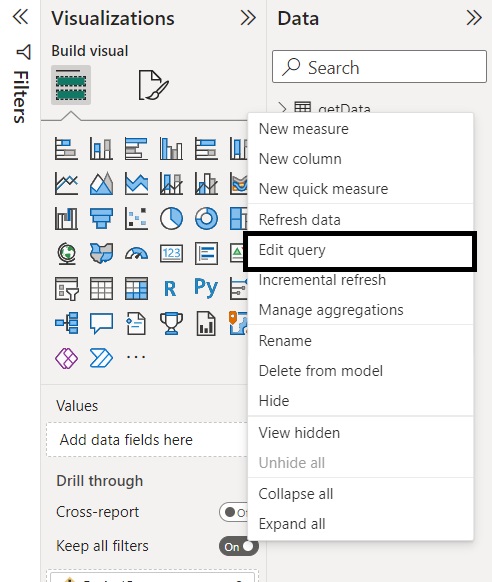
-
On the Data panel, find getData, click ....
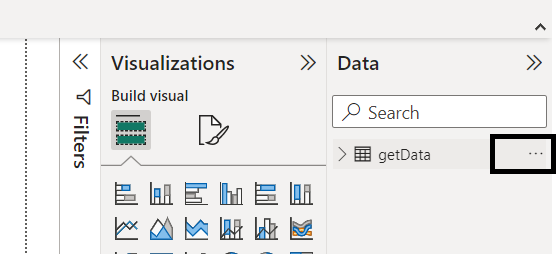
-
A new window opens. In the left panel, all the information you provided for the template to retrieve data is displayed.
At this point, you can update the query.
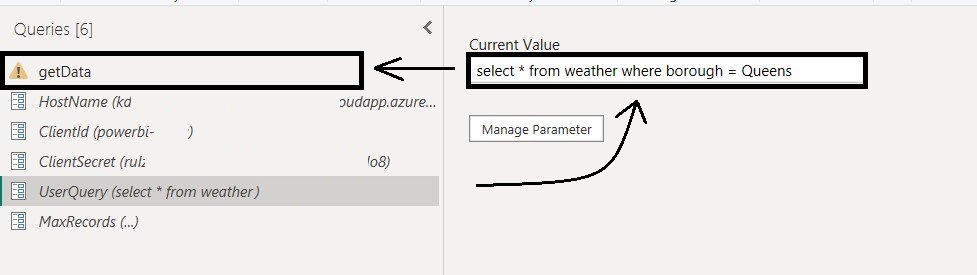
-
Select UserQuery and edit the field on the right side panel. Click getData to reload (you can ignore any credential message pop-ups).
-
On the top panel, click Close & Apply. The window closes and you'll go back to the main screen.
-
On the main screen, click on the table icon to make sure the updated query has been correctly executed and the respective data is loaded.
-
Continue to analyze the data.