Get Data - SQL Database
This walkthrough demonstrates how to ingest SQL data into kdb Insights Enterprise.
A health dataset, hosted on a PostresSQL database, has been provided for use in this walkthrough, which has records of air quality, traffic congestion, car and bike accidents for a day in New York. Once ingested, it is ready to be queried and visualized.
No kdb+ knowledge required
No prior experience with q/kdb+ is required to build this pipeline.
The following sections describes how to:
- Create a database: Create a new database, add it to a package, and set up the schema for the new database.
- Create a pipeline: The pipeline comprises the following nodes:
- Readers: Reads data from its source
- Decoders: Defines the type of data imported
- Schema: Converts the data to a type compatible with a kdb+ database
- Writers: Writes the data to a kdb Insights Enterprise database
- Ingest the data: Deploy the pipeline you have just created to ingest data into the database.
Create a database
-
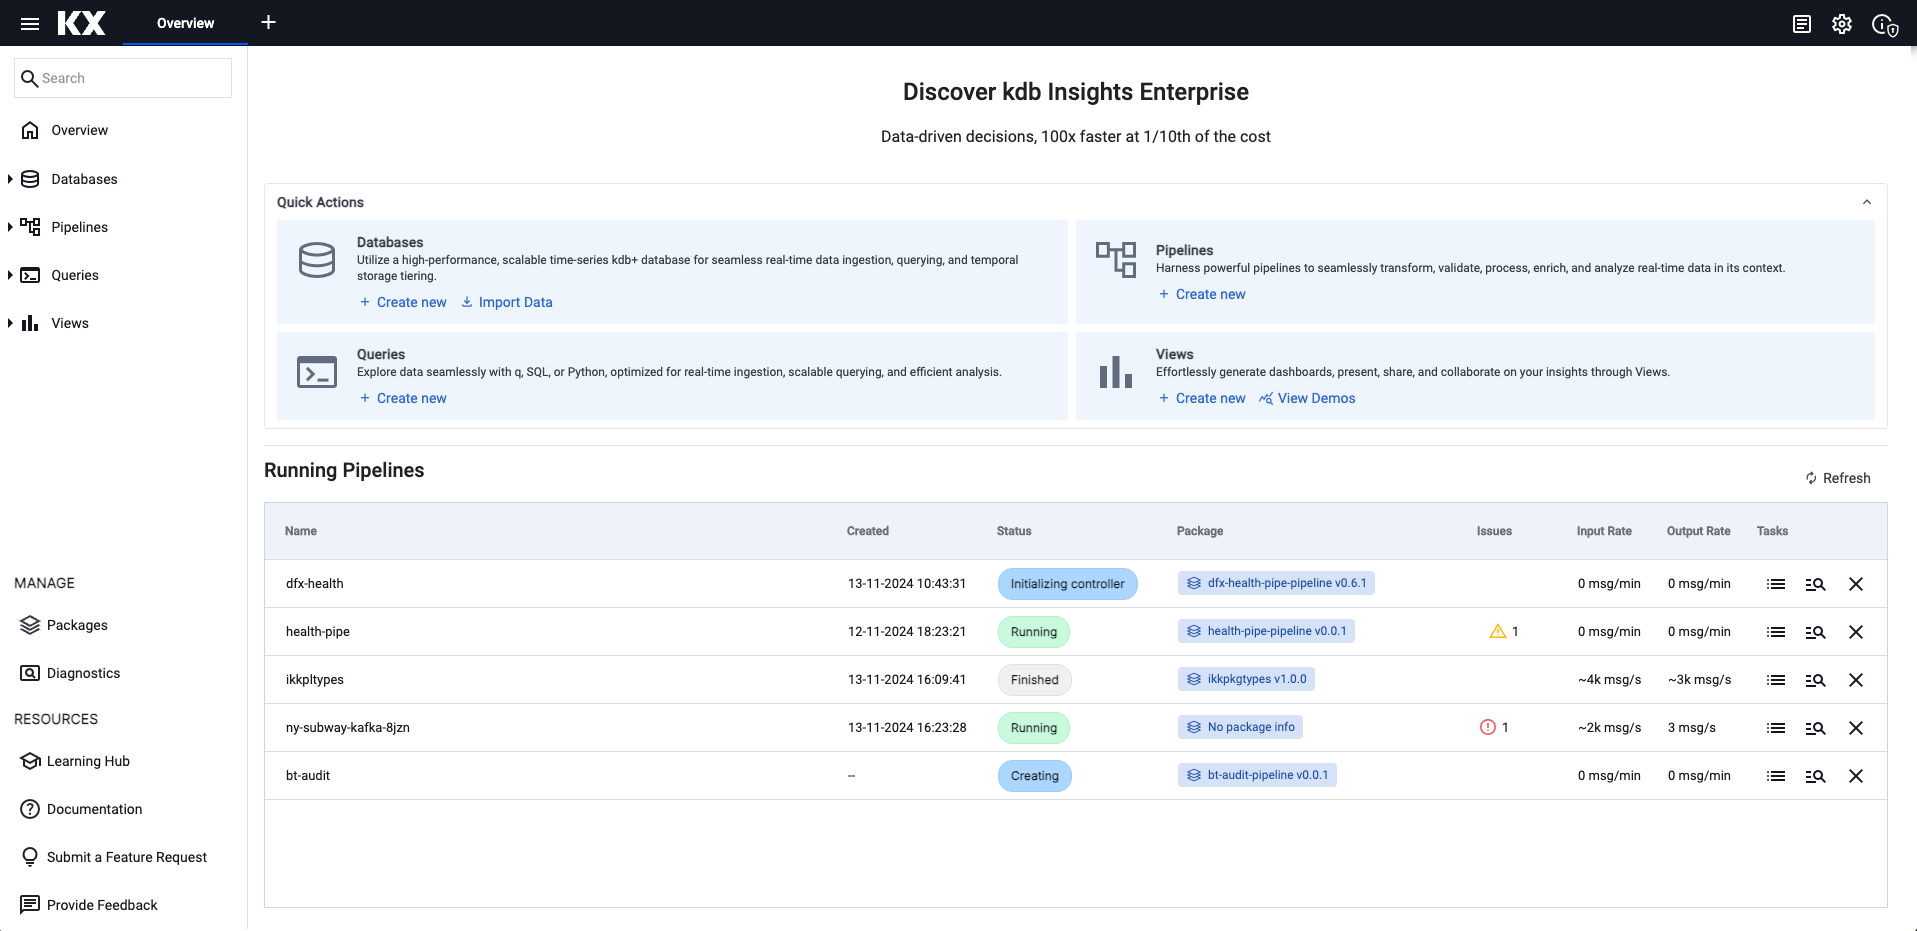
From the Overview page, choose Create new under Databases:
-
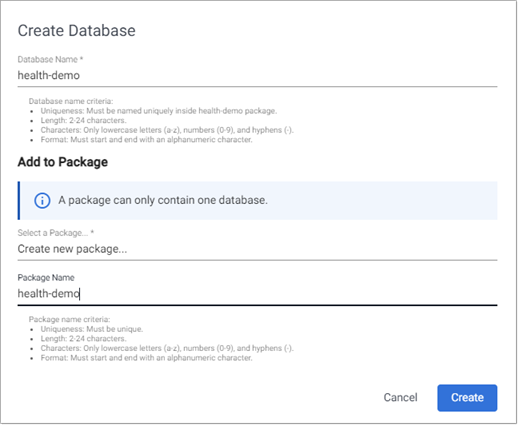
In the Create Database dialog:
- Enter health-demo-db as the Database Name.
- Click Select a Package and Create new package.
- Enter health-demo as the Package Name.
-
Click Create.
-
On the Schema Settings tab, click Code View to open the Schema Code View. Here you can add large schema tables in JSON format.
-
Replace the existing code with the following JSON.
health-demo-db
This JSON code is used in all the walkthrough examples that use the health-demo-db database.
[ { "columns": [ { "type": "string", "name": "name", "attrMem": "sorted", "attrOrd": "", "attrDisk": "", "compound": false, "foreign": "" }, { "name": "lat", "type": "float", "attrMem": "", "attrOrd": "sorted", "attrDisk": "", "compound": false, "foreign": "" }, { "name": "long", "type": "float", "attrMem": "", "attrOrd": "", "attrDisk": "sorted", "compound": false, "foreign": "" }, { "name": "neighborhood", "type": "string", "attrMem": "", "attrOrd": "", "attrDisk": "", "compound": false, "foreign": "" }, { "name": "airquality", "type": "float", "attrMem": "", "attrOrd": "", "attrDisk": "", "compound": false, "foreign": "" }, { "name": "trafficcongestion", "type": "float", "attrMem": "", "attrOrd": "", "attrDisk": "", "compound": false, "foreign": "" }, { "name": "bikeacccnt", "type": "int", "attrMem": "", "attrOrd": "", "attrDisk": "", "compound": false, "foreign": "" }, { "name": "caracccnt", "type": "int", "attrMem": "", "attrOrd": "", "attrDisk": "", "compound": false, "foreign": "" }, { "name": "timestamp", "type": "timestamp", "attrMem": "", "attrOrd": "", "attrDisk": "", "compound": false, "foreign": "" } ], "primaryKeys": [], "type": "partitioned", "prtnCol": "timestamp", "name": "health", "sortColsDisk": [ "long" ], "sortColsMem": [ "name" ], "sortColsOrd": [ "lat" ] } ]- Click Apply to setup the database schema.
-
Click Save.
-
Click Deploy and in the resources summary screen click Deploy again.
-
Next, use the Import Wizard import data to ingest data into this database.
Import data
-
On the Overview page, choose Import Data under Databases:
-
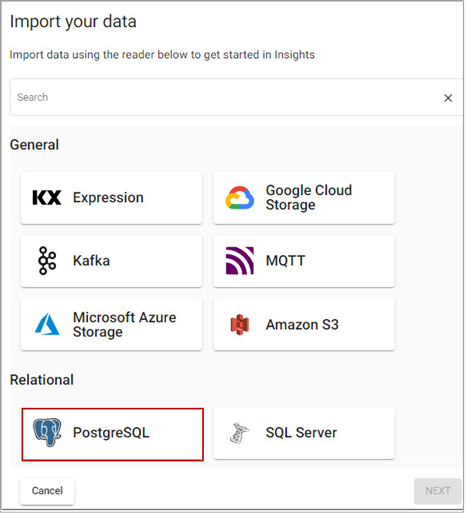
In the Import your data screen, select PostgreSQL from the Relational readers, shown below.
-
Enter the following values for the PostgresSQL database in the Configure PostgreSQL screen.
Setting Value Server postgres.trykdb.kx.com Port 5432 Database demo Username demo Query select * from health -
Click Next.
-
In the Configure Schema screen:
-
Leave the following settings unchanged:
Setting Value Apply a Schema Checked Data Format Any -
Click the Load Schema icon
 :
:- select health-demo-db as the Database
- select health as the Table
-
Click Load and then Next to open the Configure Writer screen.
-
-
In the Configure Writer screen, specify the following settings:
Setting Value Database health-demo-db Table health Write Direct to HDB No Deduplicate Stream Yes Set Timeout Value No -
Click Open Pipeline to display the Create Pipeline dialog.
- Enter health-demo-1 as the Pipeline Name.
- Click Select a Package and select health-demo-1. Note that for this example the database and pipeline must be in different packages.
- Click Create.
-
Click Save.
The health-1 pipeline is now available under Pipelines in the left-hand menu.
Deploy the pipeline
Deploy the pipeline to read the data from its source, transform it to a kdb+ compatible format, and write it to the health-demo-db database.
-
Wait for the database to deploy. When a green tick appears beside the database name in the left-hand menu it is deployed successfully.
-
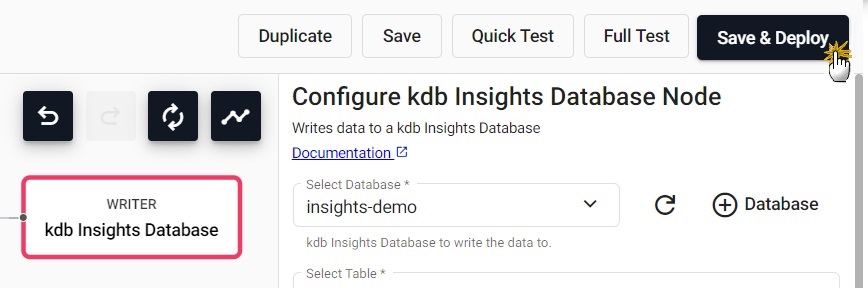
Click on the health-demo-1 pipeline tab and click Save & Deploy in the top panel, as shown below.
-
In the Enter password for PostgreSQL screen, enter demo and click OK.
-
Check the progress of the pipeline under the Running Pipelines panel on the Overview tab.
The data is ready to query when Status is set to Finished. Note that it may take several minutes for the pipeline to start running.
Pipeline warnings
Once the pipeline is running, some warnings may be displayed in the Running Pipelines panel of the Overview tab. These are expected and can be ignored.
Query the data
To verify that the data has been ingested you can query it as follows.
-
Click Create new under Queries on the Overview page.
-
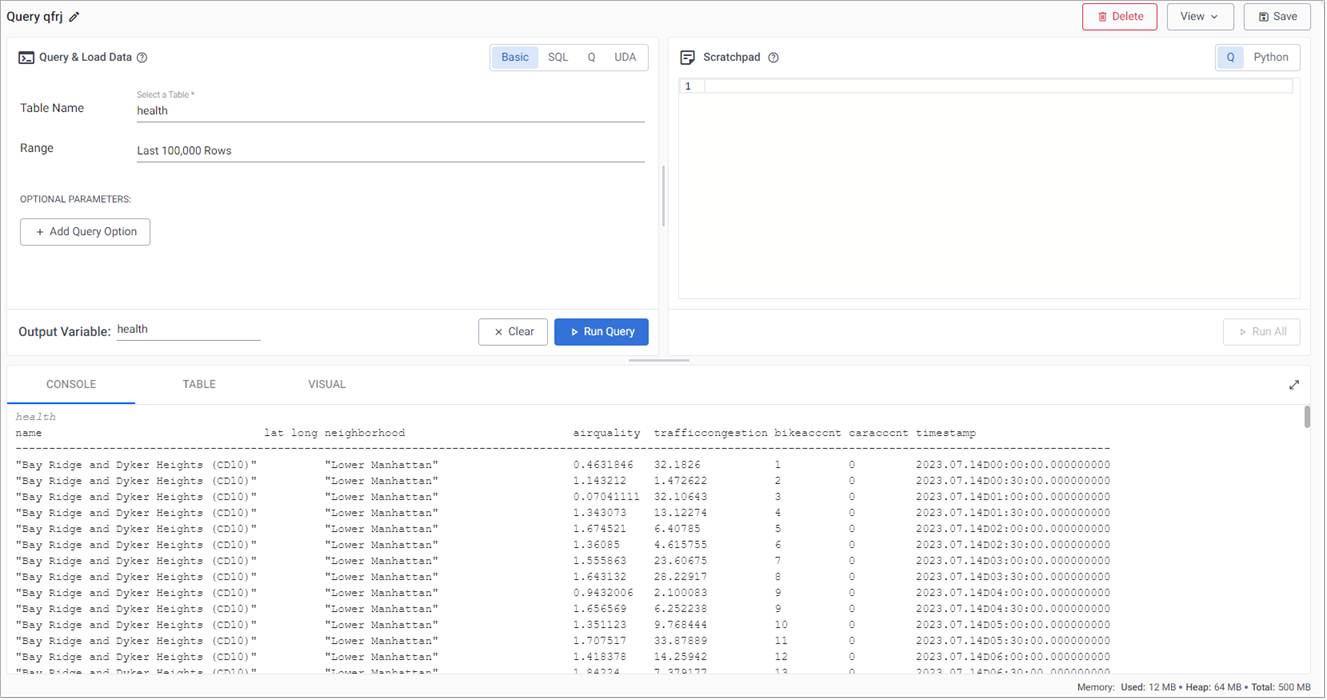
In the Basic tab of the Query Builder section of the screen, select health as the Table Name.
-
Click Run Query to return data. The results are displayed in the Output section at the bottom of the screen.
Next steps
Now that your Pipeline is up and running you can:
- Build a visualization from the data.
Further reading
Use the following links to learn more about specific topics mentioned in this page: