Get Data - Weather (Object Storage)
To use data on kdb Insights Enterprise it has to be imported to an active database. Object storage is the storage of the cloud; a weather dataset is hosted on each of the major cloud providers for use by kdb Insights Enterprise.
No kdb+ knowledge required
This example assumes no prior experience with q/kdb+; replace the url provided with any other Object Storage url to gain similar results.
1. Create and deploy a database
A database stores data on kdb Insights Enterprise. Available databases are listed under Databases of the Overview home page. If not available, create a database, insights-demo, to store your data.
To use a pipeline, your database must be deployed and active.
2. Import Data
Open the import wizard by clicking [+] in the ribbon menu or  from the left-hand icon menu or Overview page. Then click Start Import. The import process creates a pipeline; a pipeline is a connection of nodes to read data from source, transform to a kdb+ compatible format, then write to a kdb Insights Enterprise database.

Click Start Import to begin the data import process.
I want to learn more about the import wizard.
3. Select a Reader
A reader stores details of data to import, including any required authentication. Select one of the major cloud providers: Amazon, Google and Microsoft.
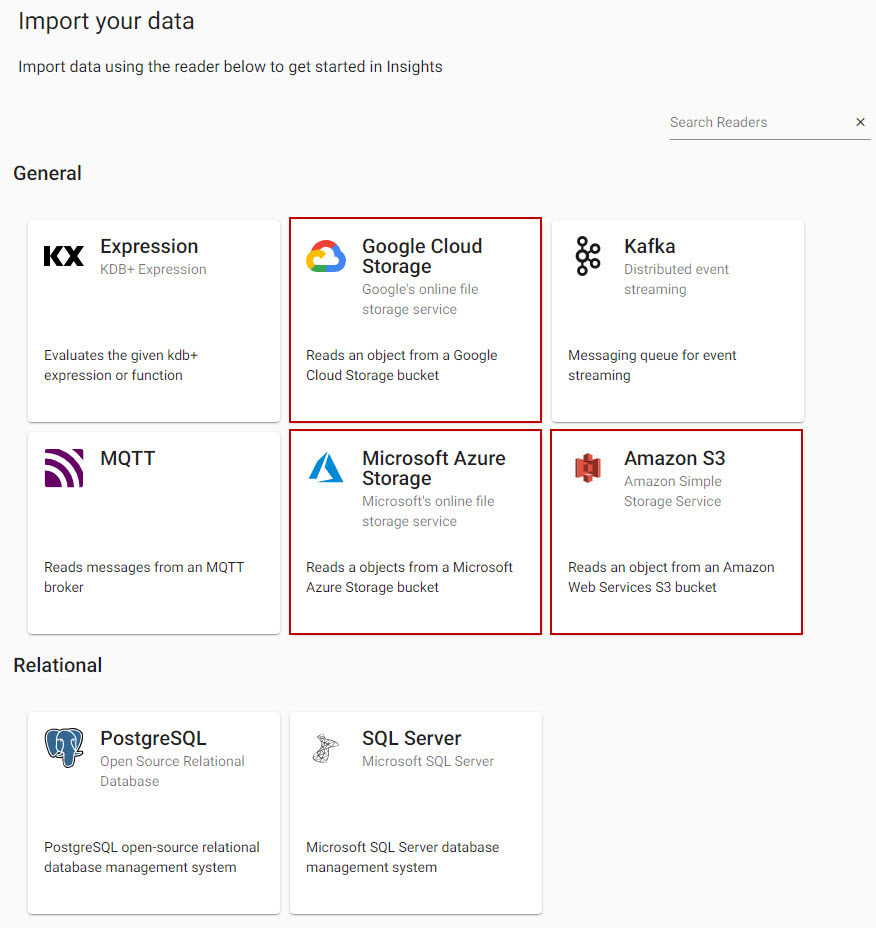
Select from one of the Cloud providers.
Complete the reader properties for the selected cloud provider. Additional Paths can be added by clicking the  . Properties marked with an
 * are required.
Properties
| setting | value |
|---|---|
| Path* | gs://kxevg/weather/temp.csv |
| Project ID | kx-evangelism |
| File Mode* | Binary |
| Offset* | 0 |
| Chunking* | Auto |
| Chunk Size* | 1MB |
| Use Authentication | No |
Properties
| setting | value |
|---|---|
| Path* | ms://kxevg/temp.csv |
| Account* | kxevg |
| File Mode* | Binary |
| Offset* | 0 |
| Chunking* | Auto |
| Chunk Size* | 1MB |
| Use Authentication | No |
Properties
| setting | value |
|---|---|
| Path* | s3://kx-ft-public-share/temp.csv |
| Region* | us-east-1 |
| File Mode* | Binary |
| Offset* | 0 |
| Chunking* | Auto |
| Chunk Size | 1MB |
| Use Authentication | No |
Click Next when done.
I want to learn more about reader nodes.
4. Select a Decoder
The decoder node defines the type of data imported. The weather data is a csv file, select the csv decoder and complete the settings.
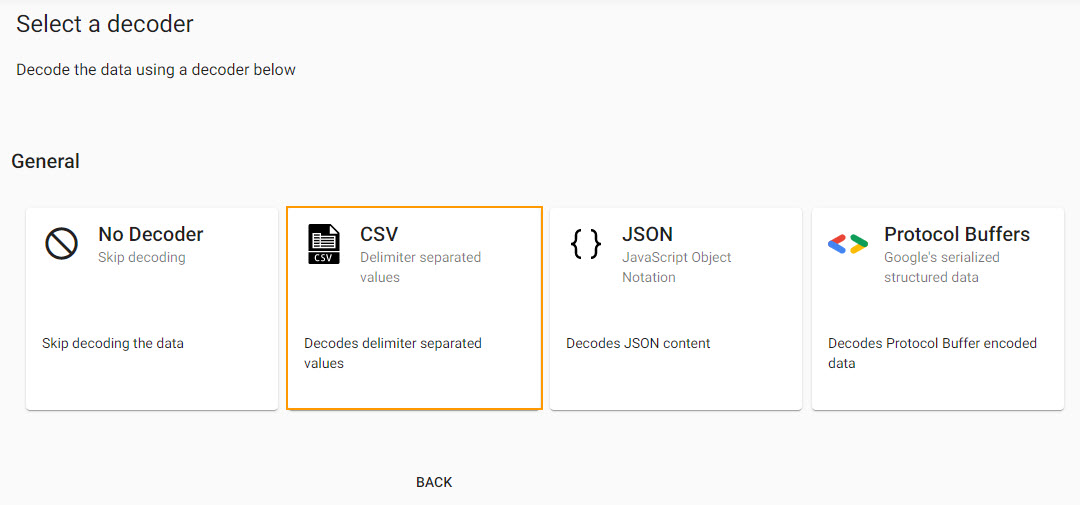
Select the csv decoder for the weather data set.
| setting | value |
|---|---|
| Delimiter | , |
| Header | First Row |
| Encoding Format | UTF8 |
Click Next when done.
I want to learn more about decoder nodes.
5. Define the Schema
The schema converts data to a type compatible with a kdb+ database. Every imported data table requires a schema; and every data table must have a timestamp key to be compatible with kdb's time series columnar database. insights-demo has a predefined schema for weather data.
| setting | value |
|---|---|
| Apply a Schema | Checked |
| Data Format | Any |
- Click

-
Select
insights-demoschema from the dropdown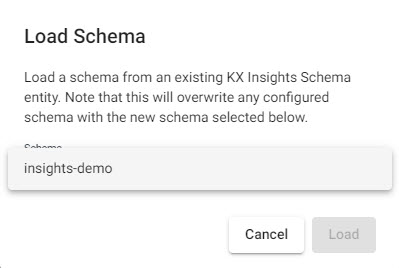
Select theinsights-demoschema. -
Choose the
weathertable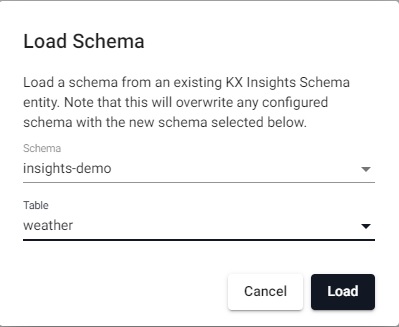
Select theweathertable from theinsights-demoschema.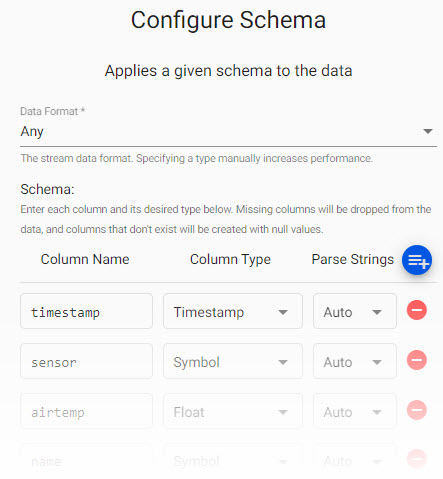
weatherParse Strings is set toautofor all fields.
Manual entry weather schema
If not adding a schema with a table from a database, add the following columns with the button instead. Column descriptions are optional and not required here:
| column | type |
|---|---|
| timestamp | timestamp |
| sensor | symbol |
| airtemp | float |
| name | symbol |
| borough | symbol |
| longitude | float |
| latitude | float |
| color | symbol |
Parse Strings
Determines the requirement to parse input string data to other datatypes. Generally, parse strings is enabled for all time, timestamp, string fields unless your input is IPC or RT; retain the Auto default if unsure.
Click Next when done.
I want to learn more about transform nodes.
6. Configure the Writer
Write transformed data to the kdb Insights Enterprise database.
| setting | value |
|---|---|
| Database | insights-demo |
| Table | weather |
| Write Direct to HDB | No |
| Deduplicate Stream | Yes |
Click  to review the pipeline in the pipeline viewer.
A pipeline created by the import wizard, reads data from its source, transforms to a kdb+ compatible format, and writes it to a kdb Insights Enterprise database.
Writer Node
The Writer - KX Insights Database node is essential for exploring data in a pipeline. The node defines the database to write too that must be active to receive data. Stream data uses its own writer node, Writer - KX Insights Stream.
I want to learn more about writer nodes.
7. Review Pipeline
The pipeline is a linked set of nodes derived from each step of the import process.

A completed weather pipeline following the import steps.
I want to learn more about pipelines.
8. Save the Pipeline
Save and name the pipeline. This name should be unique to the pipeline; for example, weather-1.
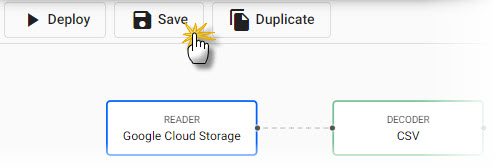
Save the pipeline as weather-1.
Pipeline weather-1 is listed under Pipelines in the left-hand menu.
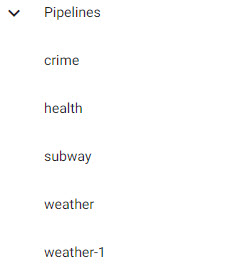
The list of available pipelines for deployment in the left-hand menu.
9. Deploy the Pipeline
Deploy a pipeline to access its data.
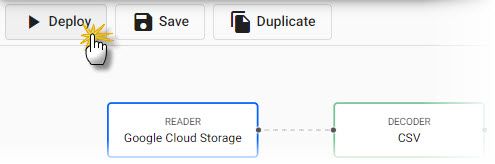
Click Deploy to activate the pipeline and write its data to the database.
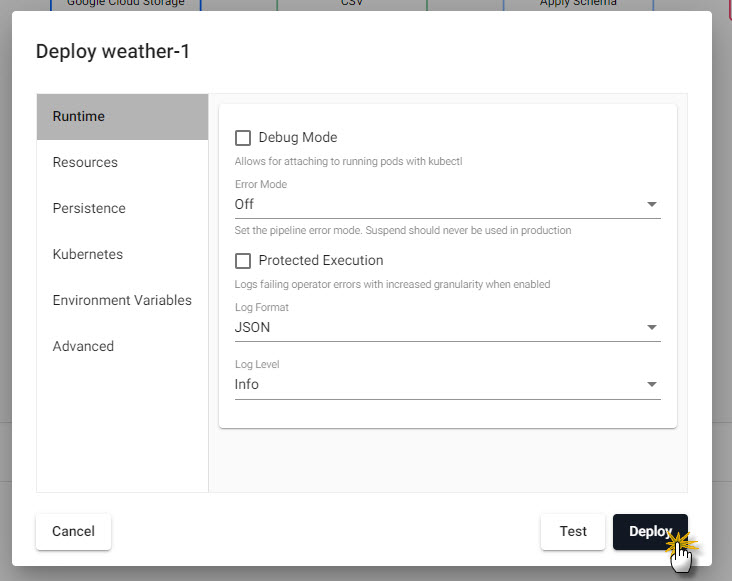
Confirm Deploy to activate the pipeline.
The pipeline runs through the deployment process and returns a status of Finished under Running Pipelines in the Overview page when successfully deployed.

A successfully deployed pipeline shows as Finished under Running Pipelines.
Database Deployment: If not already active, ensure insights-demo, or the database created with the weather schema table, is deployed from Databases in the left-hand menu for it to receive data from the pipeline.
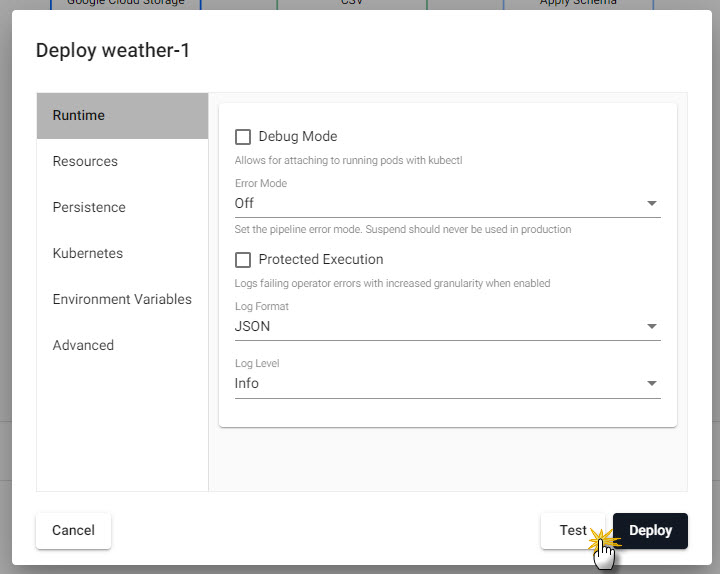
Test Deploy
A test deploy previews your pipeline prior to running a full deploy. A test deploy does not write to the database but returns a picture of the data at each step along the pipeline. Click on a node to view the data state at the selected step.
A Test deploy returns a view of the data along each step of the pipeline; click a pipeline node to view data from a test deploy.
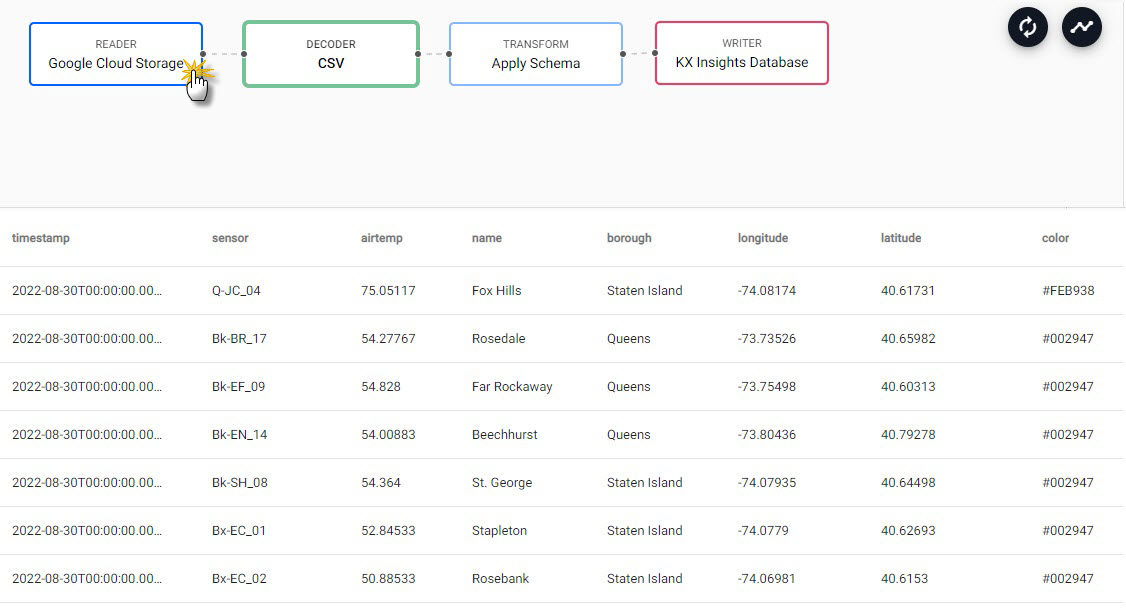
Test deploy results display in lower panel of pipeline template view.
A full deploy is required to write data to an active database, and for the pipeline data to be queried. A test deploy is automatically torn down on completion.
Pipeline Teardown
Teardown an active pipeline when it's no longer required; tearing down a pipeline returns resources. Click on the X in Pipelines of Overview to teardown a pipeline.
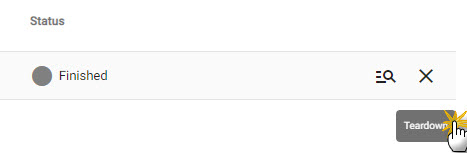
Click X to teardown a pipeline.
Clear Pipeline State removes all data written to the database; leave unchecked to continue working with the data in the current session.
Test deploys are automatically torn down on completion.
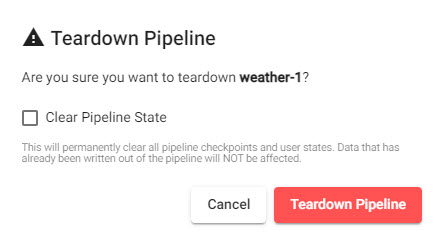
Teardown a pipeline to free up resources.
Troubleshoot
Reported errors can be checked against the logs of the deployment process. Click View diagnostics to review the deployment.
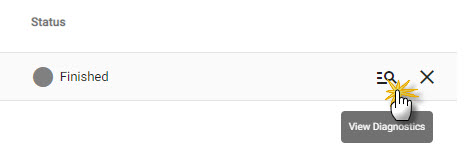
Click View Diagnostics to view the status of a pipeline deployment.
10. Query the Data
Deploy the insights-demo database and weather-1 pipeline if not active or finished.
Query data on a successful deploy to the database.
11. Visualize the Data
Build a visualization from the data.