Login
Connectivity when using Private IP addresses
If you have chosen Private IP address connectivity as part of the deployment of kdb Insights Enterprise, see the details here on how to allow users to access the UI and the API endpoint, before following the steps below.
Create kdb Insights Enterprise roles
When the deployment is successful, locate the deployment outputs by clicking on Outputs in the left-hand navigation menu to obtain the keycloak URL.
kdb Insights Enterprise uses Keycloak as its Identity and Access Management component. Using Keycloak, create the administrator and any other required roles on it. Follow the steps below to start.
-
Login to the Keycloak Web UI by navigating to the
keycloakUrlavailable in the 'Outputs' of the deployment, or theinsightsUiUrlappended with/auth/, in a web browser. -
Click on
Administration Console -
To log in, use the following details:
field value Username or e-mail user Password password created in General Configuration -
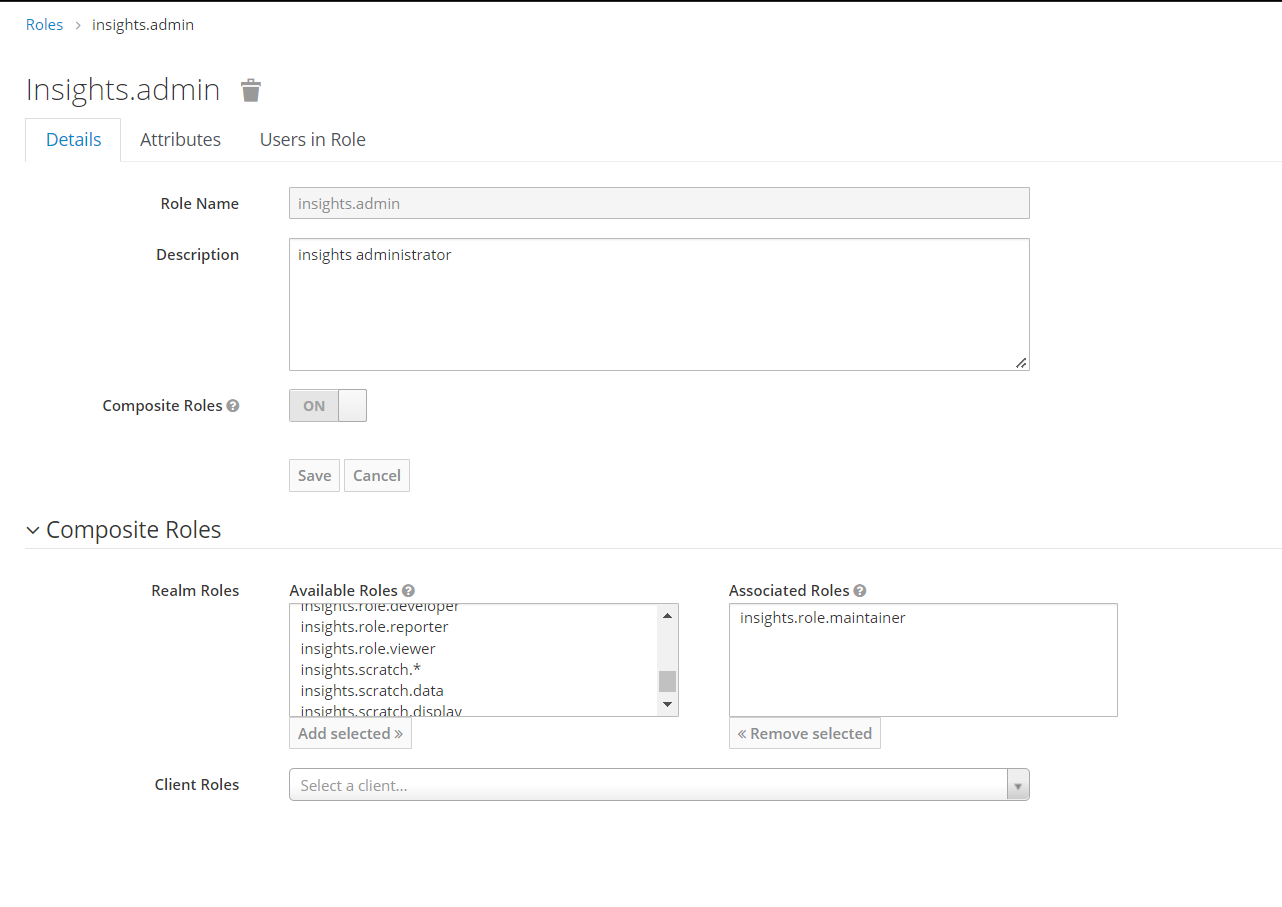
Create the administrator role:
- Click on
Rolesin the left-hand menu then click on theAdd Rolebutton. - Enter the Role Name:
insights.admin, make sure you add a description and clickSave. - Turn Composite Roles
ON. -
Associate it with the following role:
insights.role.maintainer
Note
Please refer to the documentation on Keycloak and the role based permissions.
- Click on
-
If you want to give users the ability to reset their password via email you need to configure the reset password service.
Local users
This only applies to users managed within Keycloak and not those from an upstream identity provider.
Login to kdb Insights Enterprise
Once the deployment is complete and roles have been created on Keycloak, follow the steps below to login to kdb Insights Enterprise:
-
Click on
Outputsin the left-hand navigation menu. -
Copy the
insightsUiUrlvalue and navigate to this URL in a new browser tab.
-
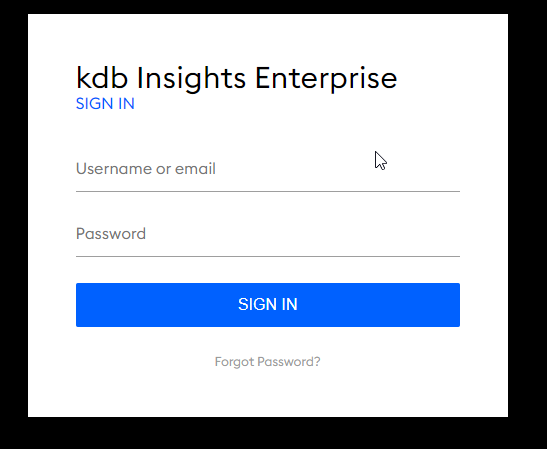
Log in with the username and password created in the General Configuration step of the installation process.
-
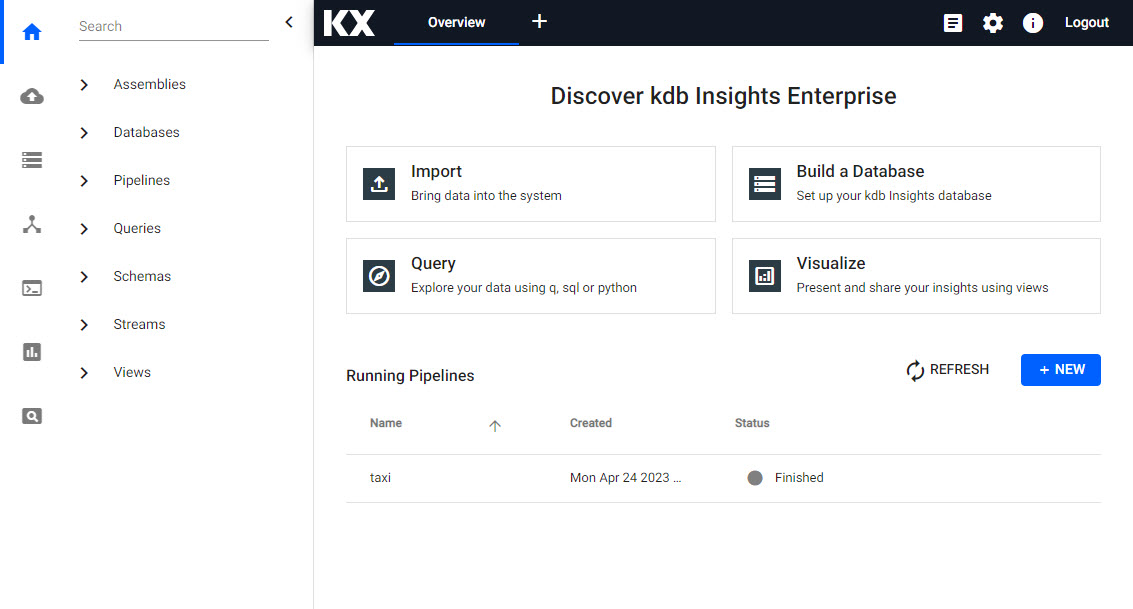
You will then be directed to the kdb Insights Enterprise User Interface.

-
See kdb Insights Enterprise Overview for an introduction to the User Interface.
There are additional tools and services available on Nexus such as the kdb Insights Enterprise SDKs and kdb Insights CLI.
Azure namespaces
Remember! Cluster resources created using the Azure Marketplace are preconfigured to use various namespaces. In most cases, when running kubectl commands referenced in the documentation, remember to include the -n insights argument, to make sure all resources under the "insights" namespace appear, as well.
Please follow the documentation to Install the SDKs or to Install the kdb Insights CLI.
If you already have a KX license and an existing application, you can use the RT Bridge to ingest data into kdb Insights Enterprise on Azure.